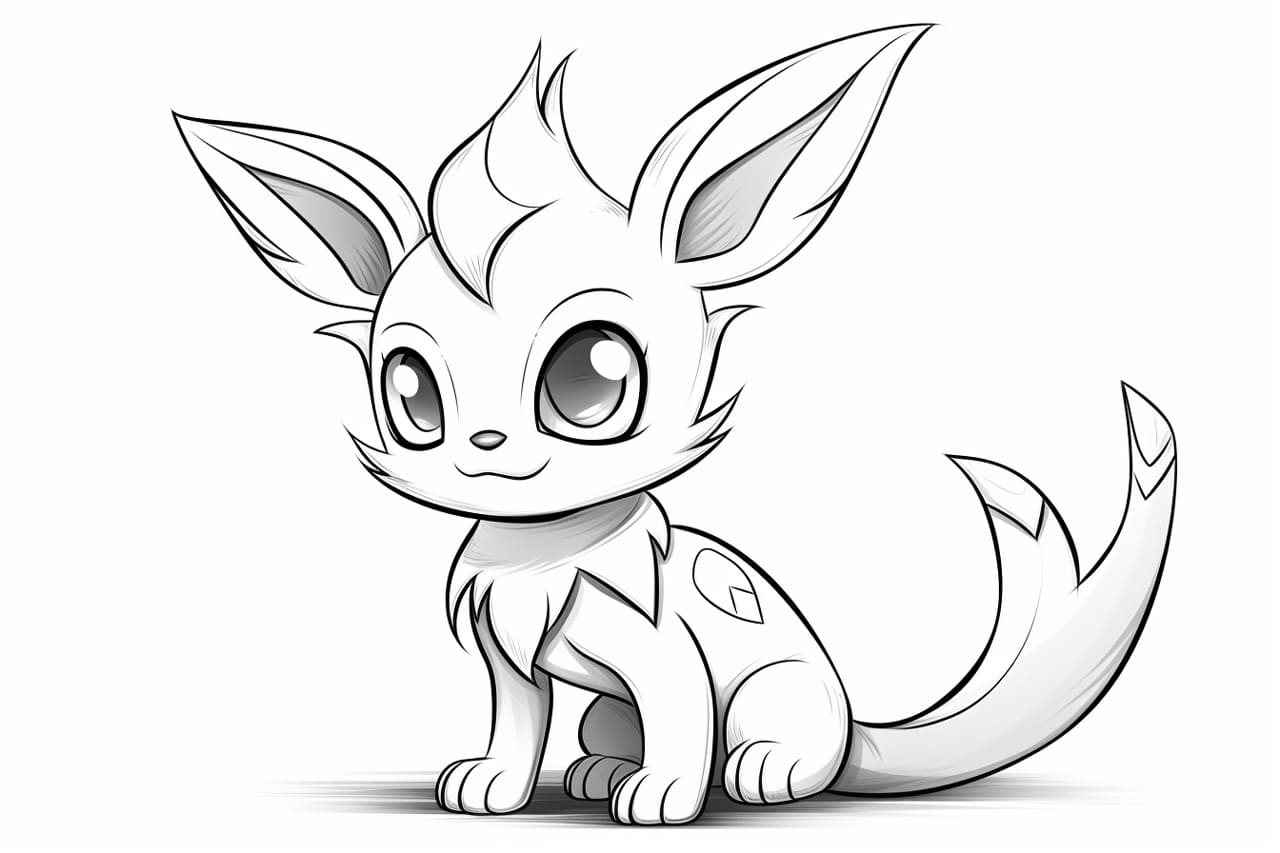
Welcome to this step-by-step tutorial on how to draw a realistic and detailed Umbreon. Umbreon is a popular and mysterious Dark-type Pokémon known for its sleek design and moon-like rings on its body. Whether you’re a beginner or a seasoned artist, this guide will walk you through the process of how to draw an Umbreon and capture its essence on paper. So grab your materials, unleash your creativity, and let’s get started!
Materials Required:
Before we dive into the drawing process, here are the materials you’ll need to complete this tutorial:
- Drawing paper or sketchbook
- Pencil (HB or 2B recommended)
- Eraser
- Fine-tipped black marker or pen (for inking)
- Colored pencils or markers (optional for coloring)
Now that you have your materials ready, let’s begin drawing Umbreon step by step.
Step 1: Basic Shapes
Start by lightly sketching Umbreon’s basic shapes as guidelines. First, draw a large oval for the head, followed by a smaller oval shape slightly overlapping the larger one for the body. Add two long and thin triangles on each side of the body for the ears. Finally, sketch four cylindrical shapes for its legs.
Step 2: Facial Features
Using the basic guidelines, begin adding Umbreon’s facial features. Draw two large, almond-shaped eyes in the middle of the head, leaving a small space between them. Inside each eye, draw a smaller circle for the iris and a small dot for the pupil. Add a small triangular shape for the nose just below the eyes. Finally, draw a curved line from each side of the eyes for the cheeks.
Step 3: Ears and Details
Refine the shapes of Umbreon’s ears by adding pointed tips and some inner details. To give them a realistic look, draw curved lines that follow the shape of the ears. Next, begin adding details to Umbreon’s face. Draw a curved line above each eye to define the eyebrows. Then, add a small curved line below the nose to form the mouth. Finally, sketch three small rectangles on each side of the body for the moon-like rings.
Step 4: Body and Tail
Start adding more definition to Umbreon’s body. Use the existing shapes as a guide to create a sleek and muscular form. Smooth out the lines and curves of the body, making sure to maintain the characteristic shape of Umbreon. Pay attention to the placement and proportions of the legs, ensuring they align properly with the body. Also, draw a curved line that connects the head and the body, creating the neck. Finish off by drawing a long and bushy tail with pointed ends.
Step 5: Inking
Once you’re satisfied with your pencil sketch, it’s time to ink your drawing. Grab a fine-tipped black marker or pen and carefully go over the outline and important details of Umbreon. Take your time and make confident strokes to create clean and bold lines. Let the ink dry completely before erasing any remaining pencil marks.
Step 6: Coloring (Optional)
You can choose to leave your Umbreon drawing in black and white or add some color to bring it to life. If you decide to color your artwork, start by selecting shades of dark blue or black for the body. Fill in the moon-like rings with a lighter shade of blue or gray. Use shades of yellow or orange for Umbreon’s eyes and mouth. Finally, use a light yellow or cream color for the rings on its ears and tail. Blend the colors smoothly using colored pencils or markers, applying light layers for a more vibrant result.
Conclusion
Congratulations on completing your drawing of Umbreon! By following these step-by-step instructions, you’ve captured the essence of this captivating Pokémon. Remember, practice makes perfect, so feel free to experiment with different poses and expressions to further develop your skills. Don’t be afraid to add your own personal touch to make your Umbreon drawing unique. Keep up the great work, and happy drawing!


