Welcome to this step-by-step guide on how to draw a 3D box! Whether you are a beginner or an experienced artist, learning how to draw a 3D box can be a useful skill to have in your artistic repertoire. Drawing a 3D box can add depth and dimension to your artwork, making it more visually appealing. In this article, we will walk you through the process of drawing a 3D box using simple and easy-to-follow instructions. So, let’s get started!
Materials Required
Before we begin, let’s gather the materials you will need to draw a 3D box. Don’t worry, these materials are simple and readily available:
- A piece of paper
- A pencil
- A ruler
- An eraser
Now that you have your materials ready, let’s dive into the step-by-step process of drawing a 3D box.
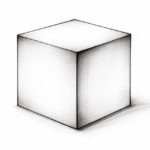
Step 1: Draw a Square
Start by drawing a square in the center of your paper. Use your ruler to create four straight lines that are equal in length and connect at right angles. This square will serve as the base of your 3D box.
Step 2: Add Depth to the Base
To give the base of your 3D box some depth, draw two diagonal lines from each corner of the square towards the center. These lines should intersect at the center point of the square. These lines will create the illusion of the box receding into space.
Step 3: Connect the Corners
Next, draw vertical lines from each corner of the square to the points where the diagonal lines intersect. These lines will connect the base of the box to the vanishing point, further enhancing the illusion of depth.
Step 4: Draw the Top and Bottom Faces
To complete the 3D box, draw two parallel lines above the square and connect them with horizontal lines on each side. These lines will form the top face of the box. Repeat the same process below the square to create the bottom face of the box. Ensure that the lines are parallel and equal in length to maintain the box’s perspective.
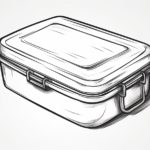
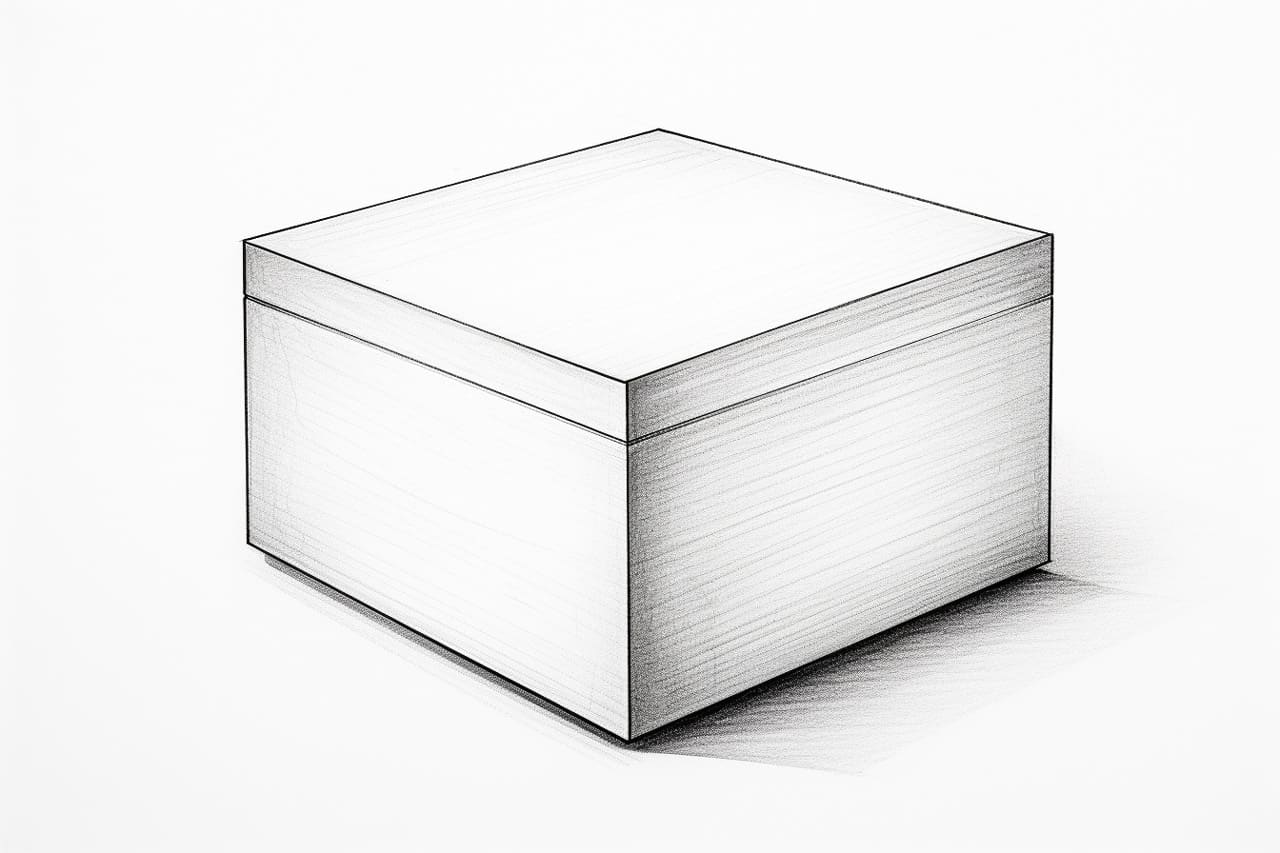
Step 5: Add Details
Now that you have the basic structure of the box, you can add some details to make it more realistic. For instance, you can draw a line across the width of the top face to create a lid-like effect. You can also add shading to give the box a three-dimensional appearance. Experiment with different shading techniques to see what works best for you.
Step 6: Erase Unnecessary Lines
Once you are satisfied with the final structure of your 3D box, go ahead and erase any unnecessary lines that you don’t need. This will help clean up your drawing and make it look more polished.
Conclusion
Congratulations! You have successfully learned how to draw a 3D box. By following these simple and easy-to-follow steps, you can now add depth and dimension to your artwork. Remember to practice regularly to improve your skills. Have fun experimenting with different shapes, sizes, and shading techniques. Drawing 3D boxes is just the beginning of your artistic journey. So keep exploring and creating amazing artworks!