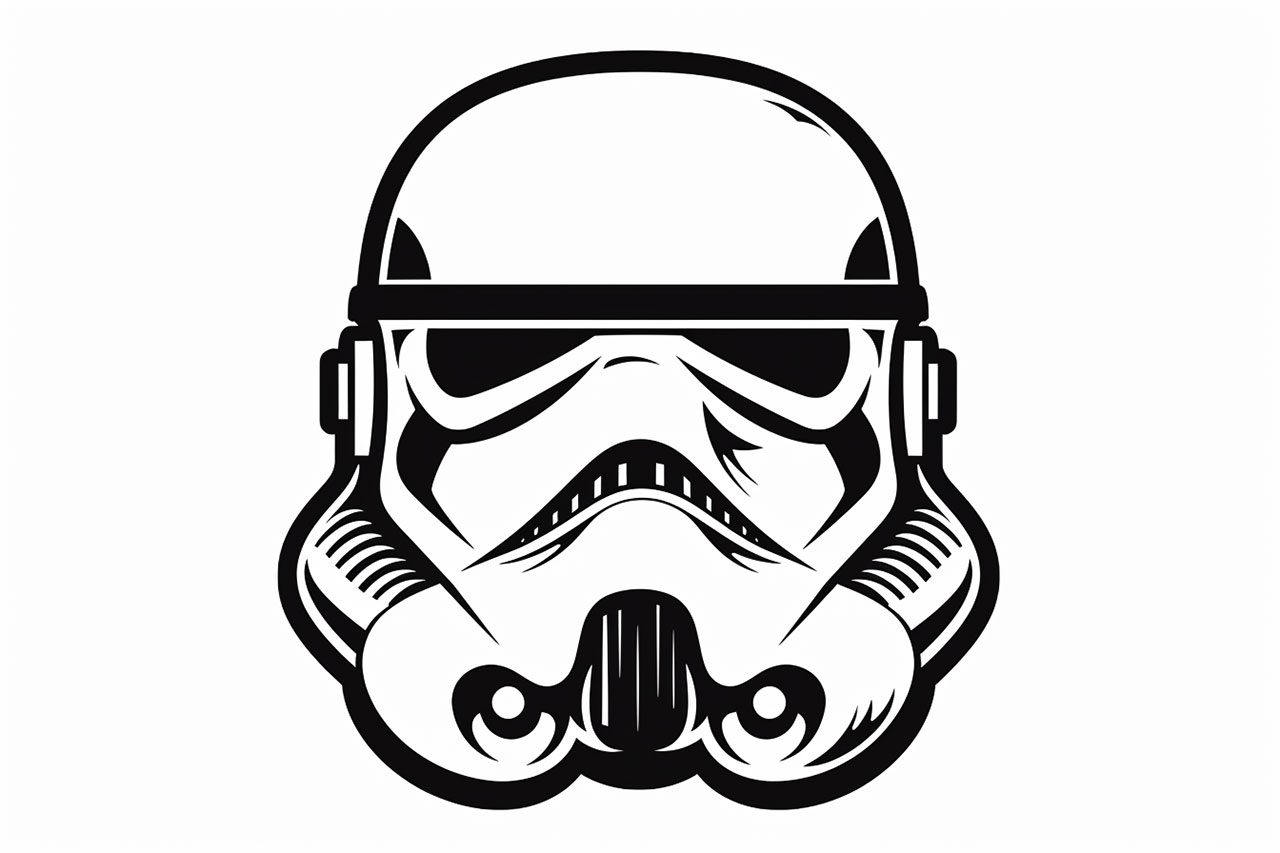
Welcome to this step-by-step tutorial on how to draw a Stormtrooper! Whether you’re a dedicated Star Wars fan or simply looking to improve your drawing skills, this guide will walk you through the process of creating your very own Stormtrooper artwork. So grab your pencils and let’s get started!
Materials Required
Before we begin, make sure you have the following materials:
- Drawing paper or sketchbook
- Pencils (preferably HB or 2B)
- Eraser
- Ruler
- Black ink pen (optional, for outlining)
Now that you have your materials ready, let’s delve into the art of drawing a Stormtrooper!
Step 1: Basic Head Shape
Start by drawing a simple circle towards the top center of your paper. This will serve as the basic shape for the Stormtrooper’s helmet. Keep your pencil lines light at this stage, as we will be refining the shape later on.
Step 2: Guideline for the Helmet
Draw a vertical line down the center of the circle. This line will act as a guideline that will help you create the symmetrical features of the Stormtrooper’s helmet. Then, add a horizontal line across the center of the circle to divide it into two halves.
Step 3: Helmet Details
Using the guidelines as references, sketch the outline of the Stormtrooper’s helmet. Pay attention to the shape and angles of the helmet, which are characteristic of Stormtroopers. Remember to keep your pencil lines light and easily erasable, as we will be refining the details in the next steps.
Step 4: Facial Features
Now it’s time to add the basic facial features to your Stormtrooper drawing. Draw two small circles within the helmet shape to represent the eyes. Then, add a small rectangular shape just below the eyes to indicate the mouth area. This will give your Stormtrooper a serious and determined expression.
Step 5: Refine the Face
With the basic facial features in place, it’s time to refine the shape and details of the face. Use your pencil to darken the eye sockets and create more depth. Add some curved lines to define the mouth and make it look more natural.
Step 6: Outline the Helmet
Now that you have the main features of the Stormtrooper’s face in place, it’s time to outline the helmet. Use your pencil to carefully trace the shape of the helmet, making sure to follow the contours and angles. Take your time with this step, as it will define the overall appearance of your Stormtrooper.
Step 7: Add Details
To give your Stormtrooper a more realistic look, it’s important to add some additional details to the helmet. Use your pencil to draw lines and shapes that mimic the design elements of the Stormtrooper’s helmet. These details can include small rectangles, circles, and triangular shapes that are often seen on the helmets.
Step 8: Shade the Helmet
Now that the outline and details of the helmet are complete, it’s time to add some shading to create depth. Use your pencil to lightly shade the areas that would be in shadow, such as the sides and bottom of the helmet. Gradually build up the shading to create a smooth transition between light and dark areas.
Step 9: Ink the Drawing (Optional)
If you prefer a more defined and finished look, you can use a black ink pen to outline your drawing. Carefully go over the pencil lines, making them bolder and more pronounced. This step is optional, but it can add a professional touch to your artwork.
Conclusion
Congratulations! You have successfully learned how to draw a Stormtrooper. By following these step-by-step instructions, you have created a stunning artwork that showcases your drawing skills. Remember, practice makes perfect, so continue to refine your technique and experiment with different styles. May the Force be with you!