Do you want to learn how to draw a pool? Whether you’re an aspiring artist or just looking for a fun and creative activity, drawing a pool can be a great way to enhance your skills and create a stunning piece of artwork. In this step-by-step guide, I will walk you through the process of drawing a pool in a clear and concise manner. So let’s get started!
Materials Required
Before we begin, let’s gather the materials you will need for this drawing tutorial. Here’s a list of what you’ll need:
- Drawing paper
- Pencil
- Eraser
- Ruler
- Compass
Now that you have all your materials ready, let’s dive into the step-by-step process of drawing a pool.
Step 1: Start with the Outline
Start by drawing a horizontal line near the center of your paper. This will serve as the water level in the pool. Use your ruler to ensure the line is straight and even.
Step 2: Add the Pool Shape
Using your pencil, draw the outline of the pool around the water level line. You can make it any shape you like – rectangular, circular, or even an irregular shape. Remember to keep the proportions in mind and ensure that the pool fits well within the paper.
Step 3: Draw the Pool Deck
Extend the outline of the pool to create the pool deck. This will be the area surrounding the pool where people can walk or lounge. You can make the deck as wide or narrow as you prefer. Use your ruler to make straight lines and maintain symmetry, if desired.
Step 4: Add Details to the Pool Deck
Now, let’s add some details to the pool deck to make it more realistic. Draw lines or tiles to represent the flooring of the deck. You can make them parallel, perpendicular, or even diagonally placed, depending on the design you have in mind.
Step 5: Create the Pool Walls
Next, we’ll draw the walls of the pool. Start by extending the outline of the pool downwards to create the depth of the pool. Use your ruler to maintain straight lines and ensure consistency. Remember to consider the perspective and draw the walls accordingly.
Step 6: Add the Pool Depth
To give the pool a sense of depth, draw diagonal lines from the top of the walls towards the bottom. These lines will represent the change in water depth. Make sure the lines are evenly spaced and parallel to each other.
Step 7: Sketch the Pool Ladder
If you’d like to include a ladder in your pool drawing, now is the time to do it. Place the ladder inside the pool, near the shallow end or wherever you prefer. Use straight lines to draw the ladder steps and handles. Take your time to ensure they are evenly spaced and proportional.
Step 8: Shade and Add Texture
Now that you have the basic pool structure, let’s add some shading and texture to make it look more realistic. Shade the pool walls with light lines to create a sense of depth. Use your pencil to add texture to the walls and deck, giving them a more realistic appearance. Experiment with different shading techniques to achieve the desired effect.
Step 9: Add Water and Reflections
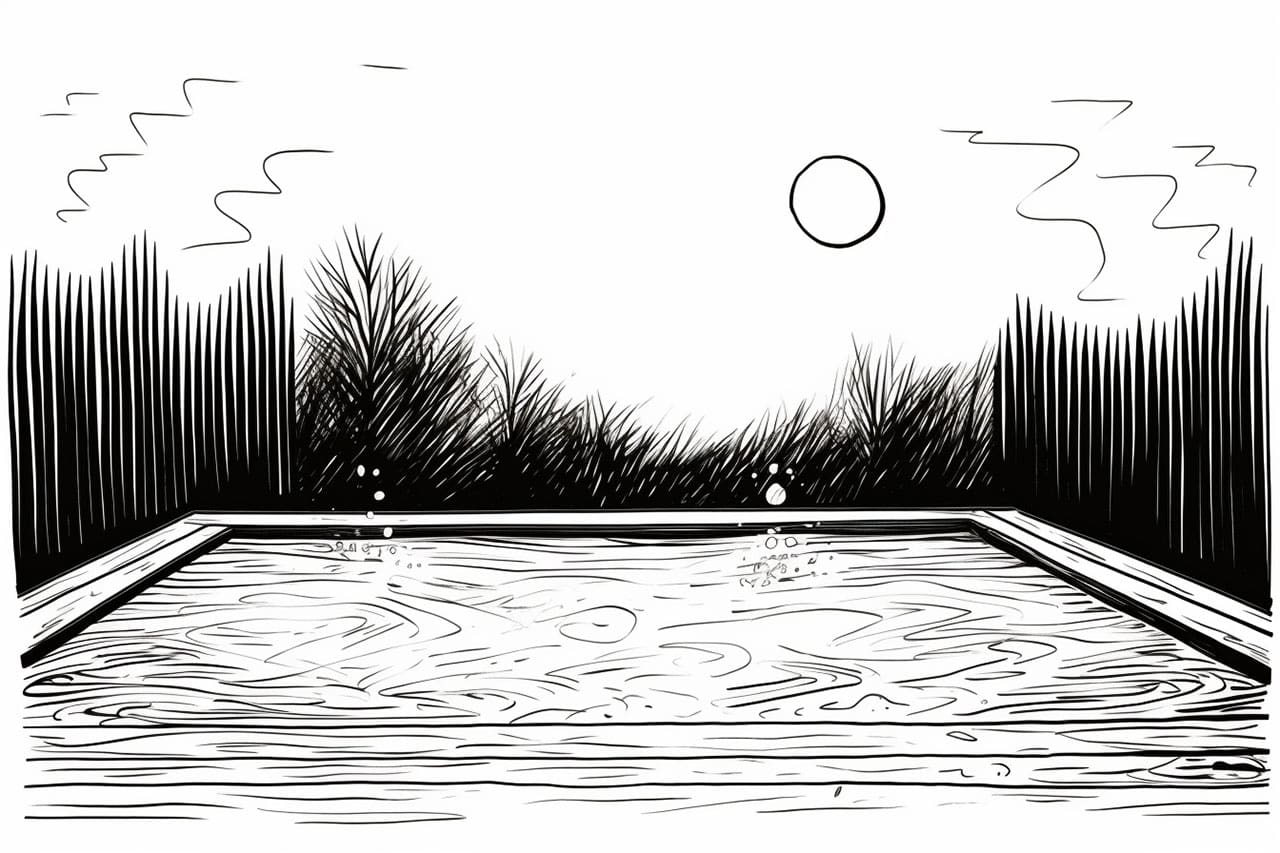
To make the pool look like it’s filled with water, draw curved lines within the pool to represent the ripples or waves. These lines should follow the shape of the pool and converge towards the center. You can also add reflections of the surrounding objects or scenery on the surface of the water to add more depth and realism to your drawing.
Conclusion
Congratulations! You have successfully learned how to draw a pool. By following these step-by-step instructions, you have created a realistic and visually appealing pool drawing. Remember to practice regularly to improve your drawing skills and experiment with different techniques and styles. Whether you’re drawing for fun or pursuing a career in art, the ability to draw a pool is a valuable skill to have.
So grab your pencils and start creating your own masterpiece. Happy drawing!