How to Draw Ripples in the Water in 10 Easy Steps
Learn how to draw with this step-by-step tutorial.
Materials You'll Need
- Drawing paper
- Pencil (HB or 2B)
- Eraser
- Ruler
- Blending stump
- Watercolor paints
Water is one of the most dynamic and mesmerizing elements in nature, and mastering its movement in your artwork can take your drawings to the next level. Whether you're depicting a serene pond, a gentle ripple from a falling raindrop, or the rhythmic waves of an ocean shore, understanding how to draw ripples in the water realistically will add depth, movement, and tranquility to your composition.
But how do you capture the subtle distortions and reflections that make water so captivating? How do you translate its fluidity and transparency onto paper? Don't worry—this step-by-step guide will break it down into simple, easy-to-follow techniques that will help you learn how to draw ripples in the water.
Materials Required
To get started, you will need the following materials:
-
Pencil or pen: Choose a pencil or pen with varying degrees of hardness for shading and outlining.
-
Drawing paper: Opt for a smooth, heavyweight paper that can withstand watercolor or ink if you plan to add colors or additional details to your drawing.
-
Eraser: Have a soft eraser handy to correct any mistakes or lighten areas of your drawing.
-
Ruler: Use a ruler to create straight lines and maintain symmetry in your ripples.
-
Blending tool:A blending stump or a cotton swab can be used for creating smooth transitions in your shading.
Now that you have your materials ready, let's begin the process of drawing ripples in the water.
How to Draw Ripples in the Water: Step-by-Step Instructions
Drawing ripples on the surface of water can add movement, mood, and realism to your artwork. Whether you're illustrating a quiet pond, a dropped pebble, or the gentle rhythm of a lake at sunrise, capturing ripples accurately can elevate your entire scene. Follow these carefully crafted steps to draw natural-looking water ripples with confidence.
Step 1: Sketch the Water's Surface
Begin by lightly sketching the general outline of the water area in your scene. Use smooth, horizontal strokes to establish the water's surface. Think about whether you're illustrating a still pool, flowing stream, or open lake, as each has slightly different ripple characteristics.
Use soft graphite (e.g., HB or 2B) and keep your lines light and erasable at this stage.
Step 2: Establish the Light Source
Decide where the light is coming from—this determines where shadows and highlights will fall on each ripple. For example, if the light source is above and to the left, the lower right edges of the ripples will be darker, while the upper left edges will catch more light.
Keeping lighting consistent throughout your drawing helps create depth and realism.
Step 3: Draw the Initial Ripple
Start with one ripple at the center or near where a disturbance (like a pebble drop) might have occurred. Draw a slightly irregular oval or curved line. Ripples are not perfect circles—natural imperfections give a more lifelike appearance.
Step 4: Add Concentric Ripples
Build outward by drawing more ripple lines that follow the same shape and rhythm as the initial ripple. Each ripple should be a bit larger and spaced farther apart than the last, as ripples spread and flatten as they move away from the center.
Use varied pressure to make closer ripples darker and crisper, and outer ones lighter and fainter.
Step 5: Curve the Lines
Give each ripple a subtle curve that mirrors the shape of the surface and helps show the water's dimensionality. Think of these ripples as gentle hills and valleys spreading across the water.
Step 6: Refine and Structure
Now refine the overall structure by adjusting the ripple spacing and thickness. If needed, lightly use a ruler to help keep spacing consistent in symmetrical ripple patterns—but don't overdo it. Natural movement is more important than perfect geometry.
Step 7: Add Shading
Begin shading the areas where ripples dip or face away from the light. Use hatching or cross-hatching to gradually build up darker tones. This adds a three-dimensional illusion to the ripples and makes them feel like part of the water's surface.
Step 8: Highlight the Ridges
Now use a kneaded eraser or a white pencil to gently lift or add highlights along the edges of the ripples that face the light source. These bright ridges mimic how light reflects on the surface of moving water.
Highlights should be subtle—not all ripples reflect light the same way. Add variation for realism.
Step 9: Blend and Soften
Use a blending stump or a cotton swab to smooth the shading and soften the transitions between shadowed and highlighted areas. Blend in the direction the ripples move, which will help maintain their shape and flow.
Step 10: Add Surrounding Elements (Optional)
For more realism, sketch in contextual details like the edge of a pond, lily pads, pebbles, or a reflection from a nearby tree or structure. These extras can ground the water in a specific setting and make your artwork more immersive.
Reflective Finishing Touches
Take one final look and gently adjust anything that looks too stiff or symmetrical. Ripples are about movement, not perfection. Add a few tiny sparkles of reflected light or deepen some shadows to add visual interest.
Conclusion: Capturing the Poetry of Water
Drawing ripples is more than a technical skill—it's an art in capturing mood and motion. With patience and practice, your water scenes will begin to feel alive, gently echoing nature's quiet rhythms. Whether you're illustrating a serene lake or the splash from a single raindrop, mastering ripple drawing will serve you well across all kinds of creative projects.
Keep practicing with ripples of different shapes, sizes, and light conditions to build your confidence and style.
Tip: To effectively capture the delicate nature of ripples in water, utilize a combination of light strokes and varying pressure with your pencil or pen. Start by sketching gentle, wavy lines that mimic the ripple effect, using lighter pressure for the initial outlines to allow for adjustments. As you refine your drawing, gradually increase the pressure to emphasize the darker areas where the ripples create shadows. Incorporate techniques like cross-hatching or stippling to add texture and depth, suggesting the water's surface variation. Remember to observe real water for inspiration; noticing how light interacts with the ripples will enhance your ability to depict them more realistically.
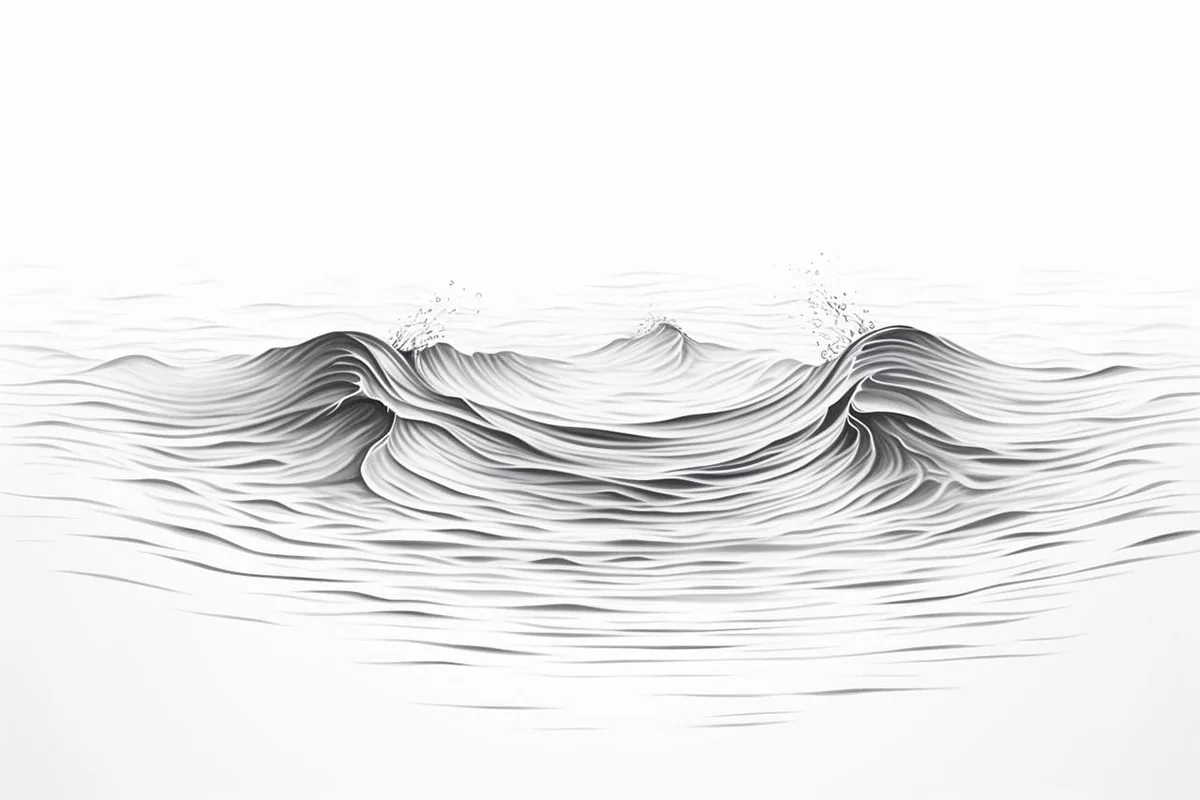
Gallery of Ripples in Water Drawings
A gallery of further inspiration when learning how to draw water ripples.


