Welcome to this step-by-step guide on how to draw a store. Whether you’re an aspiring artist or simply looking to improve your drawing skills, this tutorial will take you through the process of creating a detailed and realistic store drawing. With clear and concise instructions, you’ll be able to create an intricate representation of a store in no time. So get your drawing tools ready and let’s get started!
Materials Required
Before we begin, let’s gather all the materials you’ll need for this drawing:
- Paper: Start with a clean and smooth sheet of paper. It can be any size, but a larger sheet might be easier for adding details.
- Pencils: Get a set of pencils with different degrees of hardness (e.g., HB, 2B, 4B, etc.). These will help you achieve varying shades and textures in your drawing.
- Eraser: Make sure you have a good quality eraser handy for correcting mistakes and adding highlights.
- Sharpener: Keep a sharpener nearby to ensure your pencils are always ready for use.
- Ruler: A ruler will be useful for creating straight lines and maintaining proportion.
- Reference Image: Find a reference image of a store that you like. This can be from a photograph or from your imagination. Having a visual reference will help you understand the structure and details of a store better.
Now that we have all the necessary materials at hand, let’s move on to the step-by-step instructions for drawing a store.
Step 1: Sketch the Outline
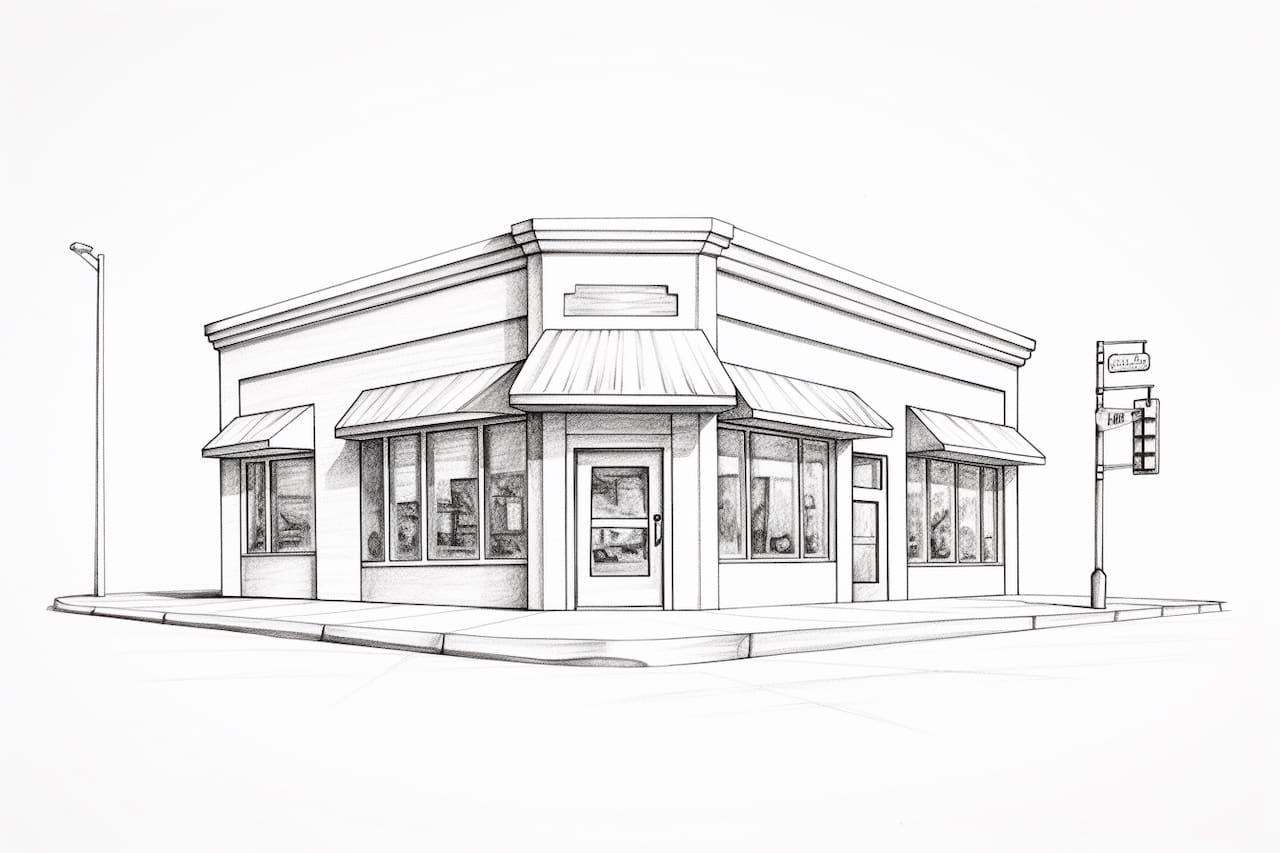
Start by lightly sketching the basic outline of the store. Use your reference image as a guide and draw the main shapes and proportions. Begin with simple shapes like rectangles and squares to represent the walls, roof, and windows of the store. Don’t worry about adding too many details at this stage, as this is just the foundation of your drawing.
Step 2: Add Details to the Structure
Now, start adding more details to the structure of the store. Use your ruler to draw straight lines for windows, doors, and any other architectural elements. Pay close attention to the perspective and ensure that the lines converge correctly to create a realistic representation of the building. Add any additional features such as signage, pillars, or awnings that may be present in your reference image.
Step 3: Develop the Facade
In this step, focus on the facade of the store. Add texture and depth to the walls by lightly shading areas that are in shadow. Use a softer pencil, like a 2B or 4B, to achieve a darker tone. This will create the illusion of depth and make the store look more three-dimensional. Pay attention to any patterns or designs on the walls and include them in your drawing. If there are any signs or logos, draw them accurately to make the store recognizable.
Step 4: Draw the Windows and Doors
Next, add details to the windows and doors of the store. Use your reference image to observe the shapes and proportions of these elements. Draw the frames, handles, and any other decorative features. If the windows have curtains or blinds, add them as well. For glass windows, create a reflection effect by shading a small area on each windowpane. This will add realism to your drawing.
Step 5: Add Surroundings and Background
To make the store drawing more complete, it’s important to include the surroundings and background elements. Draw the sidewalk or pavement in front of the store and add any street signs or lamp posts that may be present. If there are other buildings nearby, sketch them in the background to give a sense of place. Pay attention to the perspective and make sure everything is in proportion with the main store building.
Step 6: Refine and Add Details
Now that the basic structure and surroundings are complete, it’s time to refine your drawing and add finer details. Use a sharp pencil to add texture and depth to the walls, doors, and windows. Add shading to create realistic shadows and highlights. Pay close attention to the small details that make the store unique, such as signage, awnings, or even people walking by. Take your time with this step and strive for accuracy and precision.
Conclusion
Congratulations! You have successfully learned how to draw a store. By following these step-by-step instructions, you were able to create a detailed and realistic representation of a store. Remember to take your time, observe the details in your reference image, and practice regularly to improve your drawing skills. With each new drawing, you’ll gain more confidence and refine your technique. So keep drawing and enjoy the process!