Welcome to this step-by-step guide on how to draw a school building! Whether you’re an aspiring artist or just a creative person looking for a fun project, learning how to draw a school building can be a rewarding and enjoyable activity. In this tutorial, we will break down the process into simple steps, allowing you to create a detailed and realistic representation of a school building. So let’s grab our materials and get started!
Materials Required
Before we begin, let’s gather the materials we’ll need:
- Drawing paper or sketchbook
- Pencil (preferably 2B or HB)
- Eraser
- Ruler
- Compass (optional, for drawing circles)
- Fineliner or pen (optional, for outlining)
Once you’ve gathered all the materials, find a comfortable and well-lit workspace to start working on your drawing.
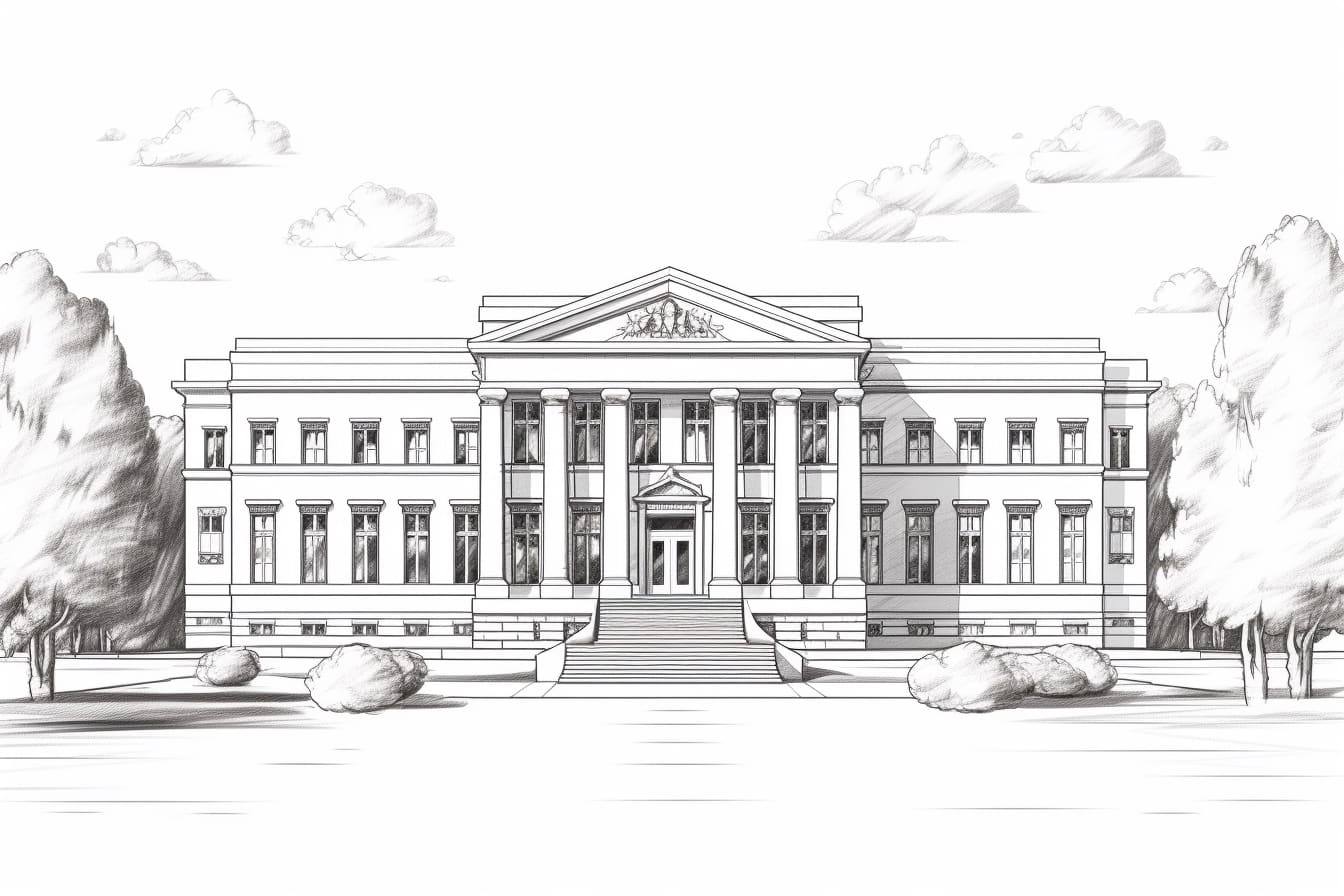
Step 1: Basic Outline
Begin by lightly sketching the basic outline of the school building. Use your ruler to draw straight lines for the walls, and a combination of straight and curved lines for the roof. Pay attention to the proportions and angles of the building. Take your time with this step, as a solid foundation will make the rest of the drawing easier.
Step 2: Doors and Windows
Next, add the doors and windows to your school building. Start by drawing rectangles for the doors, making sure they are proportionate to the building’s size. For the windows, draw smaller rectangles or squares. You can also add some additional details like windowpanes, doorknobs, or handles to make your drawing more realistic.
Step 3: Roof and Chimneys
Now, let’s focus on the roof and chimneys of the school building. Use your ruler to draw the lines for the roof, making sure they connect smoothly with the walls. Pay attention to any angles or slopes present in the roof design. For the chimneys, you can draw rectangular shapes with some brick-like texture. Feel free to get creative with the number and placement of chimneys.
Step 4: Details and Decorations
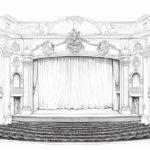
To make your school building more visually appealing, let’s add some details and decorations. You can draw some decorative elements like pillars, columns, or arches in the entrance area. Add some texture to the walls by drawing horizontal or vertical lines. You can also include some trees, bushes, or a flagpole in the surroundings to enhance the overall composition.
Step 5: Shading and Texturing
Now it’s time to bring your school building to life with shading and texturing. Start by identifying the light source in your drawing, which will determine the direction of shadows. Use your pencil to create light shading on the walls and roof, gradually building up the darker tones. Pay attention to the areas where shadows would naturally fall, such as under the roof or behind the chimneys. You can also add some texture to the walls by using cross-hatching or stippling techniques.
Step 6: Outlining (Optional)
If you prefer a more defined look, you can outline your drawing using a fineliner or pen. Carefully go over the main lines of your drawing, making them darker and more prominent. This step is optional, so feel free to skip it if you prefer a softer and more subtle finish.
Conclusion
Congratulations! You have successfully learned how to draw a school building. By following these step-by-step instructions, you have created a detailed and realistic representation of a school building. Remember, practice makes perfect, so feel free to experiment with different styles and techniques to further enhance your drawings. Whether you want to capture the architecture, capture the memories, or simply express your creativity, drawing a school building is a wonderful way to showcase your artistic skills.