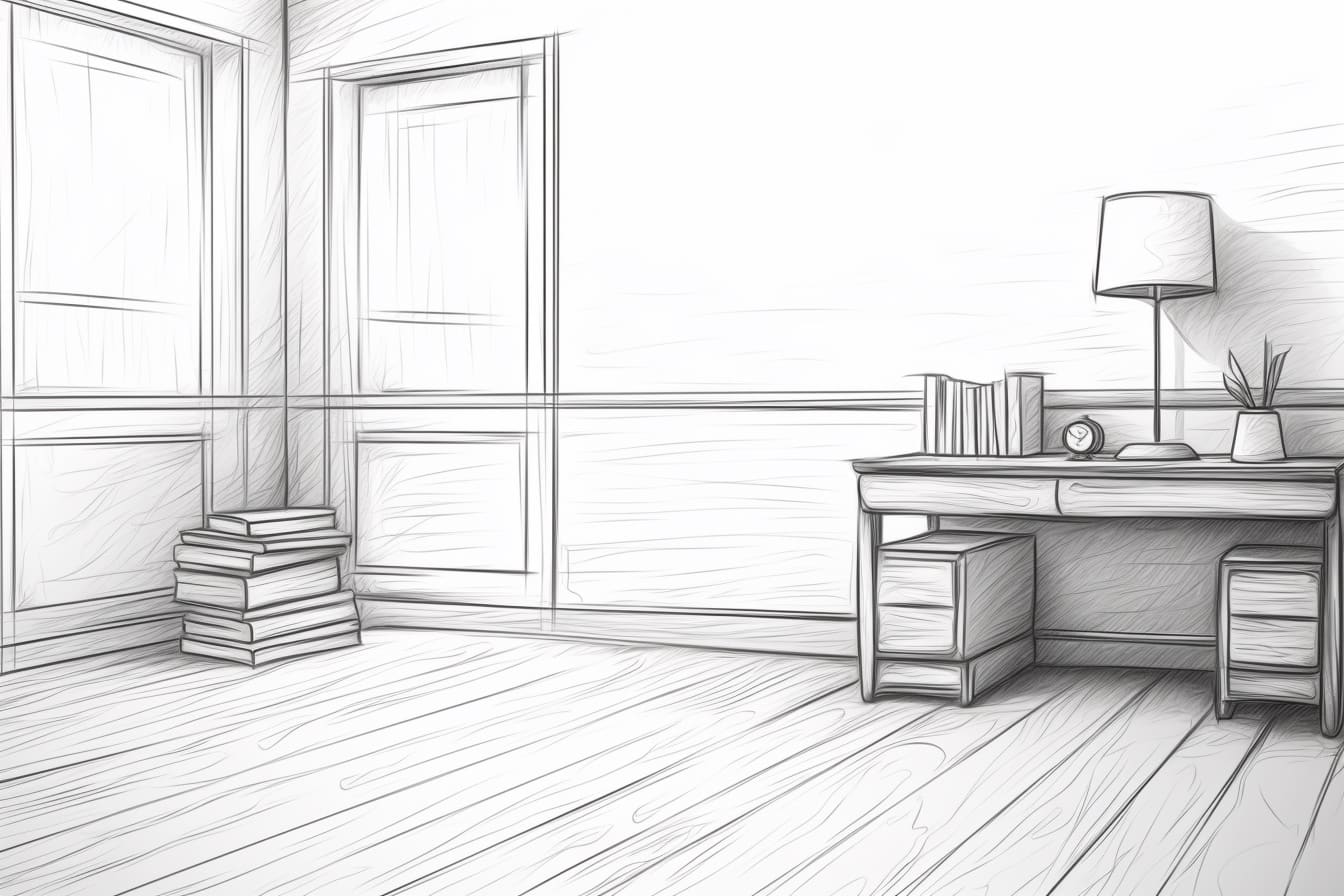
Welcome to this step-by-step guide on how to draw a corner of a room. Whether you are a beginner or an experienced artist, drawing a corner of a room can be a fun and challenging exercise. By following these simple steps, you will be able to create a realistic and three-dimensional representation of a corner in no time. So let’s get started!
Materials Required
Before we begin, let’s gather the materials you will need:
- Drawing paper or sketchbook
- Pencil
- Eraser
- Ruler
- Optional: Colored pencils or markers for adding color to your drawing
Now that you have your materials ready, let’s begin the drawing process.
Step 1: Start with Basic Guidelines
Begin by lightly sketching two lines on your paper, intersecting at a right angle. These lines will serve as the basic guidelines for your corner. Use your ruler to ensure that the lines are straight and accurate. Remember to keep your lines light as they will be erased later.
Step 2: Establish the Height of the Room
Decide on the height of your room and draw a vertical line from the bottom intersection of the guidelines. This line will determine the height of the walls in your drawing. Make sure the line is straight and proportional.
Step 3: Create the Back Wall
Now, let’s start creating the back wall of your room. From the top of the vertical line, draw a horizontal line towards the left or right, depending on the direction you want your corner to face. This line will represent the back wall.
Step 4: Add Depth to the Corner
To add depth to your corner, draw two diagonal lines connecting the corners of the back wall to the guidelines. These lines will form the sides of the corner. Make sure the lines are parallel and meet at a point near the bottom intersection of the guidelines.
Step 5: Define the Floor
Next, draw a horizontal line connecting the bottom corners of the back wall and the side lines. This line will define the floor of your room. You can make the line as long as you want, depending on how much of the floor you want to show in your drawing.
Step 6: Sketch the Side Wall
To create the side wall, draw a vertical line from the bottom corner of the back wall to the floor line. This line will represent the side wall of the room. Ensure that the line is straight and proportional to the other walls.
Step 7: Add Detail to the Walls
Now that you have the basic structure of the room, it’s time to add some details to the walls. Using your ruler, draw vertical lines on the back and side walls to represent the divisions between wall panels or bricks. These lines will give your drawing a more realistic look.
Step 8: Draw the Baseboard and Crown Molding
To add more depth and realism, draw a horizontal line at the bottom of the side wall to represent the baseboard. Then, draw another horizontal line near the top of the back wall to represent the crown molding. These details will enhance the overall appearance of your corner.
Step 9: Erase Guidelines
With the main structure and details in place, it’s time to erase the guidelines you drew in the earlier steps. Use your eraser to carefully remove the pencil lines, leaving only the final drawing.
Step 10: Add Shadows and Shading
To make your corner of the room appear three-dimensional, add shadows and shading. Determine the direction of the light source in your drawing and darken the areas that would be in shadow. Use your pencil or colored pencils to add shading and depth to the walls, floor, and furniture.
Step 11: Optional – Add Color
If you want to add color to your drawing, now is the time to do it. Use your colored pencils or markers to bring your corner of the room to life. Experiment with different color schemes and textures to create the desired effect.
Conclusion
Congratulations! You have successfully learned how to draw a corner of a room. By following these step-by-step instructions and using your creativity, you can create realistic and detailed drawings of various corners in different perspectives. Remember to practice regularly and have fun with your art. Happy drawing!