Have you ever wondered how to capture the realistic beauty of water drops in your drawings? Mastering this technique can add depth, detail, and a touch of magic to your artwork. In this step-by-step guide, I will provide you with clear and concise instructions on how to draw water drops, even if you’re a beginner. So grab your materials, unleash your creativity, and let’s get started!
Materials Required
Before we dive into the drawing process, make sure you have the following materials on hand:
- Drawing paper or sketchbook
- Pencils (preferably a range of hardness, from 2H to 6B)
- Eraser (kneaded erasers work best)
- Blending stumps or cotton swabs
- Pencil sharpener
- Ruler (for measuring and creating straight lines)
- Reference image of water drops (optional but recommended for practice)
Now that you have your materials ready, let’s begin the exciting journey of drawing water drops!
Step 1: Observe and Understand
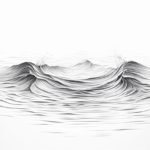
Before putting pencil to paper, take a moment to observe and study the unique characteristics of water drops. Notice their shape, transparency, and the way light interacts with them. Understanding these attributes will help you draw them more accurately.
Step 2: Outline the Shape
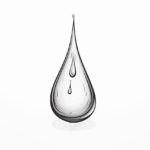
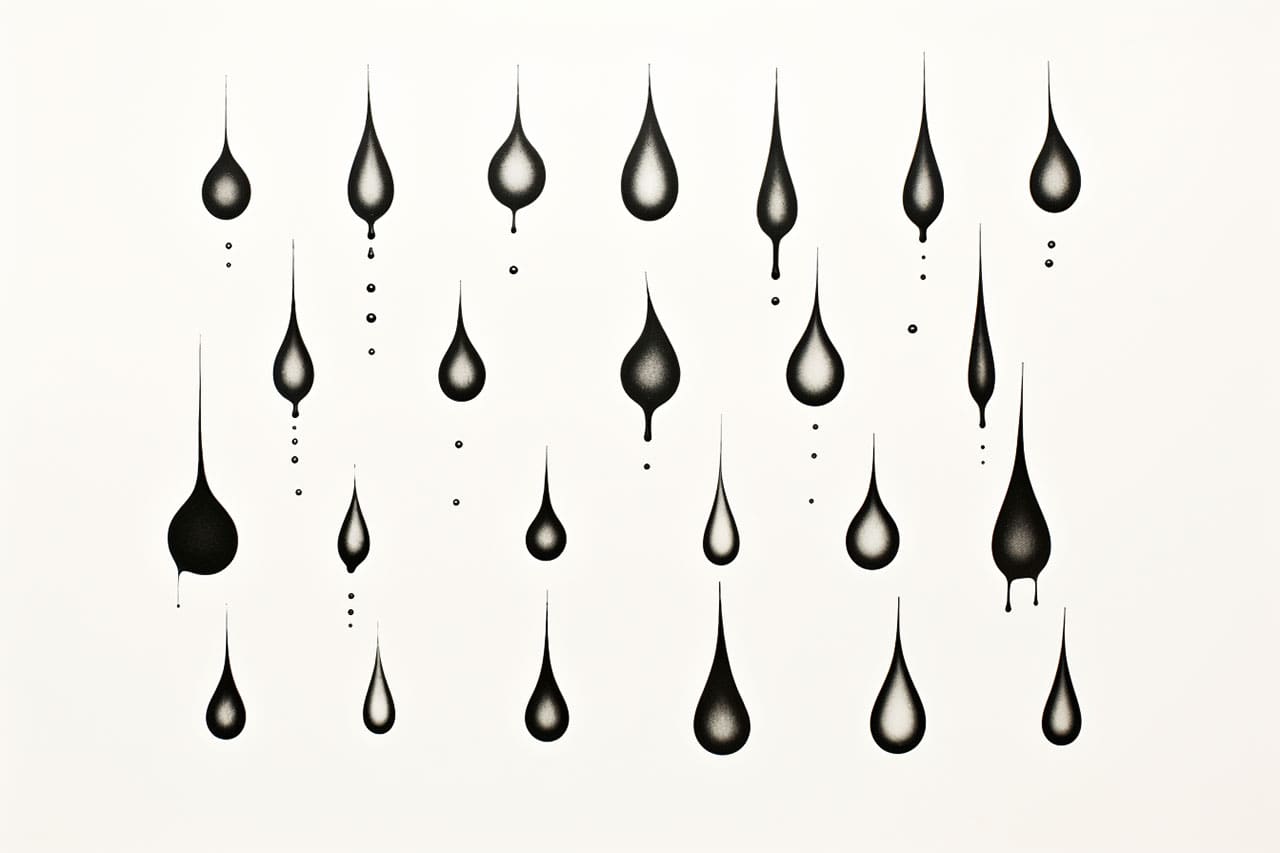
Start by lightly sketching the outline of the water drop. Remember, water drops come in various forms and sizes, so feel free to experiment and create different shapes. Keep your pencil strokes loose and gentle, as you will refine the shape later.
Step 3: Add Highlights and Shadows
To create a realistic effect, add highlights and shadows to your water drop. Observe the light source in your reference image (or imagine it if you’re drawing from imagination). Add a lighter tone where the light hits the drop and create darker areas in places where shadows are cast. This contrast will create a three-dimensional appearance.
Step 4: Refine the Shape
Using a sharper pencil, refine the outline of your water drop. Pay attention to the curves and edges, ensuring a smooth and natural flow. As you refine, remember that water drops have a slightly tapered bottom and a rounder top.
Step 5: Create Transparency
Water drops have a transparent nature, which gives them their captivating quality. To achieve this effect, lightly shade the inner part of the drop while leaving the edges and highlights untouched. Gradually build up the tone, using a range of pencils to create depth.
Step 6: Enhance the Reflections
The reflection in a water drop is another fascinating element. Determine what objects or scenery is reflected, and carefully sketch these details within the drop. Add highlights to emphasize the reflection, creating a captivating illusion of a miniature world within the drop.
Step 7: Texture and Detail
To add texture and detail to your water drop, use a kneaded eraser to gently lift off some graphite in areas where highlights are needed. This technique helps create a sparkling effect, making the drop seem more realistic. Experiment with different erasing techniques until you’re satisfied with the result.
Step 8: Soften Edges
Water drops have soft edges due to their liquid nature. Use a blending stump or a cotton swab to carefully blend the pencil strokes and soften the edges of your drawing. This will give your water drop a more organic and natural appearance.
Step 9: Final Touches
Take a step back and assess your drawing. Make any necessary adjustments, add extra details, or refine highlights and shadows to enhance the realism of your water drop. Remember, practice makes perfect, so don’t be discouraged if your first attempt doesn’t turn out exactly as you imagined.
Conclusion
Drawing water drops can be a challenging yet rewarding endeavor. By following these step-by-step instructions, you’ve gained valuable insights into capturing the beauty of water drops in your artwork. With practice and patience, you’ll soon be able to create stunning, lifelike water drops that will truly mesmerize your audience. So keep honing your skills, and remember that the journey of art is as important as the destination.