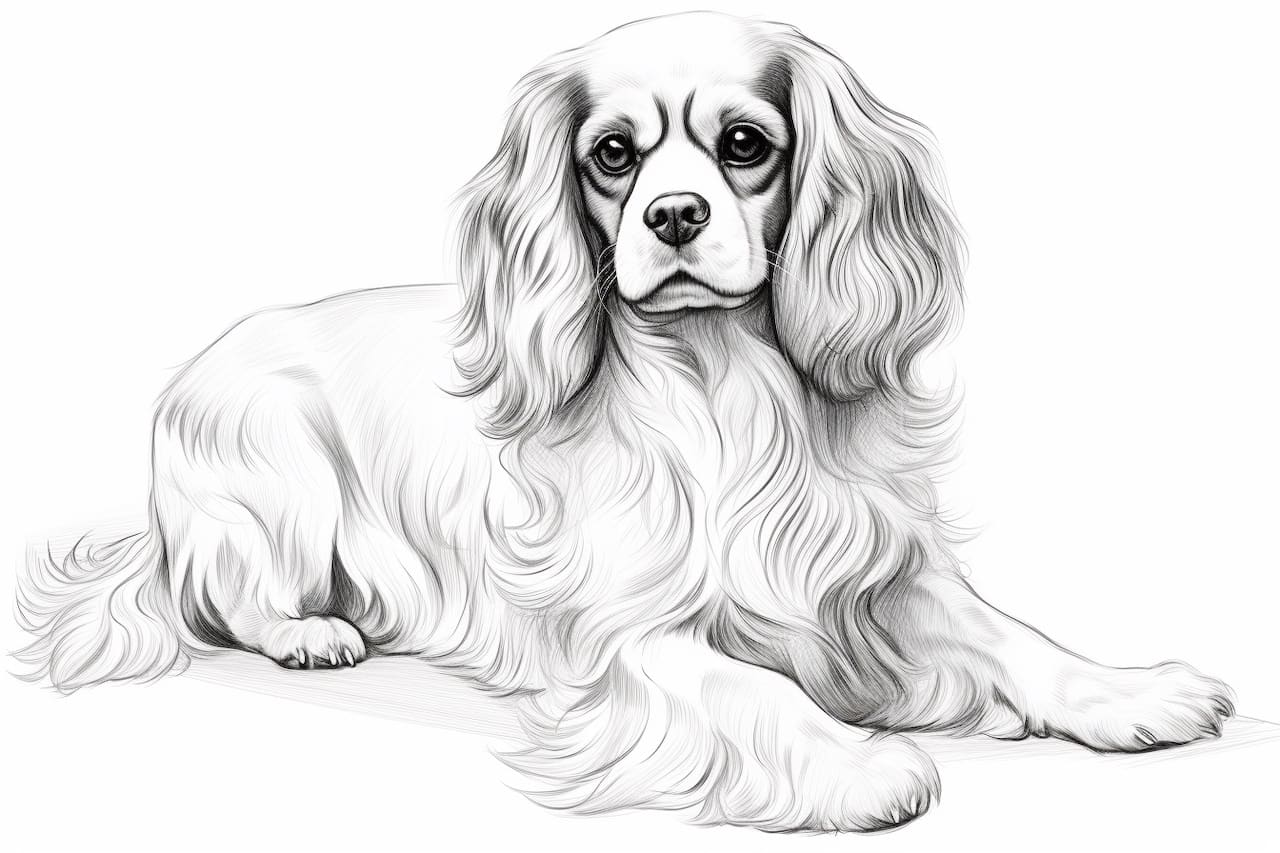
If you’re a dog lover and enjoy expressing your creativity through art, learning how to draw your favorite dog breeds can be both fun and rewarding. In this step-by-step guide, I will walk you through the process of drawing a King Charles Spaniel, a charming and elegant breed of dog known for its distinctive floppy ears and expressive eyes. So grab your pencils and let’s get started!
Materials Required
Before we dive into the drawing process, let’s make sure you have all the necessary materials:
- Sketchbook or drawing paper
- Pencils (HB, 2B, and 4B)
- Eraser (preferably a kneaded eraser)
- Sharpener
- Reference photo of a King Charles Spaniel (you can find one online or use a photo you’ve taken yourself)
Now that you’ve gathered all the materials, let’s begin the process of capturing the beauty of a King Charles Spaniel on paper.
Step 1: Basic Shapes
Begin by lightly sketching the basic shapes that define the head and body of a King Charles Spaniel. Start with a small circle for the head, followed by an oval shape for the body. Position the head slightly tilted to the side, as it adds a lively and endearing touch to the drawing.
Step 2: Outlining the Head
Using the circle as a guide, outline the shape of the head, keeping in mind the distinct muzzle and the gentle curve of the forehead. Pay close attention to the placement of the ears, which are one of the defining features of a King Charles Spaniel. They are positioned lower on the head and hang down, framing the face beautifully.
Step 3: Adding Facial Features
Now it’s time to add the facial features that give the King Charles Spaniel its expressive look. Start with the eyes, which are large and round. Reflect their shape and position by carefully observing your reference photo. Next, add the nose, which is small and slightly pointed. Finally, draw the mouth and include a hint of a smile to capture the breed’s friendly and cheerful nature.
Step 4: Sketching the Ears
Pay special attention to the ears, as they are a prominent feature of a King Charles Spaniel. Observe their shape and position, and sketch them accordingly. They should have a long and slightly rounded appearance, hanging down on either side of the head.
Step 5: Defining the Body
Refine the shape of the body by adding curves to indicate the chest and belly. A King Charles Spaniel has a compact and sturdy build, so make sure to capture that essence in your drawing. Take your time to get the proportions right, as it will greatly impact the overall look of your artwork.
Step 6: Adding Fur Details
With the basic outline in place, it’s time to add some texture and depth to your drawing by incorporating fur details. Use short, gentle strokes to create a soft and fluffy appearance. Pay attention to the direction of the fur and vary your strokes to capture its natural flow. Take your time with this step, as it can really bring your drawing to life.
Step 7: Shading and Dimension
To give your King Charles Spaniel a three-dimensional look, it’s important to add shading. Observe the light source in your reference photo and use a range of pencils (HB, 2B, and 4B) to create different shades. Apply darker tones on areas that are in shadow, such as under the chin and around the eyes. Use lighter tones on areas that catch the light, such as the top of the head and the snout. Gradually build up the shading until you achieve the desired effect.
Step 8: Refining and Detailing
Once you’re satisfied with the overall shading, take some time to refine and add more details to your drawing. Pay attention to the small features, such as the texture of the nose and the shape of the eyes. Use an eraser to make highlights and add a subtle sparkle to the eyes, giving them a realistic and lively appearance.
Step 9: Final Touches
Before you consider your drawing complete, take a step back and evaluate it as a whole. Look for any areas that may need further adjustment or refinement. Make any necessary tweaks to ensure the proportions are accurate and the overall composition is pleasing to the eye.
Conclusion
Congratulations! You have successfully learned how to draw a King Charles Spaniel. By following these step-by-step instructions, you have captured the grace and charm of this beautiful breed on paper. Remember, practice makes perfect, so don’t hesitate to continue exploring your artistic abilities and trying different dog breeds. Happy drawing!