Welcome to this step-by-step guide on how to draw a walrus. In this article, I will guide you through the process of creating a realistic and detailed drawing of this fascinating marine mammal. By following these simple instructions, you’ll be able to capture the unique features and character of a walrus in your artwork. So, grab your drawing materials and let’s get started!
Materials Required
Before we begin, let’s make sure you have all the necessary materials to draw a walrus:
- Sketching paper
- Pencils of various hardness (HB, 2B, 4B, and 6B)
- Eraser
- Blending stump or tissue
- Fine liners or pens (optional for outlining)
Now that we have everything we need, let’s dive into the step-by-step process of drawing a walrus.
Step 1: Basic Shape
To start, lightly sketch a large oval shape for the walrus’s body. This will serve as the foundation for the drawing. Then, add a smaller circle at the bottom of the oval for the head. Remember to keep your lines light and easy to erase if needed.
Step 2: Facial Features
In this step, we’ll focus on the walrus’s face. Add two small circles on the head for the eyes, leaving some space in between. Then, sketch a triangular shape below the eyes for the nose/muzzle. Next, draw two curved lines connecting the muzzle to the oval body, representing the tusks. Walrus tusks can be quite long, so feel free to extend them beyond the body.
Step 3: Body Details
Now, let’s add more details to the body. Draw two curved lines on each side of the oval to create the flippers. Walrus flippers are short and stubby, so keep that in mind while sketching. We’ll add more texture and definition to the flippers later.
Step 4: Adding Textures
In this step, we’ll focus on adding texture to the walrus’s body. Start by lightly sketching short, curved lines all over the body, following the contours. This will represent the walrus’s wrinkled skin. Pay attention to the direction of the wrinkles, as they will add depth and realism to your drawing.
Step 5: Finalizing the Face
Now that we have the basic structure, let’s refine the walrus’s face. Start by adding more details to the eyes, such as the iris and pupil. You can also darken the area around the eyes to create depth. Next, add small triangular shapes inside the ears, which are often visible in walrus drawings. Finally, carefully erase any unnecessary guidelines and lighten the pencil lines where needed.
Step 6: Shading and Depth
Now it’s time to bring your walrus drawing to life by adding shading and depth. Begin by determining the light source in your drawing. Typically, the light source is coming from the top-left or top-right corner of the paper. Shade the opposite side of the body and flippers, leaving the areas closer to the light source lighter.
Step 7: Blending and Smoothing
To achieve a more realistic look, use a blending stump or tissue to gently blend the shading on the walrus’s body. This will help soften the pencil lines and create a smoother transition between light and shadow. Be careful not to over-blend, as you still want to maintain some texture and wrinkles on the walrus’s skin.
Step 8: Final Touches
In this final step, refine the details of your walrus drawing. Add darker shadows and highlights where necessary to enhance the three-dimensional effect. You can use pens or fine liners to outline the major features of the walrus, such as the eyes, nose, and tusks, for a more defined and polished look. Take your time and make adjustments as needed until you’re satisfied with the overall result.
Conclusion
Congratulations! You have successfully completed a drawing of a walrus. By following these step-by-step instructions, you were able to capture the distinct features and characteristics of this majestic creature. Remember to practice regularly to improve your drawing skills and experiment with different poses and perspectives. Keep up the great work and continue exploring the wonderful world of art!
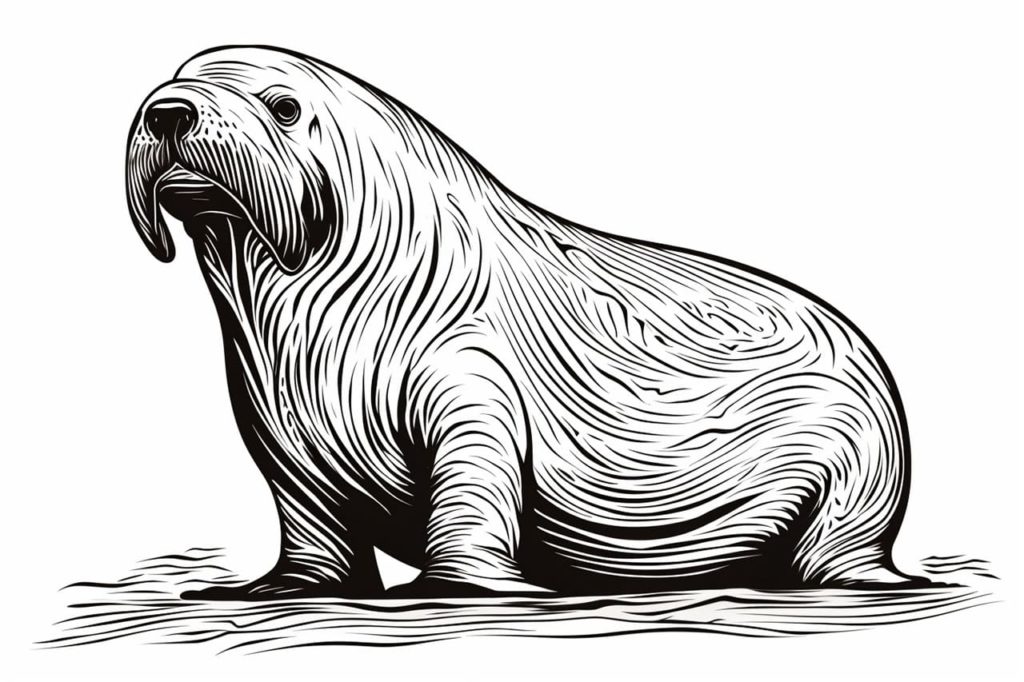
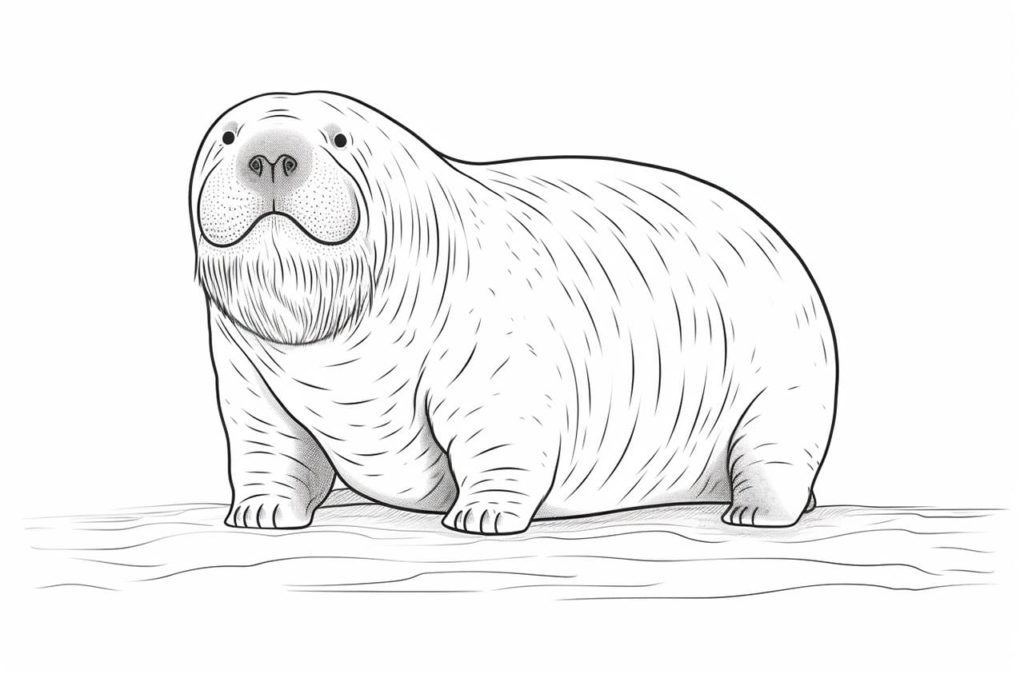
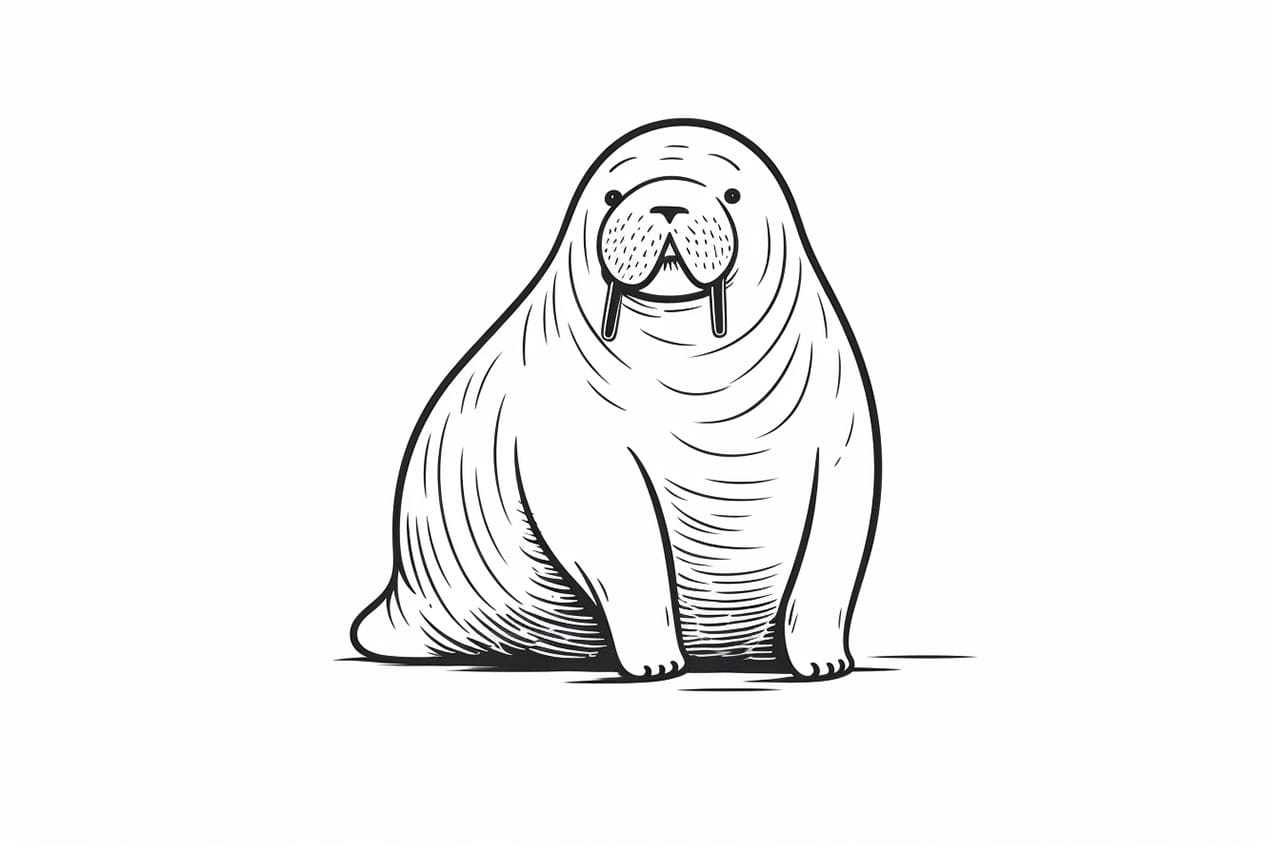
Gallery of Walrus Drawings