Drawing a realistic eye can be a challenging but rewarding experience. With some simple steps and practice, you can create a beautiful and lifelike eye drawing. In this tutorial, we’ll break down the process of how to draw a realistic eye into easy-to-follow steps. Let’s get started!
Materials Required
- A pencil
- An eraser
- Drawing paper
- Reference picture of an eye
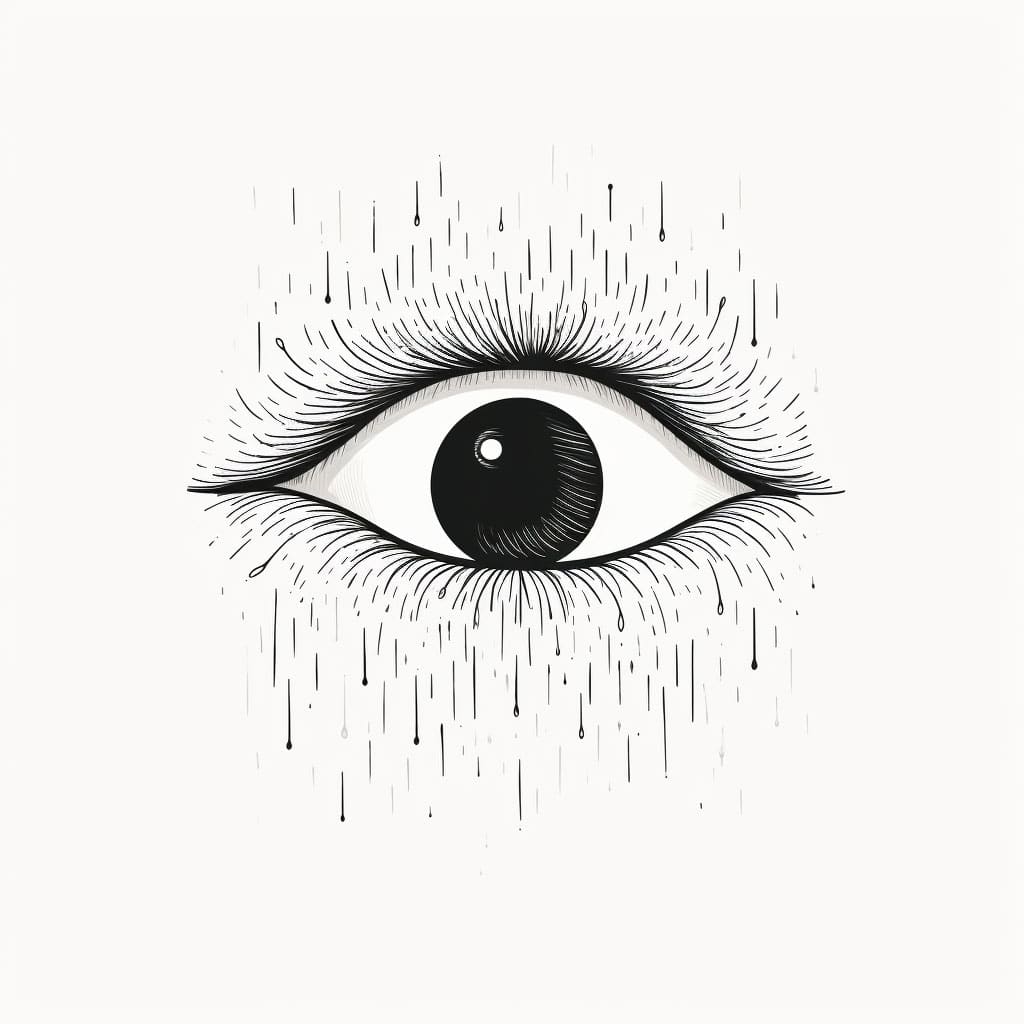
Step 1: Draw the Basic Shapes
Start by drawing the basic shapes of the eye. Draw a circle for the iris and a smaller circle inside it for the pupil. Sketch a curved line above the iris for the upper eyelid and another curved line below the iris for the lower eyelid.
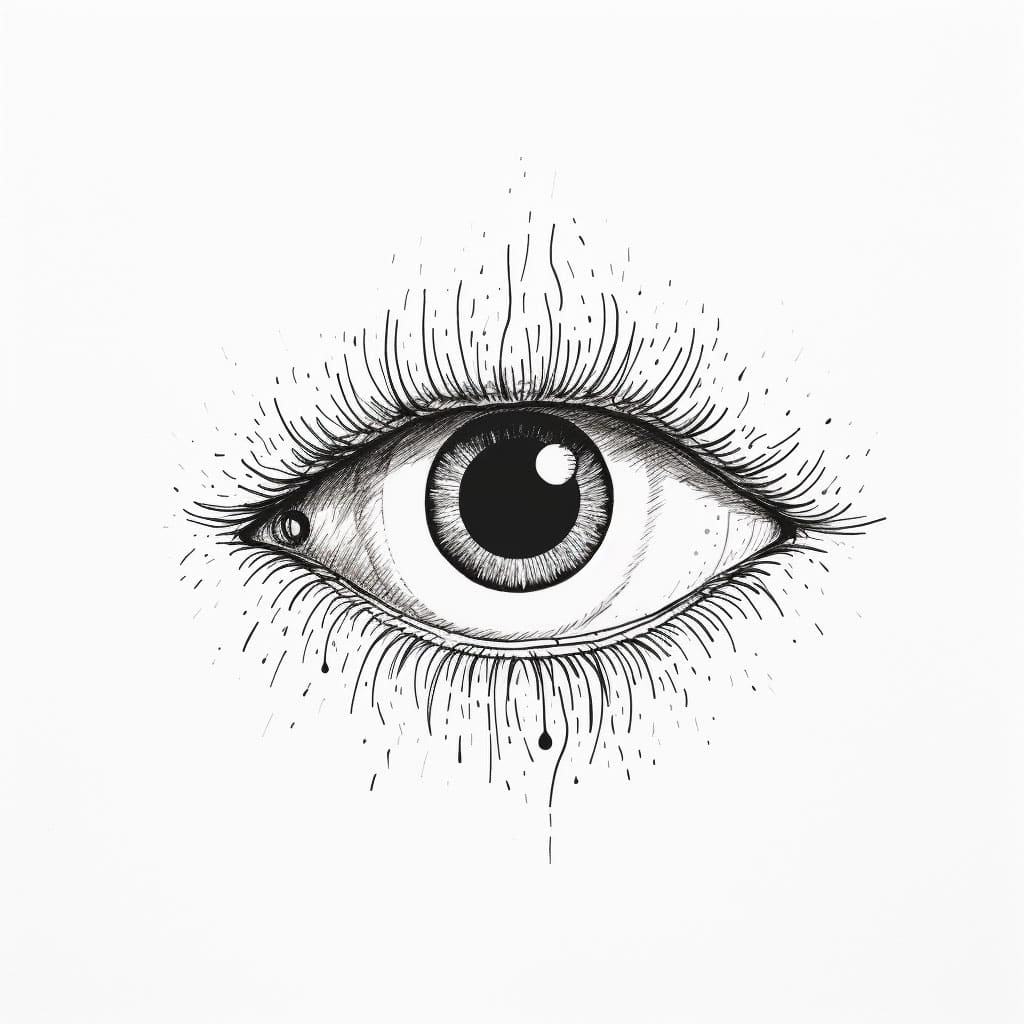
Step 2: Refine the Shapes
Next, refine the basic shapes by adding more details. Draw the lashes on the upper eyelid, making sure that they are thicker and longer towards the outer corner of the eye. Sketch the crease of the upper eyelid and the fold of the lower eyelid.
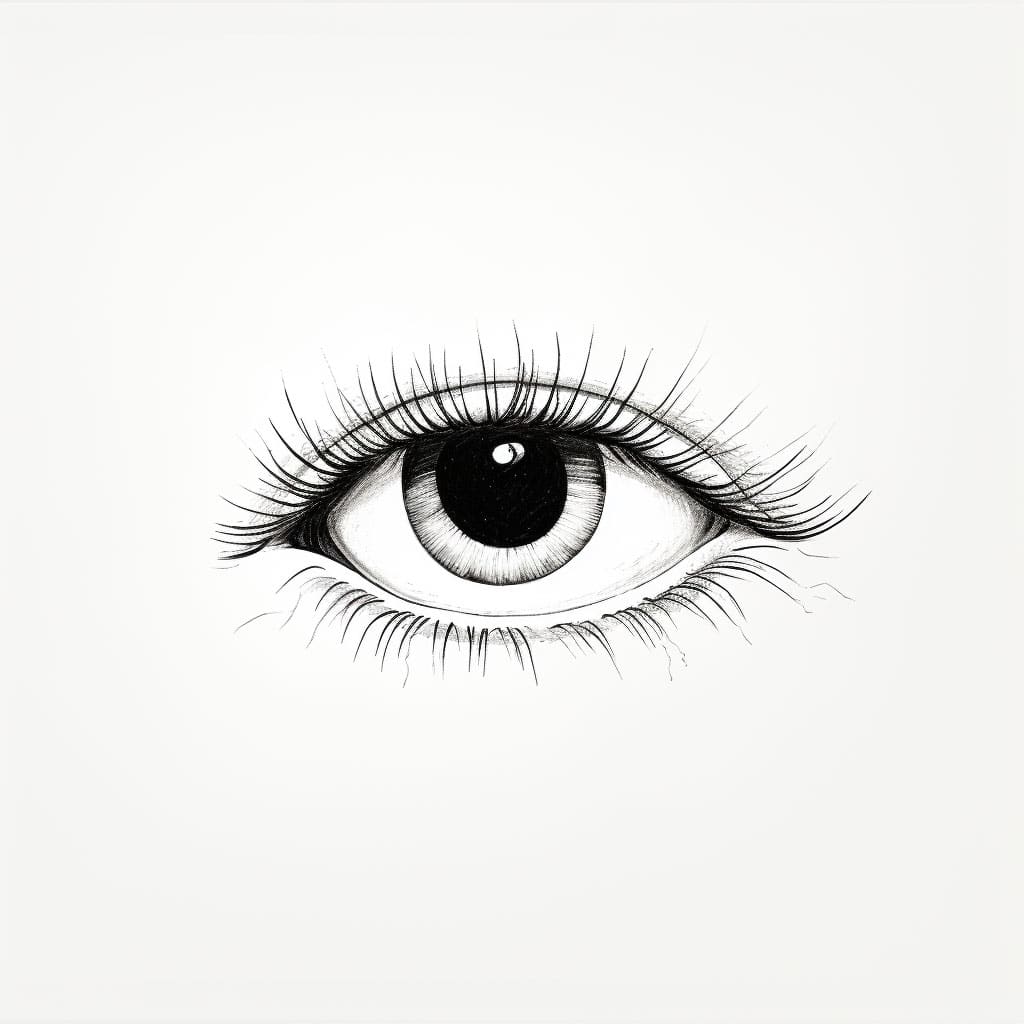
Step 3: Sketch the Details
Now it’s time to add the details to the eye drawing. Sketch the highlights in the iris and the reflection in the pupil. Add the small details of the eye, such as the tear duct, the small veins on the white of the eye, and the eyelashes on the lower eyelid.
Step 4: Add Shading and Texture
Finally, add shading and texture to your drawing to give it a realistic look. Shade in the areas where shadows would naturally fall, such as under the upper eyelid and around the iris. Add texture to the iris and the eyelashes by using short, curved lines to show the direction of the hair.
Step 5: Final Touches
Once you’ve completed the shading and texture, take a step back and look at your drawing as a whole. Make any necessary adjustments and add any final touches that you feel are necessary.
Congratulations! You have successfully drawn a realistic eye. With practice, you can refine your skills and draw even more complex and beautiful portraits.
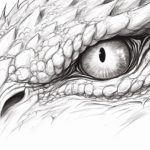
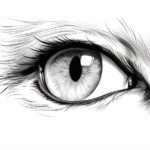
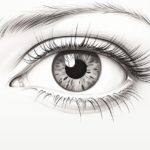
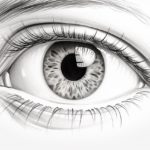
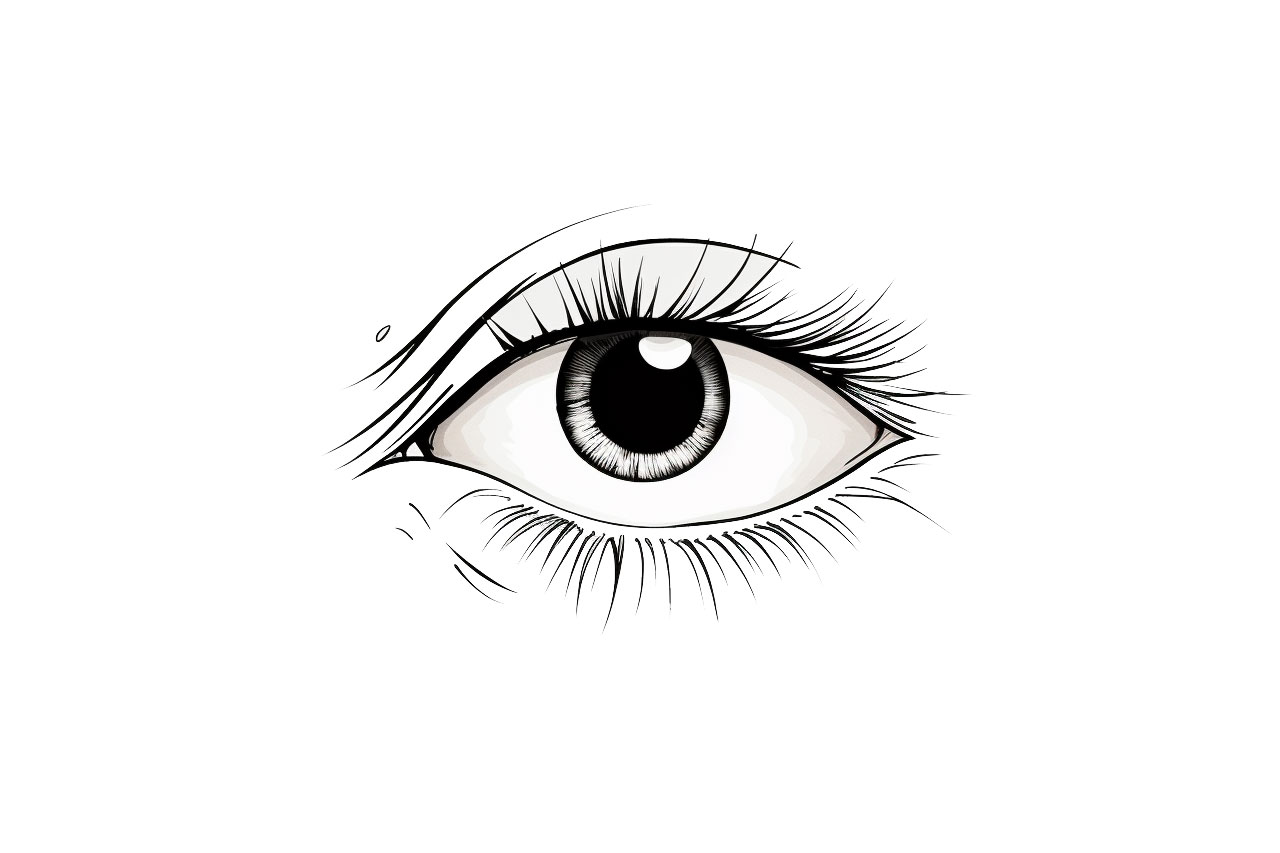
A Gallery of Realistic Eyes