Beluga whales are majestic creatures that inhabit the cold Arctic and sub-Arctic waters. Known for their distinctive white color and playful nature, these whales have captivated the imaginations of many. If you’ve ever been inspired to draw a beluga whale, this step-by-step guide will help you achieve a realistic representation of this magnificent mammal.
Materials Required
Before we dive into the drawing process, let’s gather all the necessary materials:
- A pencil (HB or 2H is recommended)
- Eraser
- Drawing paper or sketchbook
- Fine-tip black marker or pen
- Colored pencils or markers (optional)
- Reference photo of a beluga whale (printed or on a digital device)
Having these materials ready will ensure a smooth drawing experience.
Step 1: Observe and Analyze
Studying the beluga whale’s physical characteristics is crucial to accurately portray its unique features. Take a moment to closely observe a reference photo or video of a beluga whale. Pay attention to its body shape, head structure, and distinctive features such as the melon (forehead), flippers, and tail. Understanding these details will help you create a more realistic representation.
Step 2: Basic Shapes
Begin by lightly sketching the basic shapes that form the beluga whale’s body. Start with a large oval shape for the main body, followed by a smaller oval shape for the head. Connect these two shapes with a curve for the neck. Don’t worry about details at this stage, as we’ll refine the drawing in later steps.
Step 3: Head and Facial Features
Now, let’s focus on the head and facial features of the beluga whale. Using the initial oval shape as a guide, add more definition to the head by drawing a rounded snout and a curved line for the mouth. Add two small circles for the eyes on either side of the head. Don’t forget to include the melon, which is a bulge on the forehead of the beluga whale.
Step 4: Body and Tail
Next, it’s time to work on the body and tail of the beluga whale. Connect the head to the previously sketched oval shape, forming a smooth transition. Add a curved line to represent the back, and continue it downwards to create the tail. The tail should taper off to a point. Remember to keep the lines light and fluid, as we’ll refine them later.
Step 5: Fins and Flippers
Beluga whales have two dorsal fins—the larger one near the middle of their back and a smaller one near the tail. Sketch these fins in proportion to the body, ensuring they are relatively symmetrical. Additionally, add the flippers on either side of the body using curved lines. These flippers are rounded and paddle-like in shape.
Step 6: Refine the Outline
Now that you have the basic structure of the beluga whale in place, it’s time to refine the outline and add more details. With a darker pencil or a fine-tip black marker, carefully go over the main lines, making them more defined and prominent. Pay attention to the contours of the body, the curves of the fins, and the shape of the tail.
Step 7: Facial Details
Move back to the head of the beluga whale and add more detail to the facial features. Darken the eyes and add small reflections to make them appear more lifelike. Enhance the shape of the snout by adding details like small bumps or lines. Don’t forget to emphasize the melon on the forehead by using gentle shading or delicate lines.
Step 8: Texture and Shading
To create a sense of depth and texture, we’ll now add shading to the beluga whale. Determine the light source in your drawing, and imagine where the shadows would fall on the whale’s body. Use hatching or cross-hatching techniques to add shading, paying attention to the contours and curves of the whale’s form. This step is optional, but it can greatly enhance the realism of your drawing.
Step 9: Adding Details and Final Touches
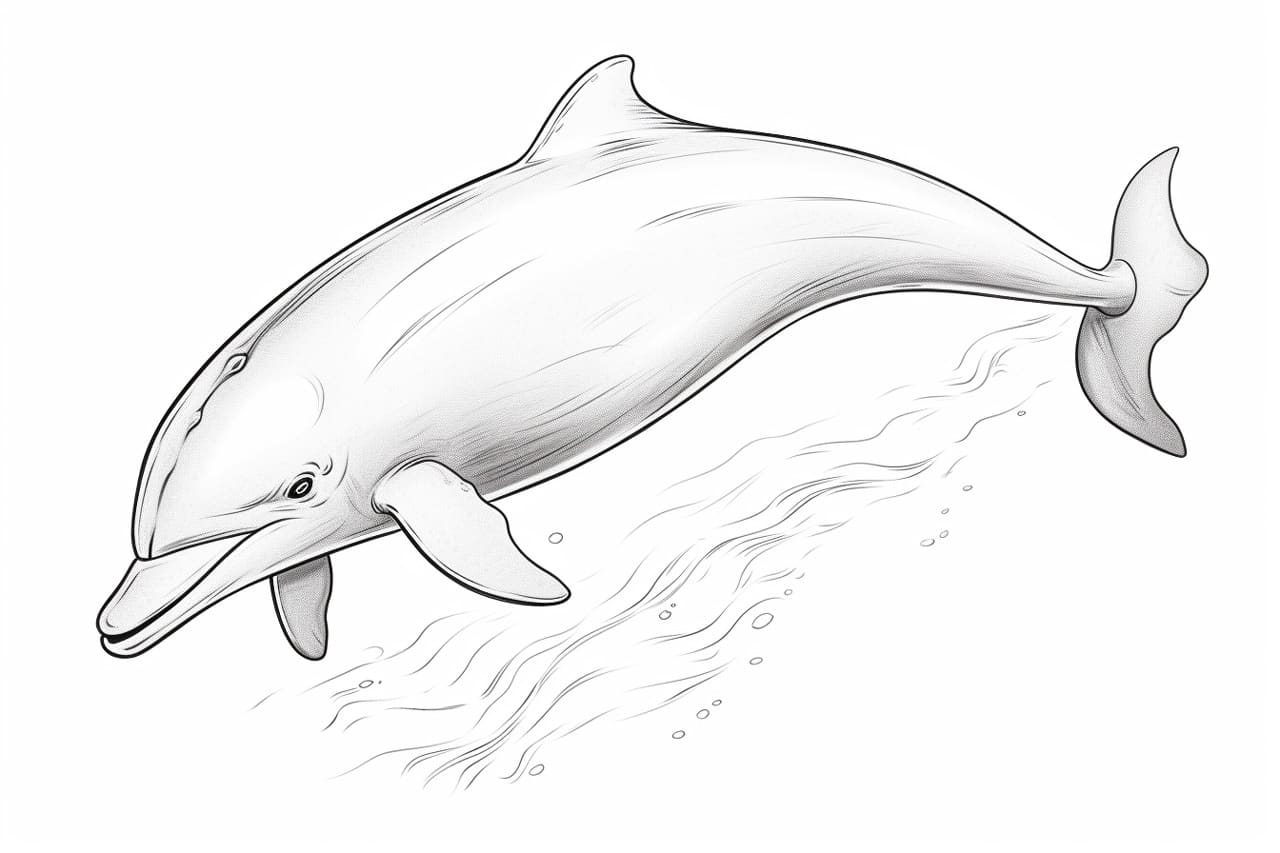
At this stage, you can choose to add additional details to your beluga whale drawing. Consider adding small ridges along the body, subtle lines to define the flippers, or even some water splashes around the whale for added visual interest. Take your time to carefully refine any rough areas and add any final touches to make your drawing truly unique.
Conclusion
Congratulations! You’ve successfully learned how to draw a beluga whale step by step. By observing and analyzing the whale’s features, sketching basic shapes, refining the outline, and adding details, you’ve created a beautiful representation of this awe-inspiring creature. Remember, practice makes perfect, so keep honing your artistic skills and continue exploring the wonders of the animal kingdom through your artwork.