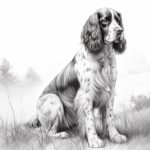
Welcome to this step-by-step guide on how to draw a Lhasa Apso! If you’re a dog lover and have always wanted to capture the unique charm of this beautiful breed on paper, you’re in the right place. In this tutorial, I will walk you through the process of drawing a Lhasa Apso, providing clear and concise instructions at each step. So grab your sketchbook and pencils, let’s get started!
Materials Required
Before we dive into the drawing process, let’s make sure we have all the necessary materials on hand. Here’s what you’ll need:
- Drawing paper: Choose a smooth, heavyweight paper that is suitable for drawing with pencils.
- Pencils: Get a range of graphite pencils, including H, HB, and B. These different grades of pencils will give you varying shades and textures.
- Eraser: Opt for a soft eraser to correct any mistakes or lighten your pencil marks when necessary.
- Pencil Sharpener: Keep your pencils sharp for precise lines and details.
- Reference Image: Find a clear and high-resolution photo of a Lhasa Apso to use as a reference. This will help you observe the breed’s unique features and proportions accurately.
Now that we have everything we need let’s move on to the actual drawing process.
Step 1: Sketch a Basic Framework
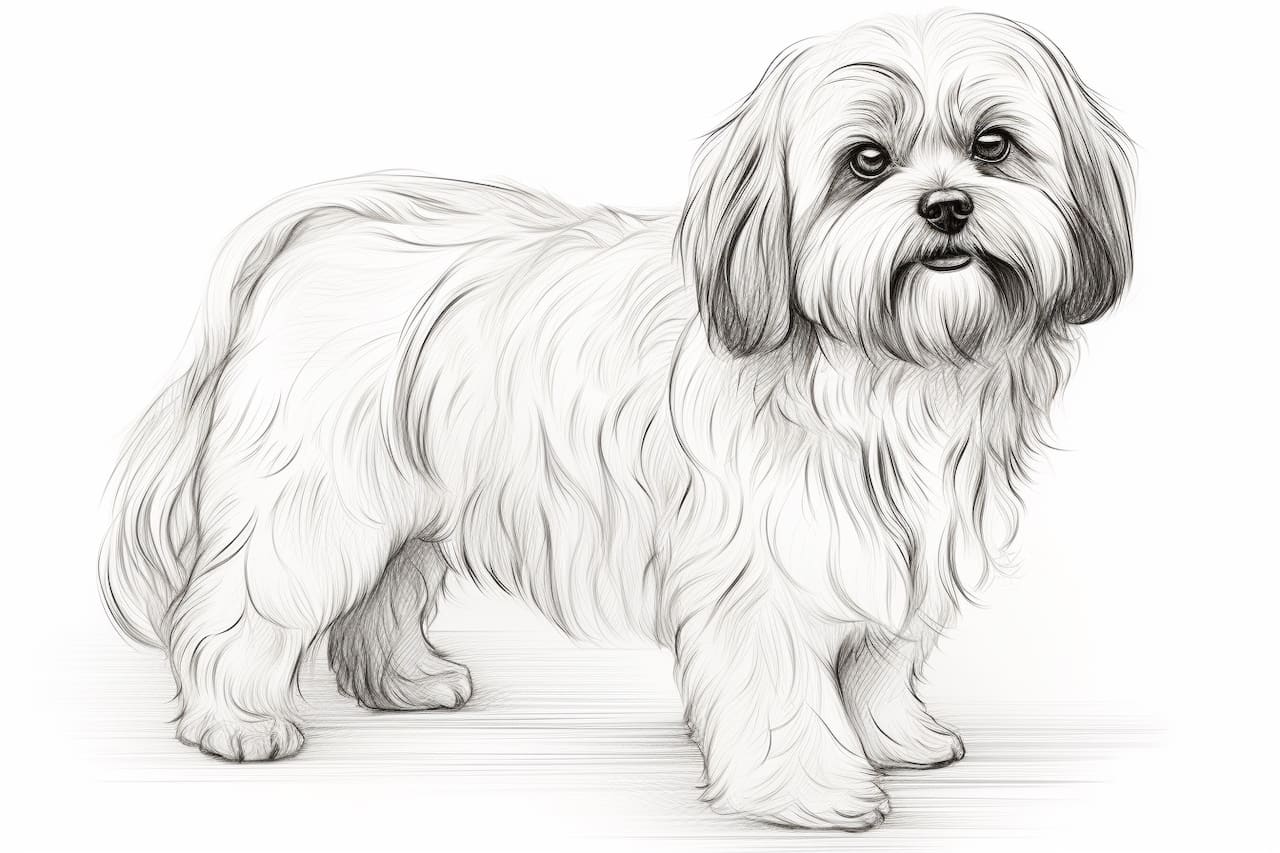
Begin by lightly sketching a basic framework for your Lhasa Apso. Start with a simple oval shape for the head and add a rounded shape below it for the body. Connect these two shapes with a neck line. Remember, this is just a rough outline, so use light, loose lines to keep it flexible and easy to adjust as you progress.
Step 2: Refine the Head and Facial Features
Within the oval shape of the head, sketch two intersecting lines to establish the placement of the eyes, nose, and mouth. Lhasa Apsos have a distinctive snout, so pay attention to its length and shape. Add small ovals for the eyes and a triangular shape for the nose. Don’t worry about details just yet, focus on getting the proportions right.
Step 3: Define the Body and Legs
Next, refine the body by adding more curves and contours. Give your Lhasa Apso a fluffy appearance by adding volume to the chest and belly areas. Sketch the outline of the legs, ensuring that they are in proportion to the body. Take your time to observe the reference image and capture the breed’s distinct stance and posture.
Step 4: Add Details to the Face
Now it’s time to add details to the face of your Lhasa Apso. Begin by refining the shape of the eyes, paying attention to the size and placement. Add the ears on either side of the head, noting their characteristic feathering. Sketch the mouth, tongue, and any other facial features you observe in your reference image. Remember to use light strokes and adjust as needed to achieve the desired expression.
Step 5: Outline the Fur and Body Contours
With the basic features in place, start outlining the fur and body contours of your Lhasa Apso. These dogs have long, flowing fur, so use curved lines to depict its texture and volume. Pay attention to the direction of the fur growth, especially around the ears, neck, and tail. Be patient and take your time to capture the unique beauty of the breed’s coat.
Step 6: Refine the Details
Now it’s time to refine the details of your drawing. Use darker pencils, such as the B grade, to define the lines and features more precisely. Darken the eyes and add pupils for a realistic look. Define the nose and mouth by adding shading and texture. Gradually add more depth and dimension to the fur by carefully observing the reference image and adding shading and highlights where needed.
Step 7: Finalize the Drawing
In this final step, review your drawing and make any necessary corrections or adjustments. Take a step back and look at the overall composition to ensure everything is in proportion and accurately represents a Lhasa Apso. Make sure the fur looks natural and flows smoothly. Don’t be afraid to erase any unwanted lines or smudges to achieve a polished finish.
Congratulations! You have successfully drawn a Lhasa Apso. With practice, you’ll continue to improve your skills in capturing the unique features and personality of various dog breeds.
Conclusion
In this tutorial, we’ve explored the step-by-step process of drawing a Lhasa Apso. By following these instructions and using the right materials, you can create a lifelike representation of this beautiful breed. Remember to be patient, observe your reference image carefully, and have fun with your drawing. With practice, your skills as an artist will continue to grow.
So grab your sketchbook, pencils, and reference image, and take the first steps towards creating a stunning drawing of a Lhasa Apso. Happy drawing!