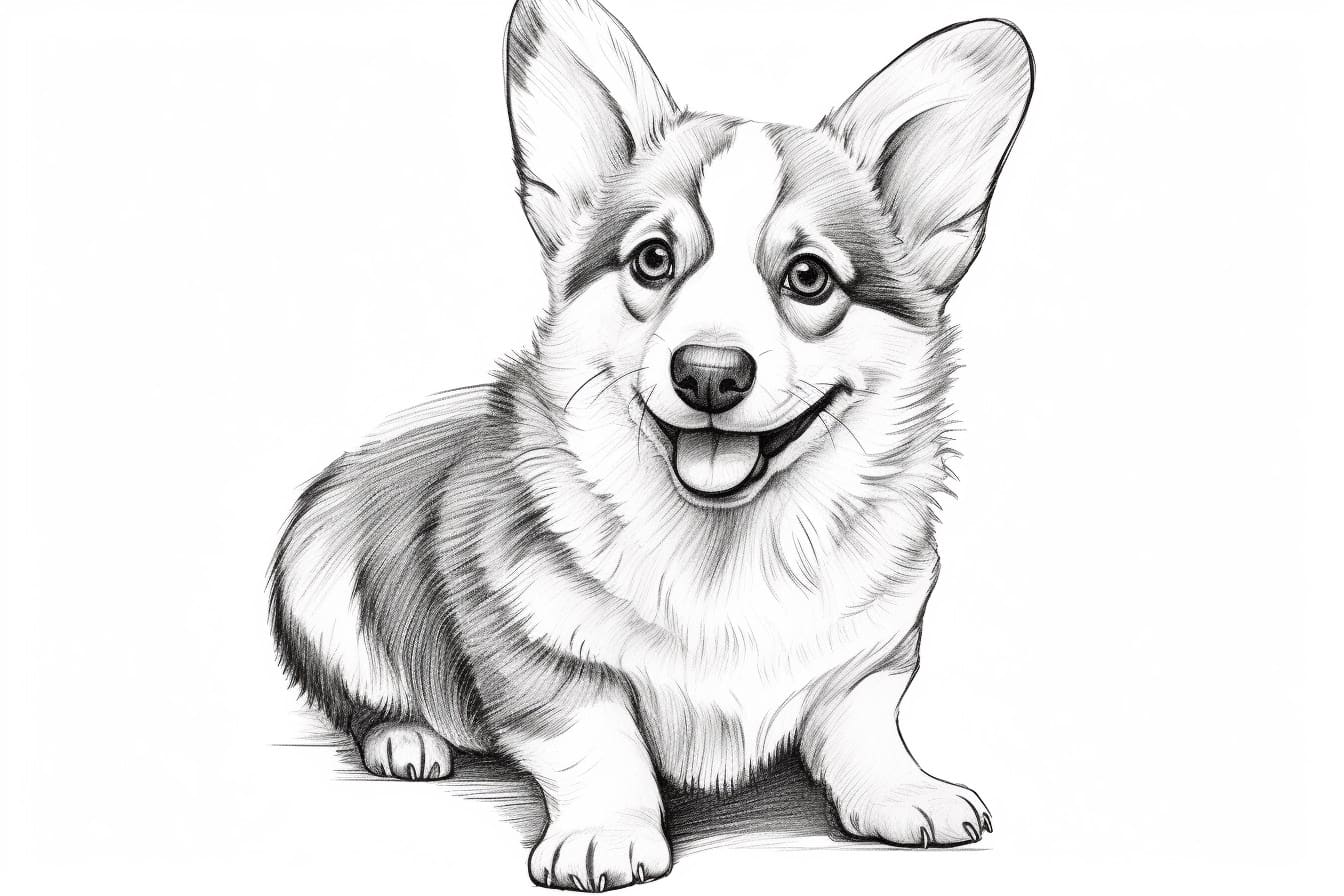
Welcome to this step-by-step guide on how to draw an adorable corgi puppy! Corgis are known for their short legs, fluffy bodies, and expressive faces, making them the perfect subjects for a fun and cute drawing. Whether you’re a beginner or an experienced artist, this tutorial will take you through the process of creating your very own corgi puppy drawing. So, grab your art supplies, and let’s get started!
Materials Required
To begin drawing your corgi puppy, you will need the following materials:
- Pencil
- Eraser
- Paper
- Colored pencils or markers (optional)
Now that you have all your supplies ready, we can dive into the step-by-step process of drawing a corgi puppy!
Step 1: Basic Shapes
Start by lightly sketching a circle for the corgi’s head and a rounded rectangle shape for its body. These will serve as the foundation for your drawing. Don’t worry about making the shapes perfect at this stage, as they are just guidelines.
Step 2: Outline the Body
Using the basic shapes as a reference, begin outlining the corgi’s body. Start with the head, drawing two curved lines to create the top and bottom of the snout. Then, connect these lines with a curved line to form the jaw. Continue by drawing the outline of the body, following the rounded rectangle shape you sketched earlier.
Step 3: Add the Legs
Corgis are known for their short, stubby legs. Draw four small rectangles underneath the body, two on each side, to represent the front and hind legs. Make sure the legs are slightly angled to give a sense of perspective.
Step 4: Sketch the Ears and Tail
Corgis have distinct ears that stand upright. Draw two triangle shapes on top of the head to represent the ears. Then, sketch a short, curved line at the back of the corgi to create its fluffy tail.
Step 5: Refine the Face
Now it’s time to add some details to the corgi’s face. Draw two large ovals for the eyes, leaving some space in between them. Inside each eye, sketch a smaller oval for the pupils and add a small dot for highlights. Below the eyes, draw a small, curved line for the nose, and add a smiling mouth by drawing a curved line under the nose.
Step 6: Define the Fur
Corgis have a thick, fluffy coat. To represent this, lightly sketch some short, curved lines throughout the body. These lines will give the impression of fur texture. Take your time and follow the shape of the body to create a natural look.
Step 7: Refine the Outline
Now that you have the basic structure and details in place, it’s time to refine the outline of your corgi puppy. Go over your sketch with a darker pencil or pen to create a clean and defined outline. Erase any unnecessary guidelines you made in the previous steps.
Step 8: Add Color (Optional)
To bring your corgi puppy drawing to life, you can use colored pencils or markers to add some color. Corgis come in a variety of fur colors, such as tan, black, and white. Experiment with different shades to find the perfect color combination for your corgi. Remember to take your time and blend the colors smoothly for a realistic look.
Conclusion
Congratulations, you have successfully drawn a corgi puppy! By following these step-by-step instructions, you have created a cute and detailed representation of this beloved breed. Feel free to personalize your drawing by adding additional details or background elements. Drawing is a wonderful way to express creativity and have fun, so keep practicing and exploring new subjects. We hope you enjoyed this tutorial on how to draw a corgi puppy. Happy drawing!


