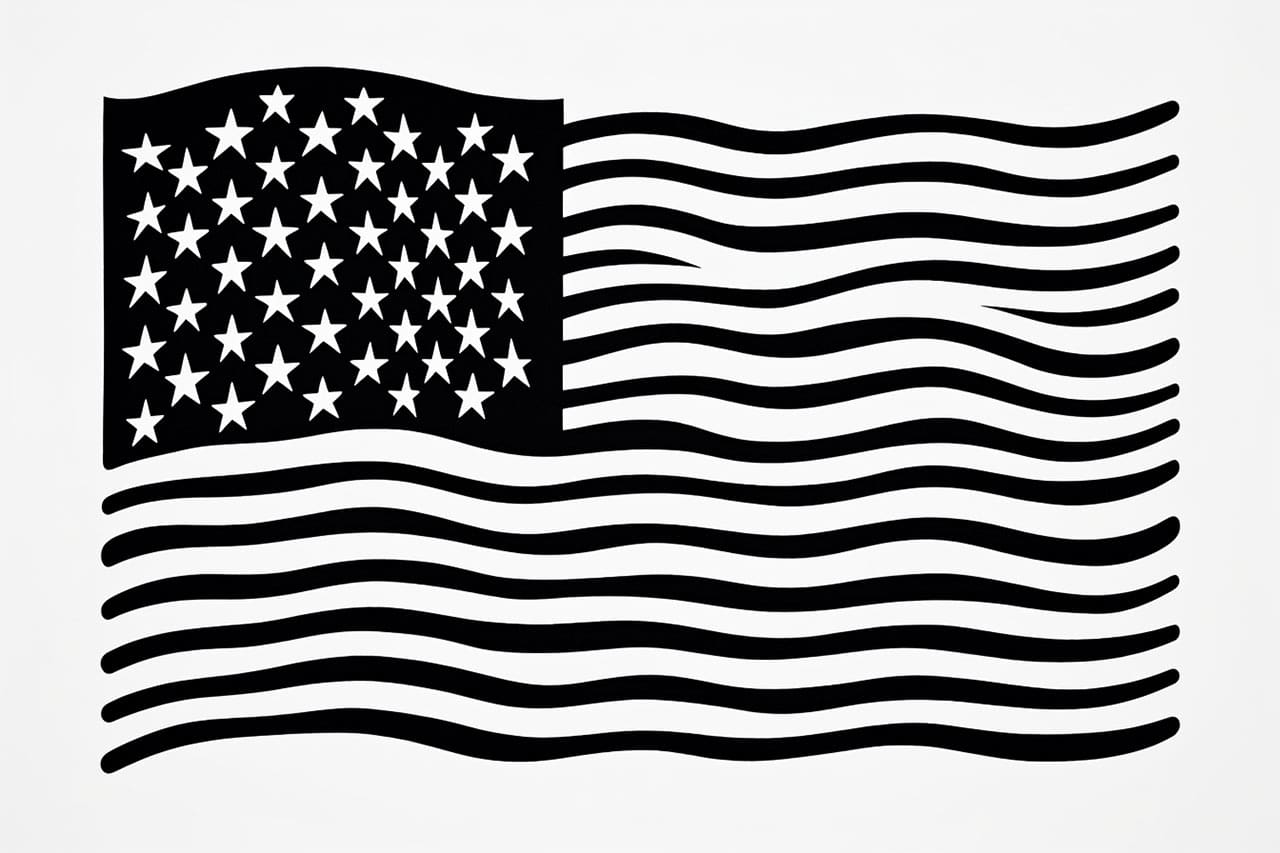
Welcome to this step-by-step guide on how to draw an American flag. As an expert artist and drawing instructor, I will walk you through the process of creating a beautiful representation of the flag of the United States. Whether you are a beginner or an experienced artist, this tutorial will provide you with clear, clean, and concise instructions to help you create your own patriotic masterpiece.
Materials Required
Before we begin, make sure you have the following materials on hand:
- Drawing paper or sketchbook
- Pencil
- Ruler
- Eraser
- Colored pencils, markers, or paints in red, white, and blue (or any other coloring medium of your choice)
Now, let’s get started!
Step 1: Draw the Outline of the Flag
To begin, draw a rectangle in the center of your paper. The dimensions of the rectangle should be in a ratio of 1:1.9, with the width being slightly shorter than twice the height. For example, if you want your flag to be 10 inches wide, the height would be approximately 5.25 inches.
Step 2: Add the Field of Blue
In the upper left corner of the rectangle, draw a smaller rectangle that occupies the space of the top quarter of the flag. This will be the field of blue, also known as the canton. Make sure the height of the blue rectangle is equal to the height of the flag, and the width is approximately 0.4 times the width of the flag.
Step 3: Draw the Stars
Within the blue field, draw a grid of 9 rows and 13 columns using a pencil and ruler. This grid will serve as a guide for placing the stars. Starting from the top left corner of the grid, draw a small five-pointed star in each alternate square. You should end up with a total of 50 stars, representing the 50 states of the United States. Take your time to ensure the stars are evenly spaced and proportionate.
Step 4: Add the Red and White Stripes
Now, divide the remaining area of the flag into 13 alternating red and white stripes. Begin by drawing a red stripe at the top of the flag, directly below the blue field. Then draw a white stripe below the red one. Continue this pattern until you have completed all 13 stripes.
Step 5: Color the Flag
Now that you have drawn the outline of the flag, it’s time to add color. Using your chosen coloring medium, color the canton blue and alternate between red and white for the stripes. Take your time and apply the colors evenly to create a vibrant representation of the American flag.
Step 6: Final Touches
Once you have finished coloring the flag, take a step back and assess your drawing. Make any necessary adjustments or touch-ups to ensure your flag looks its best. Use an eraser to remove any stray pencil lines or smudges.
Congratulations! You have successfully drawn an American flag. Display it proudly or use it as a reference for future drawings.
Conclusion
In conclusion, drawing an American flag is a great way to showcase your patriotism and artistic skills. By following the step-by-step instructions provided in this guide, you can create a beautiful representation of the flag of the United States. Remember to take your time, use the proper materials, and have fun throughout the process. Now, grab your pencil and get ready to create your own patriotic masterpiece!


