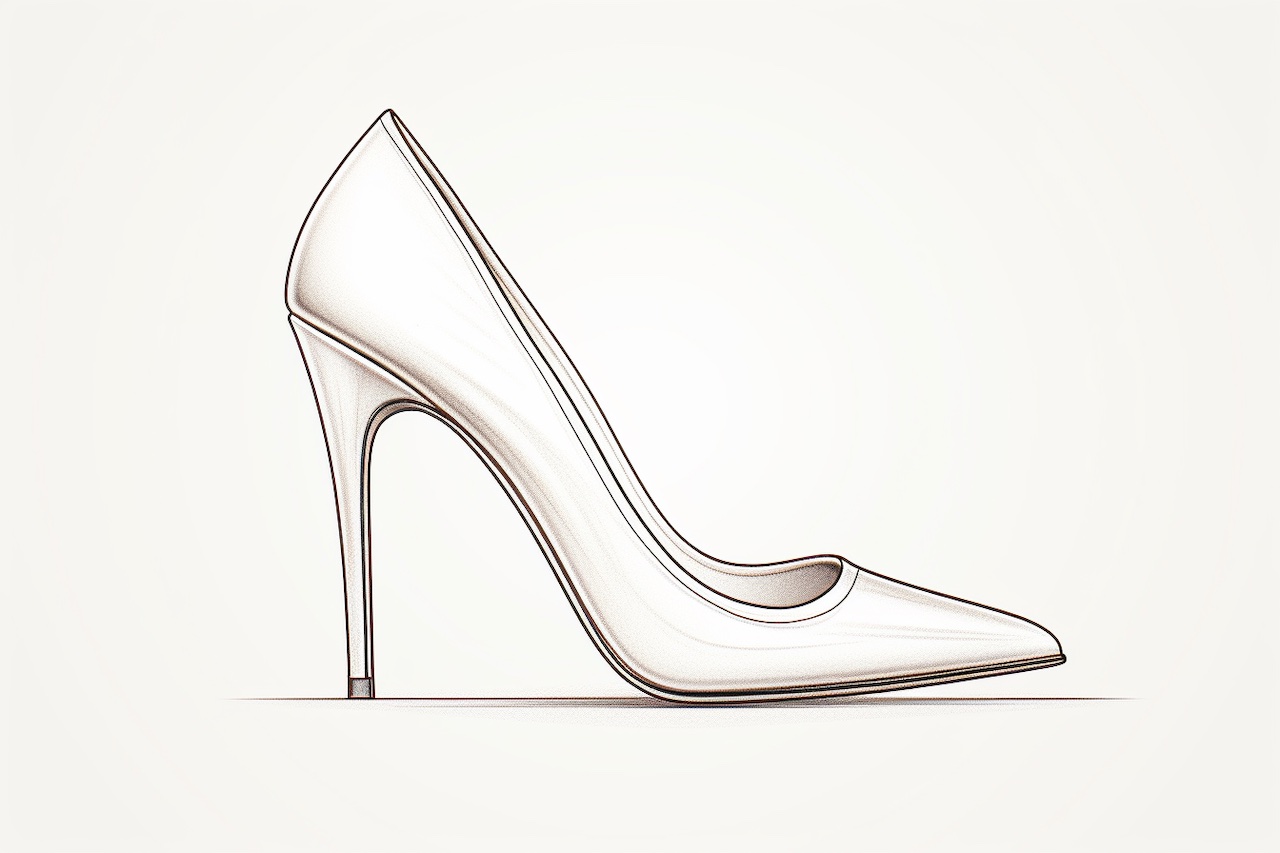
If you are an aspiring artist or simply someone who enjoys drawing, learning how to draw a heel can be a great way to enhance your skills. Heels can be challenging to draw due to their intricate shapes and details, but with the right techniques and practice, you’ll be able to create stylish and realistic heel illustrations.
In this step-by-step guide, I will walk you through the process of drawing a heel, from sketching the basic outline to adding shading and texture. So grab your drawing materials, get ready to unleash your creativity, and let’s dive in!
Materials Required
Before we get started, make sure you have the following materials:
- Drawing paper or sketchpad
- Pencils (HB, 2B, 4B)
- Eraser
- Ruler
- Fine-tip markers or pens (optional)
- Colored pencils or markers (optional)
Gather these materials to ensure a smooth drawing process. Now, let’s move on to the step-by-step instructions.
Step 1: Sketch the Basic Outline
To start, use a light pencil (HB) to sketch a vertical line. This line will serve as the center guideline for your heel drawing. Next, draw a horizontal line near the bottom of the vertical line. This horizontal line will act as the base of the heel.
Step 2: Shape the Heel
Using curved lines, draw two connected shapes on either side of the vertical line. These shapes will form the upper part of the heel. Keep the lines smooth and flowing, paying attention to the overall shape and proportions. Remember, practice makes perfect, so don’t be afraid to make adjustments as needed.
Step 3: Add Details
Now it’s time to add more details to your drawing. Use the ruler to draw a straight line extending from the base of the heel. This line will represent the heel’s height. Next, add straps or any other decorative elements that you want to include in your illustration. Take your time and experiment with different designs to make your heel unique.
Step 4: Refine the Outline
Once you are satisfied with the basic shape and details, use a darker pencil (2B) to refine the outline of your heel. Choose the lines that you want to keep and go over them with more confidence. Don’t worry about erasing the initial light sketch just yet; we will take care of that in the next step.
Step 5: Erase Unwanted Lines
Using a good quality eraser, carefully erase the unnecessary guidelines and sketch lines, leaving behind only the refined outline of your heel. Take your time with this step to ensure a clean and polished look for your drawing.
Step 6: Add Shading and Texture
Now, let’s bring your heel illustration to life by adding shading and texture. Start by determining the light source in your drawing. This will help you decide where to add highlights and shadows. Use a darker pencil (4B) to add shading to the areas that are away from the light source. Gradually build up the darkness by layering the pencil strokes.
For a more realistic look, pay attention to the texture of the material your heel is made of. Are there any patterns or textures on the surface? Use short, curved or cross-hatched lines to create the desired texture effect.
Step 7: Finalize Your Drawing
Once you are satisfied with the shading and texture, step back and assess your drawing. Look for any areas that need refinement or additional details. Make any necessary adjustments to ensure your drawing looks exactly how you envision it.
Conclusion
Congratulations! You’ve successfully learned how to draw a heel. By following these step-by-step instructions and practicing regularly, you can continue to develop your drawing skills and create stunning heel illustrations.
Remember, drawing is not just about replicating what you see, but also about expressing your own unique style and creativity. So don’t be afraid to experiment and add your personal touch to your heel drawings.
Now that you have the knowledge and techniques to draw heels, grab your pencils and paper, and start creating amazing illustrations. Whether you’re drawing for fun or aspiring to be a professional artist, the ability to draw heels will undoubtedly enhance your drawing repertoire.
So go ahead, enjoy the process, and let your imagination run wild. Happy drawing!