Welcome to this step-by-step guide on how to draw a Presa Canario, a powerful and noble breed of dog. Whether you are a beginner or an experienced artist, this tutorial will help you capture the essence of this magnificent canine. By following these simple instructions, you’ll be able to create a realistic and detailed representation of a Presa Canario on paper. So, let’s get started!
Materials Required:
Before we begin, make sure you have the following materials:
- Drawing paper: Select a medium-weight paper that is suitable for drawing with pencils and erasing if needed.
- Pencils: Use a range of graphite pencils, such as 2B, 4B, and 6B, to achieve different tones and shades in your drawing.
- Erasers: Have a kneaded eraser and a regular eraser on hand for correcting mistakes and adding highlights.
- Pencil sharpener: Keep your pencils sharp for precise and detailed drawings.
- Blending tools: You can use blending stumps, tissue paper, or cotton swabs to achieve smooth transitions between shades.
Now that you have your materials ready, let’s begin the process of drawing a Presa Canario.
Step 1: Basic Shapes
Start by lightly sketching the basic shapes of the Presa Canario. Begin with a large oval shape for the body and a smaller oval for the head, slightly overlapping each other. Add two circles for the eyes, a triangle for the nose, and two rectangles for the ears. Use light and loose lines to ensure easy erasing if needed. Remember, this step is just a rough guideline; we will refine the shapes later on.
Step 2: Proportions and Features
Now, let’s work on the proportions and features of the Presa Canario. Use the basic shapes from the previous step as a reference. Start adding details to the head, such as the muzzle, eyes, and ears. Pay attention to the distance between the eyes and the size of the ears in relation to the head. Take your time and use light strokes as you refine the shapes and features.
Step 3: Facial Structure
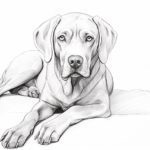
In this step, focus on the facial structure of the Presa Canario. Pay close attention to the angles and curves that define the dog’s face. Start by adding more detail to the eyes, including the pupils and iris. Then, work on the nose and mouth, capturing the unique characteristics of the breed. Take your time to observe the reference picture or a real Presa Canario if available, as this will help you capture their distinctive features accurately.
Step 4: Shading and Textures
Once you have established the basic structure and features of the Presa Canario, it’s time to add shading and textures to bring your drawing to life. Begin by shading the dark areas of the dog’s coat using the appropriate graphite pencil, such as a 4B or 6B. Use light, hatching strokes to build up the values gradually. Pay attention to the direction of the fur and create texture by varying the pressure and shape of your strokes.
Continue adding layers of shading to enhance the three-dimensional appearance of the dog. Use a blending tool, such as a blending stump or tissue paper, to smudge and soften the transitions between different shades. Remember to continuously refer to your reference picture to capture the unique patterns and markings of the Presa Canario.
Step 5: Refining Details
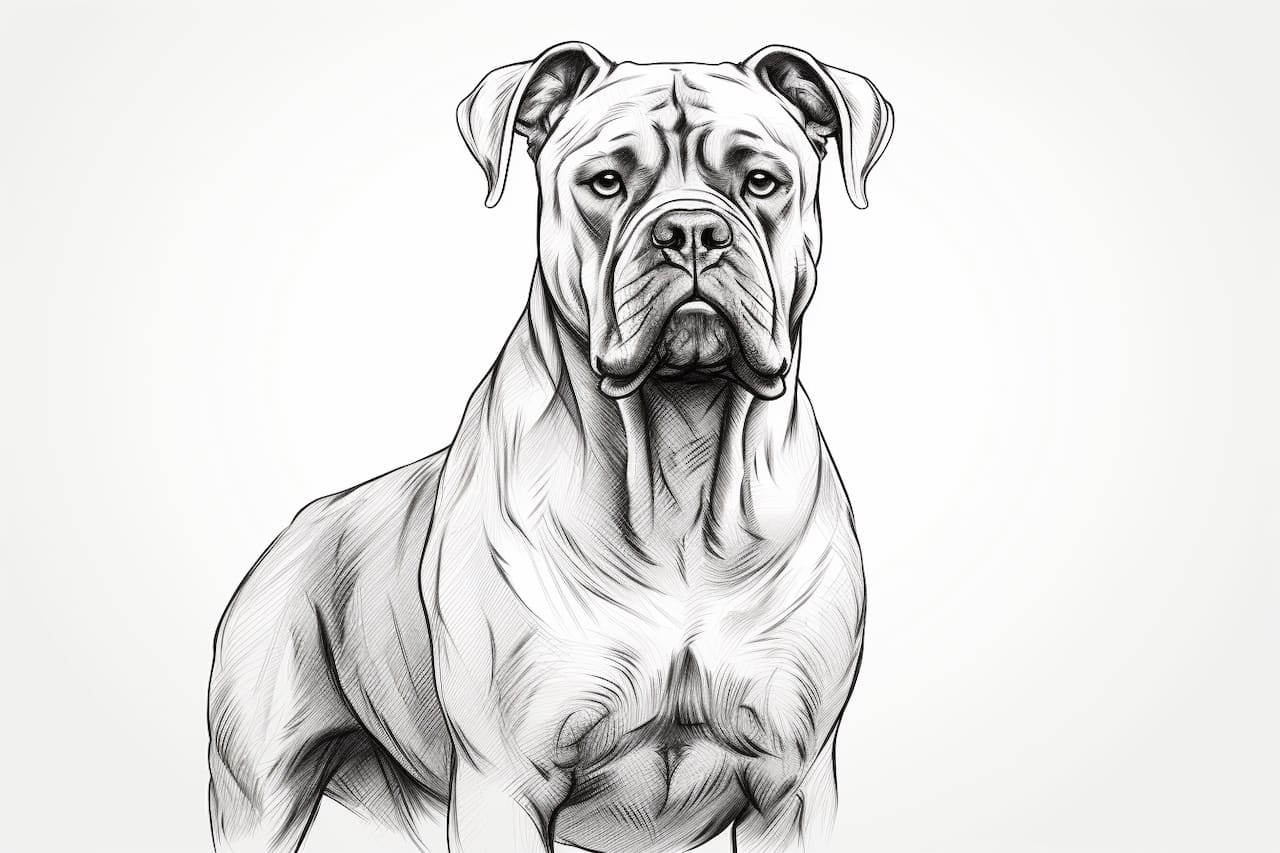
In this step, take a closer look at your drawing and refine the details. Pay attention to the small nuances that make each Presa Canario unique, such as the wrinkles on the forehead or the texture of the fur. Use a sharp pencil to add fine lines and details, creating a sense of realism in your drawing. Take your time and be patient as you work on capturing these intricate details.
Step 6: Highlights and Final Touches
To make your drawing truly stand out, add highlights to create contrast and depth. Use a kneaded eraser to gently lift off some graphite in areas where light would naturally hit, such as the top of the nose, the forehead, or the tips of the fur. This will add a sparkling effect and make your drawing look more realistic.
Once you are satisfied with your drawing, go over it again, refining any areas that need extra attention. Clean up any smudges or unwanted marks using a kneaded eraser or a regular eraser. Take a step back and observe your drawing from a distance to ensure overall harmony and balance.
Conclusion
Congratulations! You have successfully learned how to draw a Presa Canario. By following these step-by-step instructions, you have captured the essence of this powerful and noble breed. Remember to practice regularly and experiment with different techniques to continue developing your artistic skills.
We hope you enjoyed this tutorial on how to draw a Presa Canario. With patience and dedication, you can create beautiful and realistic drawings of any subject. So grab your materials and start capturing the beauty of the world through your art!