Do you love pasta? Now you can take your love for pasta to the next level by learning how to draw it! In this step-by-step tutorial, I will guide you through the process of drawing a delicious plate of pasta. So grab your pencils and let’s get started!
Materials Required
To draw a pasta, you will need the following materials:
- A sketchpad or drawing paper
- Pencils in various shades (HB, 2B, 4B, etc.)
- Eraser
- Blending stump or tortillon (optional)
- Sharpened colored pencils (optional)
- Reference photo of different pasta shapes (optional)
Now that you have your materials ready, let’s dive into the step-by-step instructions!
Step 1: Sketch the Outline
Start by lightly sketching the outline of the plate onto your drawing paper. You can draw a simple oval shape to represent the plate. Make sure to leave enough space on the page for the entire plate of pasta.
Step 2: Draw the Pasta Shapes
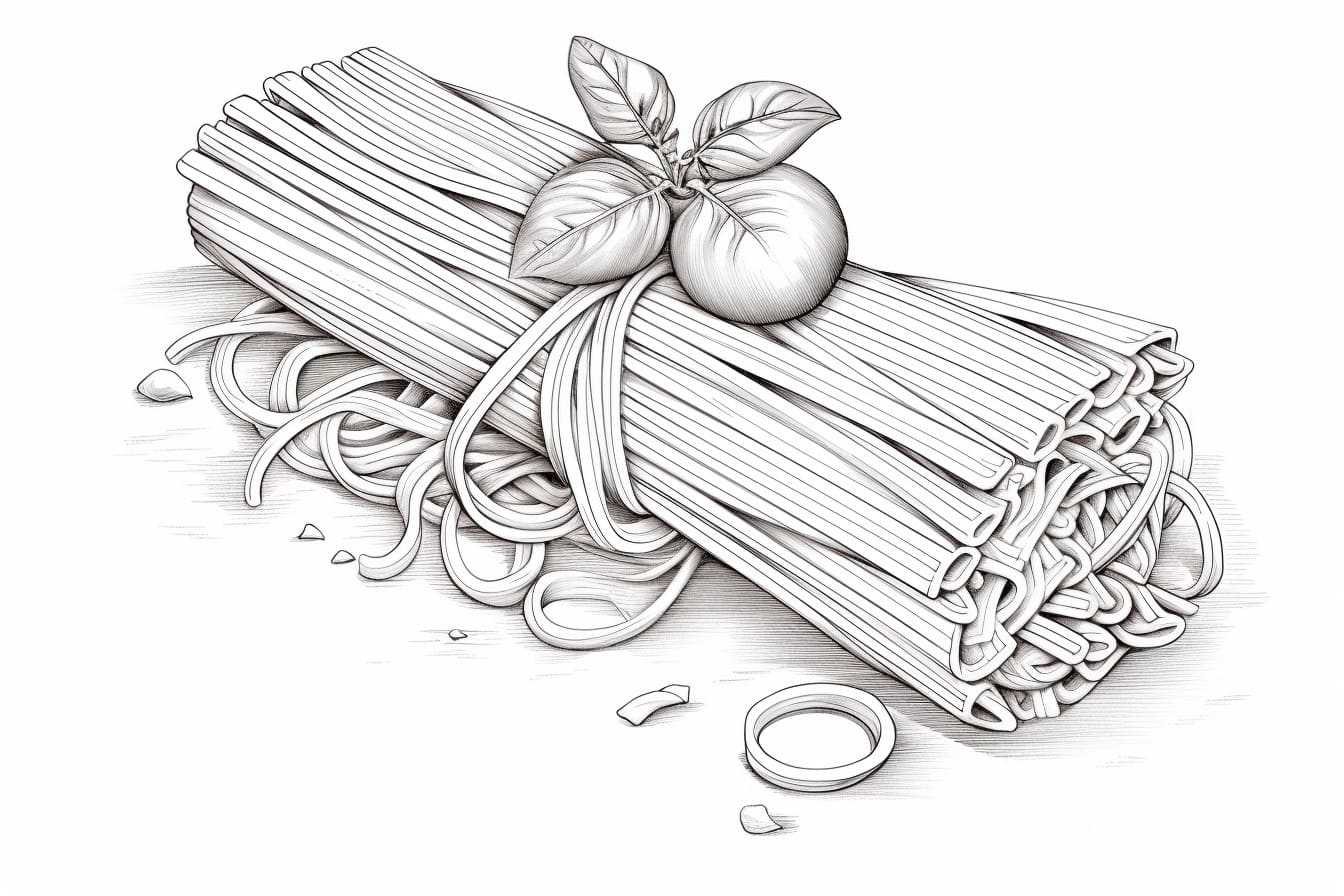
Using your reference photo as a guide, start drawing the different pasta shapes. You can draw spaghetti, penne, fusilli, or any other type of pasta you like. Experiment with different shapes and sizes to make your drawing more interesting. Remember to use light and quick pencil strokes at this stage.
Step 3: Add Details to the Pasta
To make your pasta look more realistic, add some details to each shape. Draw lines along the length of the spaghetti to show its texture. For penne, draw small lines across the pasta to represent the ridges. Be creative and have fun with this step!
Step 4: Shade the Pasta
Now it’s time to add depth and dimension to your pasta. Use darker shades of pencil to shade the pasta shapes. Pay attention to the light source in your reference photo to create realistic shadows and highlights. Start with light shading and gradually build up the darkness. Use smooth, even strokes to achieve a realistic texture.
Step 5: Draw the Sauce
No pasta is complete without some delicious sauce! Draw a small puddle of sauce on top of the pasta shapes. You can use wavy lines to represent the liquid texture of the sauce. Add some shading to create depth and dimension.
Step 6: Add Cheese and Other Toppings
To make your pasta even more mouthwatering, add some grated cheese or other toppings. Draw small, irregular shapes on top of the pasta and sauce to represent the cheese. You can also add some basil leaves or other garnishes to make your drawing more interesting.
Step 7: Add Shadows and Highlights
To make your pasta drawing look more realistic, add shadows and highlights to the plate and pasta. Use darker shades of pencil to create shadows under the pasta shapes and plate. Use the eraser to lighten some areas and create highlights where the light hits the pasta and plate.
Step 8: Blend the Shading (Optional)
If you want a smoother and more blended look, you can use a blending stump or tortillon to blend the shading on your drawing. Gently rub the stump over the shaded areas to soften the pencil strokes and create a more realistic texture. Take your time and blend the shading gradually for a seamless result.
Step 9: Add Color (Optional)
If you prefer colored drawings, you can add color to your pasta drawing using colored pencils. Choose colors that match the pasta and sauce you have drawn. Use light pressure to layer the colors and build up the intensity gradually. Remember to blend the colors smoothly for a realistic look.
Conclusion
Congratulations, you have successfully drawn a delicious plate of pasta! Drawing pasta can be a fun and creative way to express your love for this tasty dish. With practice, you can experiment with different pasta shapes, sauces, and toppings to create your own unique pasta drawings. So grab your pencils and start drawing your favorite pasta dishes today!