Drawing can be a wonderfully rewarding experience, allowing you to express your creativity while honing your artistic skills. In this step-by-step guide, we will specifically dive into the delightful challenge of how to draw a peach. This luscious fruit, with its soft texture and vibrant colors, provides a wonderful subject for artists of all levels. Whether you’re just starting out on your artistic journey or looking to refine your techniques, this tutorial will help you capture the essence of a peach with ease.
As we embark on this artistic endeavor together, you’ll discover that creating a realistic peach drawing requires only a few simple materials and techniques. We’ll break down the process into manageable steps, ensuring that you can follow along regardless of your experience. From sketching the basic shape to adding intricate details and vibrant colors, you’ll learn the essential techniques to bring this beautiful fruit to life on your paper.
So, gather your drawing supplies, find a comfortable workspace, and let’s embark on this creative journey to unlock your potential as an artist. Get ready to immerse yourself in the delightful task of drawing a peach, and remember—practice makes perfect!
Materials Required
To create your peach drawing, you will need the following materials:
- Drawing paper or sketchbook
- Pencil (preferably a HB or 2B)
- Eraser
- Colored pencils or watercolor pencils (optional)
- Smooth blending tool (such as a blending stump or tortillon)
- Reference photo of a peach (optional, but helpful for accuracy)
Now that you have gathered your materials, let’s get started on drawing your peach.
Step 1: Sketch the Basic Shape
Begin by lightly sketching an oval shape in the center of your paper. This will be the main outline of your peach. Remember to keep your lines light and loose, as they will be erased later.
Step 2: Add the Indentation
Below the oval shape, draw a slightly curved line that creates an indentation in the peach. This gives the illusion of the peach’s natural groove.
Step 3: Define the Contours
Using curving lines, start defining the contours of the peach. Observe the reference photo or real peach for guidance. Pay attention to the subtle curves and bumps of the fruit’s surface. Avoid making the lines too harsh at this stage, as we’ll refine them later.
Step 4: Add the Stem
Draw a small curved line at the top of the peach to represent the stem. Make it thin and tapering towards the end.
Step 5: Refine the Contours
Go over the initial sketch lines with more confident and refined lines, strengthening the shape of the peach. Add more contours and variations to capture its realistic form. Remember to keep your lines light, as you will be erasing them later.
Step 6: Shade the Peach
Start shading the peach by lightly applying layers of pencil strokes following the natural curve of the fruit. Use a gentle touch to create a smooth and even transition between lights and shadows. Observe the reference photo for guidance on areas that are darker or lighter.
Step 7: Blend the Shadows
Using a smooth blending tool, gently blend the shaded areas of the peach to create a seamless transition between different tones. This will give your drawing a more realistic and three-dimensional look. Take your time and blend slowly to achieve the desired effect.
Step 8: Add Details
Now it’s time to add some details to your peach drawing. Pay attention to the small bumps, creases, and highlights on the fruit’s surface. Use a sharper pencil to create darker lines and emphasize these details. Take a step back and assess your drawing to ensure the proportions and details are accurate.
Step 9: Add Color (Optional)
If you want to add color to your peach drawing, grab your colored pencils or watercolor pencils. Apply light layers of color to the different areas of the peach, gradually building up the intensity. Blend the colors using a blending stump or your fingers for a smooth and natural look. Alternatively, you can leave your drawing in black and white for a classic pencil sketch.
Step 10: Finalize and Erase
Take a moment to review your drawing and make any necessary adjustments. Erase any stray lines or smudges. If you’re happy with the result, you can darken the outlines of the peach slightly to make it stand out more.
Conclusion
Congratulations on completing your peach drawing! By following these step-by-step instructions, you have captured the essence of this delicious fruit on paper. Remember, practice makes perfect, so don’t be afraid to experiment and try drawing different fruits or subjects. With time and dedication, your artistic skills will continue to grow. Enjoy the process, and happy drawing!
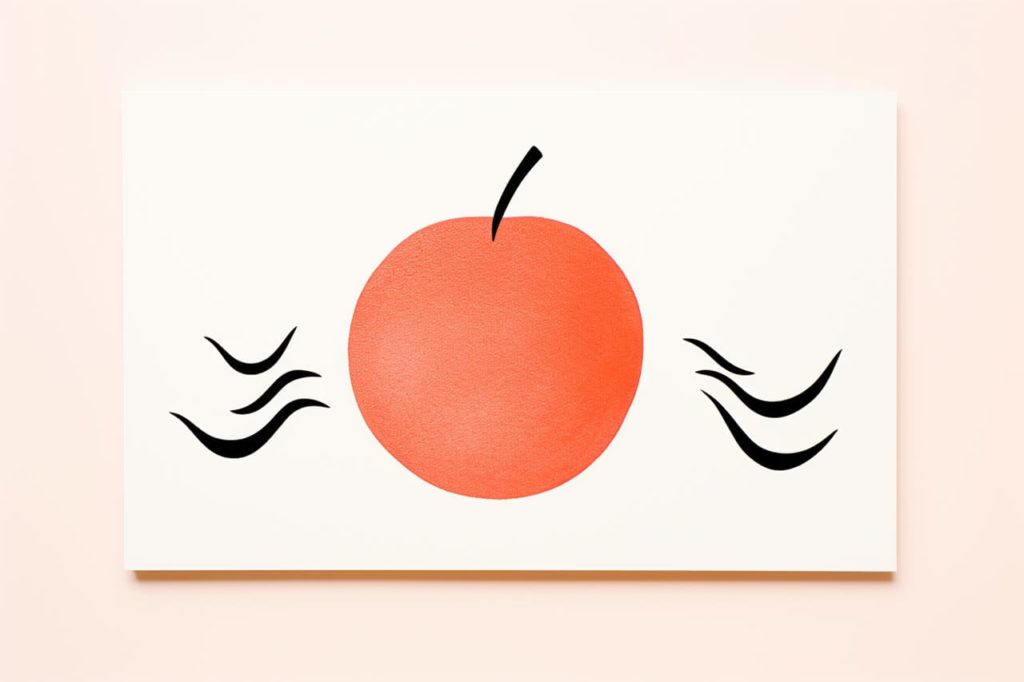
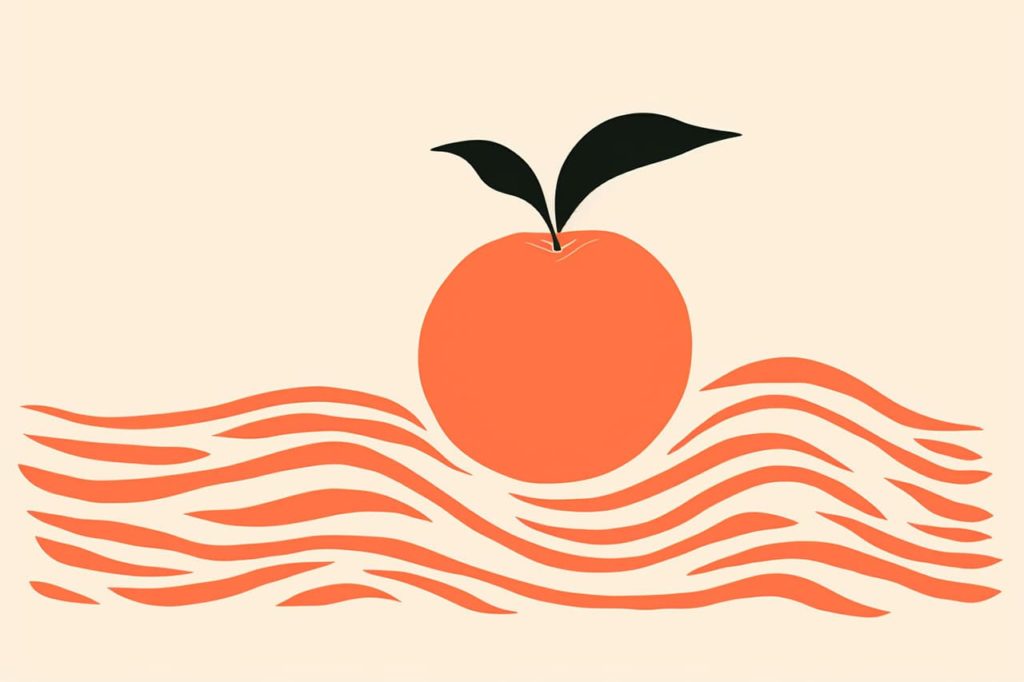
Gallery of Peach Drawings

Fun Facts About Peaches
- Peaches originated in China, where they have been cultivated for over 4,000 years.
- There are two main classifications of peaches: clingstone and freestone, which refer to how easily the flesh comes away from the pit.
- Georgia is known as the “Peach State,” although California leads the United States in peach production.
- In ancient Chinese culture, peaches symbolized immortality and unity.
- Peaches are a great source of vitamins A and C, as well as fiber, making them a healthy and delicious snack.
- The fuzz on peaches can range from thick and noticeable to almost nonexistent, as seen in the smooth-skinned nectarines.
- Peaches belong to the stone fruit family, which also includes plums, apricots, and cherries.
- A peach tree can produce fruit for about 20 years, but it usually doesn’t bear edible fruit until its third year.
- National Peach Month is celebrated in August, right in the peak of the peach-harvesting season.
- The largest peach cobbler ever made measured more than 11 feet long, a tribute to this cherished fruit at a Georgia festival.
Suggestions for Scenes and Settings for Peach Drawings
- Orchard Haven: Illustrate a serene orchard scene filled with blossoming peach trees and juicy fruits just within reach.
- Summer Picnic: Capture a sunny picnic setting with a basket full of fresh peaches, wine glasses, and checkered blankets.
- Peach Festival: Design a lively town festival with stalls showcasing peach pies, jams, and people engaging in peach-related games.
- Peach-Inspired Cityscape: Imagine a whimsical city with buildings and landmarks made of giant peaches with stem rooftops.
- Harvest Moon: Draw a cozy nighttime scene with farmers gathering peaches under the light of a glowing harvest moon.
- Peach Princess: Create a fairytale character dressed in a gown inspired by peach colors and textures, strolling through a royal garden.
- Underwater Peach Kingdom: Envision an underwater world where mermaids tend to coral-like peach groves swaying with the current.
- Time-Traveling Peach: Depict a peach with a tiny clock on it as it travels through history, from ancient China to modern markets.
- Peach Parlor: Design an elegant vintage parlor room, with peach-themed wallpaper, upholstery, and a feast table centerpiece.
- Peach Aviary: Illustrate a fantastical aviary where songbirds nest in peach tree branches, with peach blossoms adorning the nest.