Have you ever looked up at the sky and marveled at its beauty? The sky is a vast canvas filled with an array of colors, from the calming blues of the daytime sky to the vibrant pinks and oranges of a stunning sunset. If you’ve ever wanted to capture the essence of the sky in your artwork, then you’ve come to the right place! In this tutorial, we will guide you through the process of drawing the sky step-by-step. So grab your art supplies and let’s get started!
Materials Required
Before we begin, make sure you have the following materials:
- Drawing paper: Choose a high-quality paper that is suitable for your preferred drawing medium, such as graphite, colored pencils, or pastels.
- Pencils: A range of graphite pencils, including HB, 2B, 4B, and 6B, will allow you to achieve different shades of gray in your sky drawing.
- Eraser: A kneaded eraser is ideal for lifting graphite and creating subtle highlights in your artwork.
- Blending tools: A blending stump or tortillon can be used to blend and smooth out the graphite for a more realistic sky effect.
Now that we have all the necessary materials, let’s move on to the step-by-step process of drawing the sky.
Step 1: Prepare Your Drawing Surface
Before you start drawing, ensure that your drawing paper is clean and free from any smudges. You can use a soft cloth or a sheet of scrap paper to protect your drawing surface and prevent accidental smudging. This will provide a clean canvas for your sky drawing.
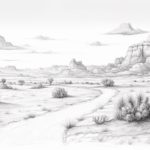
Step 2: Outline the Horizon Line
The horizon line is the line where the sky meets the land or any other objects in your artwork. Use a light pencil, such as an HB, to lightly draw a straight line across your paper. This line will serve as a guide for placing the elements in your sky drawing.
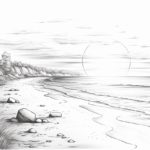
Step 3: Start with the Background Color
Begin by selecting the background color of your sky. If you’re drawing a daytime sky, start with a light blue color. If you’re drawing a sunset or sunrise, you may want to start with a light orange, pink, or purple color. Use light, feathery strokes to apply the color evenly across the sky area, leaving the area near the horizon line slightly lighter.
Step 4: Add Gradient to the Sky
To create a more realistic sky effect, add a gradient to your sky by transitioning from a lighter shade at the horizon to a darker shade towards the top. This will give the illusion of depth and make your sky drawing more visually appealing. Use a darker shade of your chosen color and gradually blend it into the lighter shade using gentle, overlapping strokes.
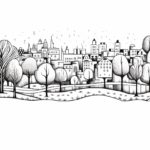
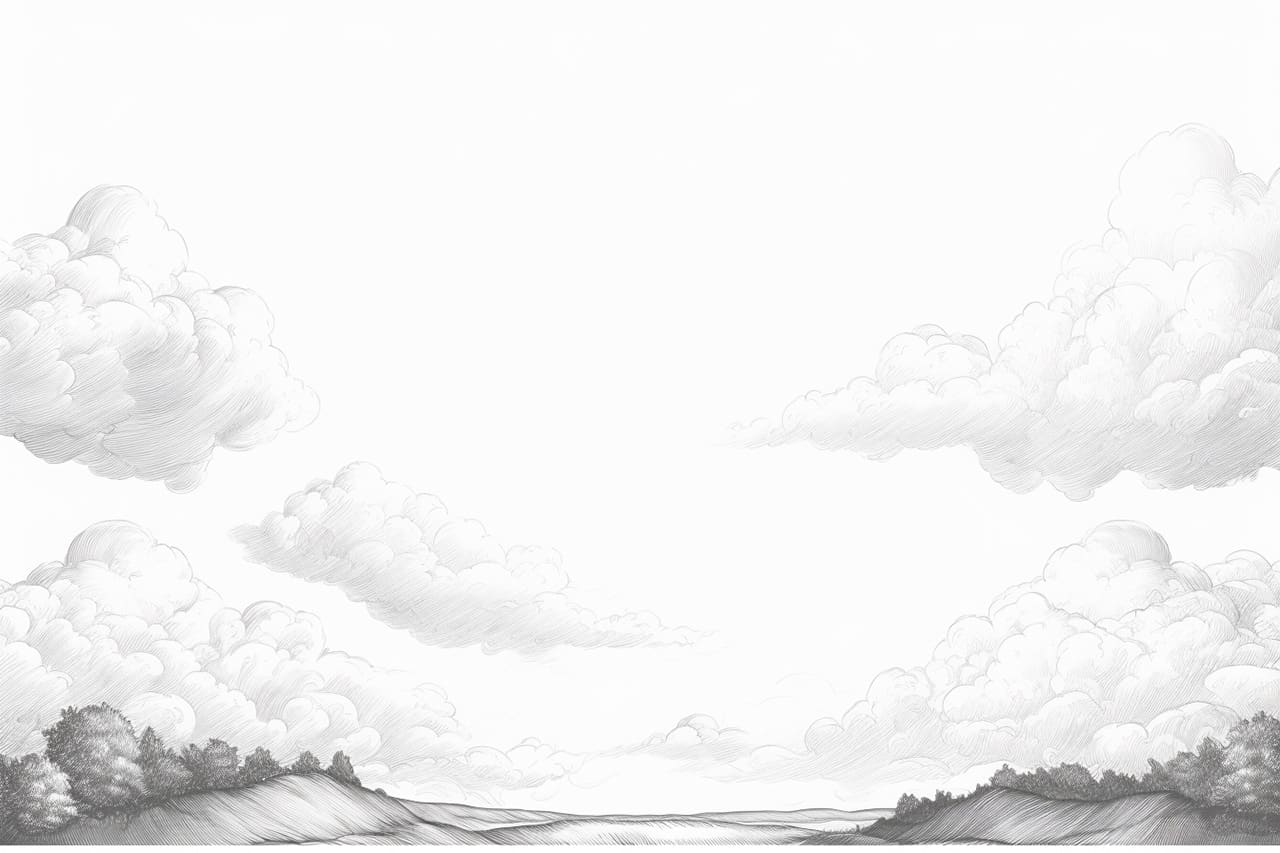
Step 5: Introduce Clouds or Other Elements
The sky is often adorned with beautiful clouds, birds, or other elements that add interest to your artwork. You can choose to include these elements or keep your sky drawing simple and focus solely on the sky itself. If you decide to add clouds, use a lighter shade of gray or white and create various shapes and sizes using soft, circular motions.
Step 6: Refine and Add Details
Once you have established the basic elements of your sky drawing, take a step back and assess the overall composition. Use a blending stump or tortillon to smooth out any harsh lines or edges, giving your sky a more natural and realistic appearance. If you want to add more depth and dimension to your sky, you can lightly shade the edges of the clouds or add subtle highlights to certain areas using an eraser.
Conclusion
Drawing the sky can be a rewarding and enjoyable experience. By following these step-by-step instructions, you can create a stunning sky drawing that captures the beauty and essence of the sky. Remember to experiment with different colors, shading techniques, and elements to make your artwork unique and personal. So grab your art supplies, look up at the sky for inspiration, and let your creativity soar!