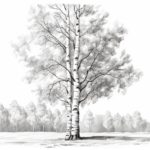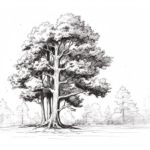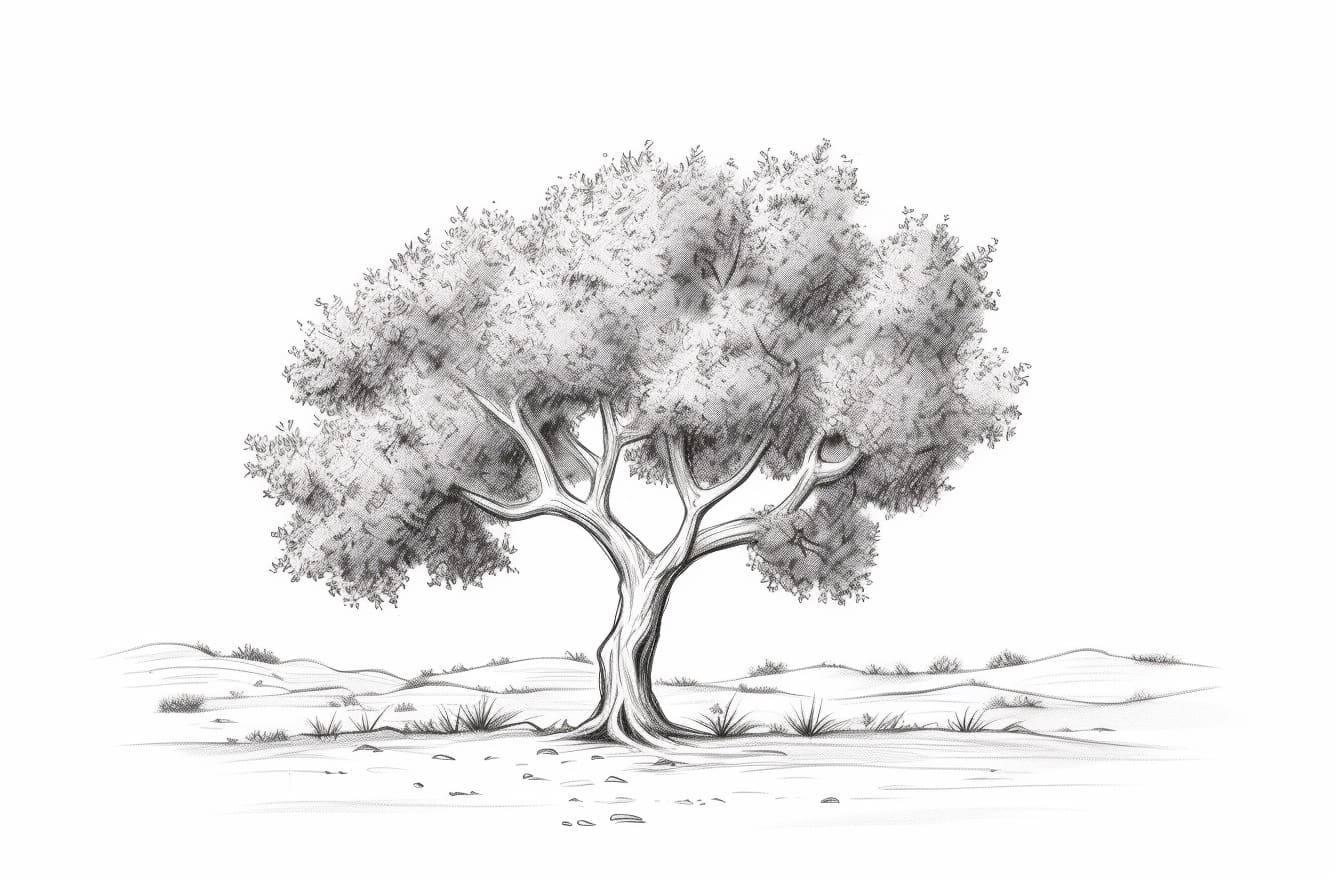
Drawing an olive tree is not just an exercise in capturing its form but also an exploration of its profound historical and cultural significance. For centuries, the olive tree has been revered in various cultures around the world, symbolizing peace, wisdom, and prosperity. Its distinctive appearance, with gnarled trunks and branches that twist and turn as if telling stories of old, offers an endless source of inspiration for artists. The contrast between the silvery green of its leaves, which shimmer under the sunlight, and the dark, textured bark of its trunk, presents a fascinating challenge to replicate with pencil and paper.
In this tutorial, we’re not only going to show you the technical aspects of drawing an olive tree, such as achieving the right texture for the bark or the delicate shape of the leaves, but we’ll also immerse you in the essence of what makes the olive tree so special. You’ll learn about its representation in art throughout the ages, from ancient frescoes to modern canvases, and how it has been a symbol of enduring strength and resilience.
We’ll start with a brief overview of the tools you’ll need, moving then to a discussion on understanding the olive tree’s unique form and structure. Our step-by-step guide will break down the drawing process into manageable sections, focusing on the tree’s base, the intricate network of branches, and the foliage, before adding final touches that bring depth and realism to your artwork.
Additionally, we’ll provide tips on how to observe olive trees in nature or through photographs, enabling you to capture their essence more authentically. This tutorial is designed to be comprehensive yet accessible, ensuring that artists at any level can achieve beautiful results. Whether you’re a novice artist looking to improve your skills or an experienced illustrator seeking new inspiration, the journey of drawing an olive tree offers a fulfilling path to both artistic growth and personal reflection.
So, let’s dive into this artistic endeavor together, equipped with pencils, erasers, and a keen eye for the beauty that surrounds us. By the end of this tutorial, you’ll not only have a stunning rendition of an olive tree but also a deeper appreciation for this magnificent symbol of nature’s enduring beauty.
Materials Required
To draw an olive tree, you will need the following materials:
- Drawing paper or sketchbook
- Pencils (preferably graphite pencils of varying hardness)
- Eraser (a kneaded eraser is great for drawing)
- Sharpener
- Pen or fine liner for outlining (optional)
- Colored pencils or markers (optional, if you want to add color to your drawing)
- Reference photo of an olive tree for inspiration and guidance
These materials will help you create a realistic and detailed drawing of an olive tree.
How to Draw an Olive Tree: a Step-by-step Guide
Step 1: Sketch the Basic Shape
Start by drawing a vertical line to represent the tree trunk. Then, roughly sketch the outline of the tree canopy using basic shapes like ovals and circles. This will help you establish the overall structure and proportions of the tree.
Step 2: Add Details to the Trunk
Enhance the trunk by adding texture and details such as rough bark patterns and any visible knots or twists. Olive tree trunks are often gnarled and twisted, so feel free to add irregularities to make it look more realistic.
Step 3: Define the Canopy
Focus on the foliage of the olive tree. Olive leaves are elongated and narrow, so draw small clusters of leaves along the branches. Pay attention to the way the leaves grow in an alternating pattern along the branches.
Step 4: Add Texture to the Leaves
To make the leaves look more realistic, add veins and serrated edges to them. You can achieve this by drawing lines radiating from the center of each leaf and small jagged edges along the sides.
Step 5: Include Olive Fruits
Olive trees are known for their fruits, so add small circular shapes to represent olives scattered throughout the canopy. Make sure to vary the sizes and placements of the olives to create a more natural look.
Step 6: Refine Details and Add Shadows
Take time to refine the details of your drawing, such as adding more depth to the leaves and adjusting the shading to create a sense of volume. Use hatching and cross-hatching techniques to add shadows and highlights to the tree trunk and foliage.
Step 7: Final Touches
Once you are satisfied with the overall look of your drawing, consider adding a background or additional elements to further enhance the composition. You can also use colored pencils or watercolors to add color to your drawing and bring it to life.
Tips:
- Study reference images of olive trees to observe their unique characteristics and details.
- Practice drawing different types of trees to improve your understanding of tree structures and textures.
- Experiment with different drawing techniques and tools to find what works best for you in capturing the essence of an olive tree.
Conclusion
In conclusion, drawing an olive tree is a wonderful way to explore the beauty of nature through art. By following the steps outlined in this article, you can create a stunning representation of this iconic tree, capturing its unique shape and character. Remember to take your time, observe the details of the tree, and let your creativity guide you as you bring your drawing to life. With practice and patience, you can master the art of drawing an olive tree and enjoy the process of expressing the natural world through your artwork.
Fun Facts About Olive Trees
- Olive trees are some of the oldest known cultivated trees, with evidence of cultivation dating back over 6,000 years.
- The olive tree is a symbol of peace, wisdom, and victory, and has been revered in many cultures throughout history.
- Olive trees have a long lifespan, with some trees living for hundreds, and even thousands, of years. There are olive trees in the Mediterranean region believed to be over 2,000 years old.
- Olive trees are incredibly resilient and can survive drought, poor soil conditions, and high temperatures, making them well-suited for the Mediterranean climate.
- Olive trees are evergreen, meaning they retain their leaves year-round, providing a beautiful and lush appearance to landscapes.
- Olive trees have a deep root system that can extend up to 20 feet into the ground, helping them access water and nutrients even in dry conditions.
- Olive trees produce fruit called olives, which are not only delicious but are also packed with health benefits, including being rich in antioxidants and healthy fats.
- Olive oil, which is extracted from olives, is a staple in Mediterranean cuisine and is renowned for its flavor and health benefits.
- Olive trees are important for biodiversity, providing habitats for various birds, insects, and other wildlife.
- Olive trees have cultural significance in many Mediterranean countries and are often featured in art, literature, and religious ceremonies.
Suggestions for Scenes and Settings for Olive Tree Drawings
Here are some specific suggestions for scenes and settings featuring Olive Trees in drawings:
- Mediterranean Countryside: Picture a serene olive grove in the rolling hills of the Mediterranean countryside, with sunlight filtering through the leaves and casting dappled shadows on the ground.
- Ancient Ruins: Imagine an ancient Greek or Roman setting with weathered olive trees standing tall amidst crumbling ruins, conveying a sense of history and timelessness.
- Harvest Season: Depict a bustling scene during olive harvest season, with farmers picking olives and baskets overflowing with fresh fruit, set against a backdrop of picturesque vineyards and mountains.
- Sunset by the Sea: Capture the beauty of an olive tree silhouetted against a vibrant sunset by the sea, with the colors of the sky reflected in the shimmering water.
- Mystical Forest: Create a magical scene of an enchanted olive tree forest, where the trees twist and intertwine, creating a sense of mystery and wonder.
- Olive Market: Illustrate a lively marketplace filled with stalls selling olives and olive products, with colorful umbrellas shading vendors and customers alike.
- Traditional Village: Draw a quaint village square lined with ancient olive trees, where locals gather to socialize and enjoy the shade on a hot summer day.
- Olive Oil Mill: Show the inner workings of an olive oil mill, with large stone mills crushing olives and barrels filled with freshly pressed oil, capturing the essence of traditional craftsmanship.
- Botanical Garden: Imagine an olive tree as the centerpiece of a lush botanical garden, surrounded by a variety of plants and flowers, creating a peaceful and harmonious setting.
- Fairy Tale Landscape: Let your imagination run wild and create a whimsical, fairy tale-inspired landscape featuring talking olive trees, magical creatures, and fantastical elements that transport viewers to a world of wonder and enchantment.