Welcome to this step-by-step guide on how to draw a shrimp! Whether you are an aspiring artist looking to improve your drawing skills or simply want to have fun with a new creative project, this tutorial will help you create a realistic and detailed representation of a shrimp. So grab your drawing materials and let’s get started!
Materials Required
Before we begin, make sure you have the following materials:
- Drawing paper: Choose a good quality paper that is durable and suitable for your preferred drawing medium.
- Pencil: Use a pencil with a medium or soft lead, which allows for easy shading and erasing.
- Eraser: A kneaded eraser works best for clean and precise erasing.
- Fine-tip pens or markers (optional): If you want to add ink outlines or details to your drawing, pens or markers can be used.
- Colored pencils or watercolor paints (optional): If you wish to add color to your drawing, colored pencils or watercolor paints can be used.
Now that you have your materials ready, let’s dive into the step-by-step process of drawing a shrimp.
Step 1: Basic Shapes
Begin by lightly sketching the basic shapes that make up the shrimp’s body. Start with an oval shape for the main body, slightly elongated towards one end. Add a smaller oval shape for the head, attaching it to the larger oval. Finally, draw two elongated shapes for the shrimp’s antennae.
Step 2: Add Details to the Body
Next, start adding more details to the shrimp’s body. Sketch the outline of the body, following the basic oval shape. Pay attention to the curves and contours of the shrimp’s body, making it appear more realistic. Add some lines to define the segments of the body, creating a textured effect.
Step 3: Draw the Eyes
Moving on to the head, draw the shrimp’s eyes. Shrimp have stalked eyes, so sketch two small circles on stalks at the front of the head. Add a tiny dot inside each circle to represent the pupils. This will give the shrimp a more lifelike appearance.
Step 4: Antennae and Legs
Now, let’s focus on the shrimp’s antennae and legs. Using the shape you sketched earlier, add more detail to the antennae. Shrimp have long, thin antennae that can be curved or straight. Draw several segments along the length of each antenna to make it more realistic. For the legs, draw a series of curved lines extending from the body. Shrimp have five pairs of legs, so make sure to draw ten in total.
Step 5: Finishing Touches
To complete your shrimp drawing, refine the details and add any additional touches. Pay attention to the texture on the shrimp’s body, adding small lines and bumps to create a realistic effect. Erase any unnecessary guidelines or overlapping lines. If you want to take your drawing to the next level, you can outline your pencil drawing with fine-tip pens or markers to create a bold and defined look. Additionally, you can add color using colored pencils or watercolor paints to enhance the vibrancy of your artwork.
Conclusion
Congratulations! You have successfully learned how to draw a shrimp from start to finish. By following these step-by-step instructions and adding your creativity, you’ve created a detailed and realistic representation of this fascinating creature. Remember, practice makes perfect, so keep exploring different drawing techniques and subjects to continue honing your artistic skills. Enjoy the process and have fun with your new drawing abilities!
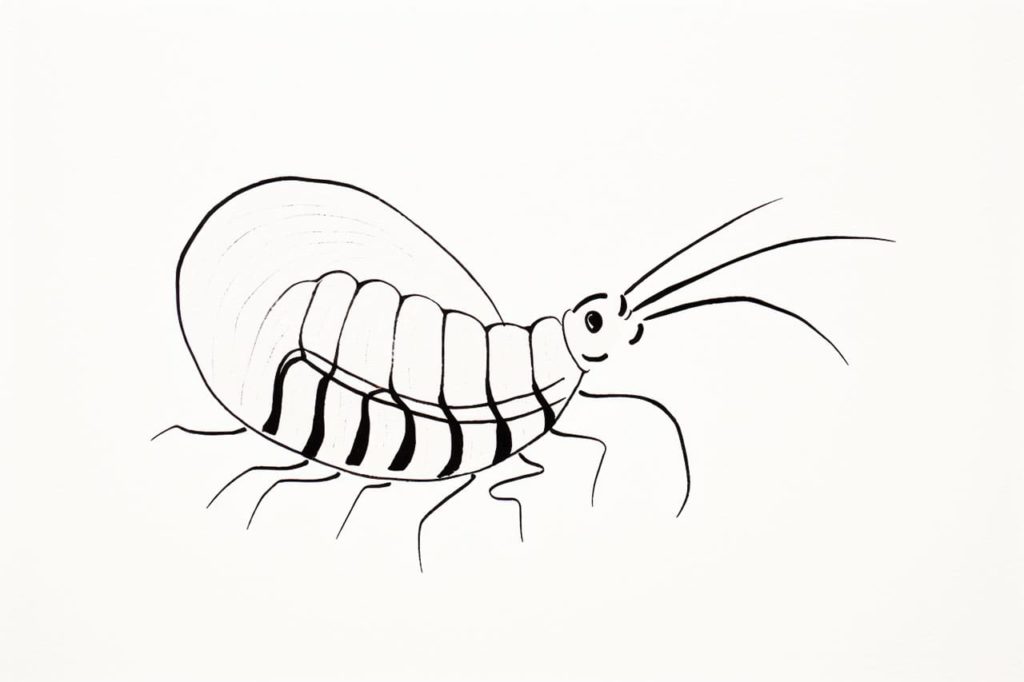
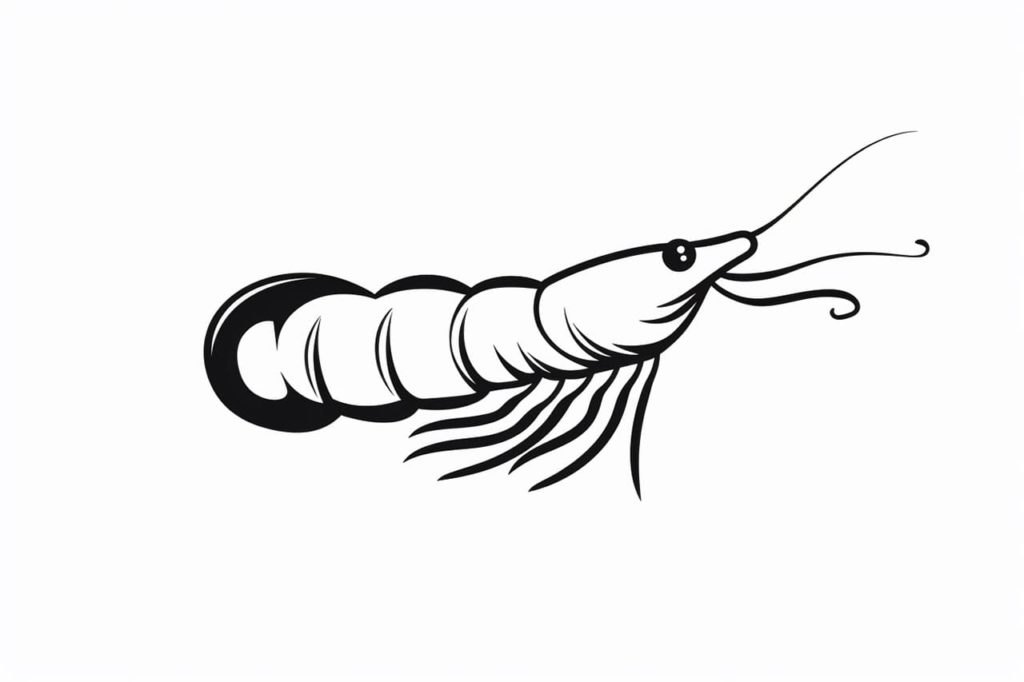
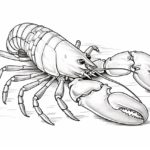
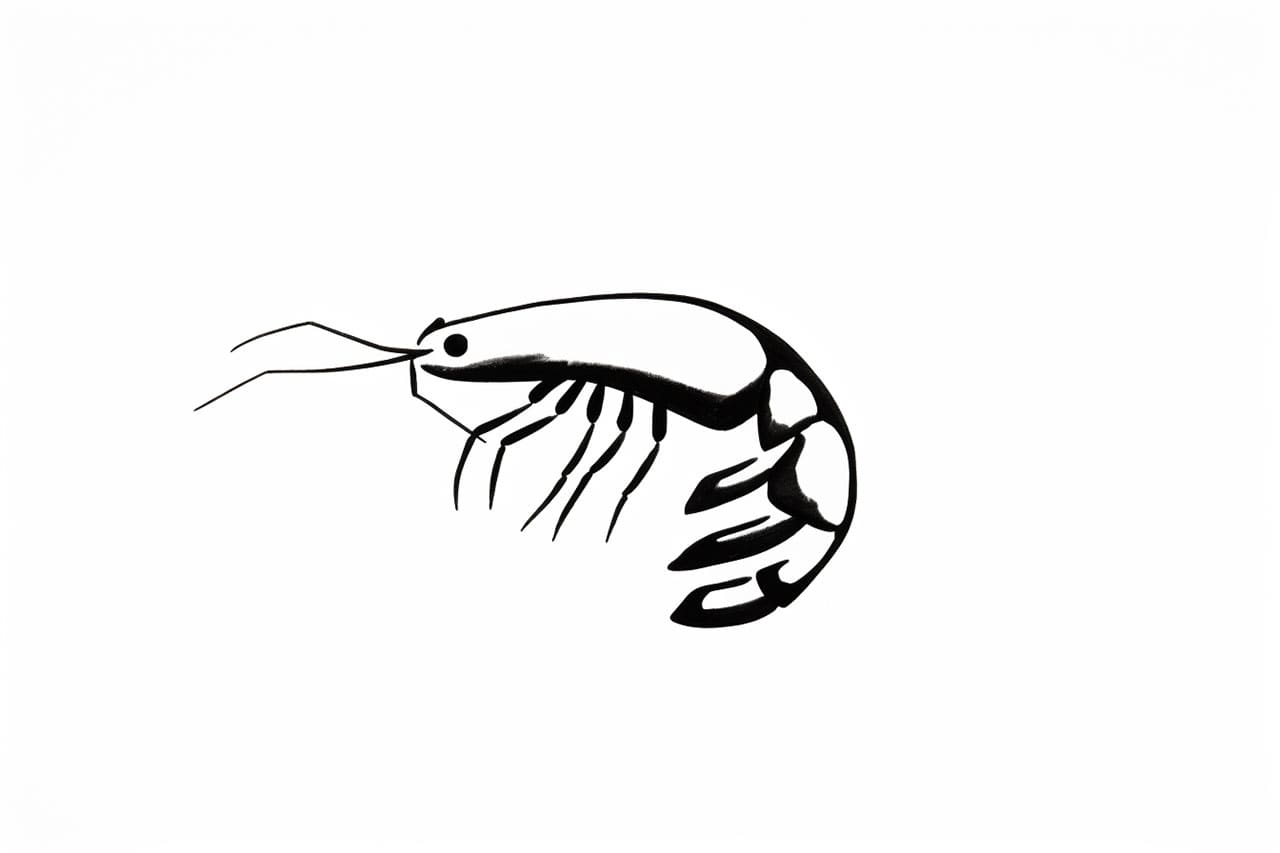
Gallery of Shrimp Drawings