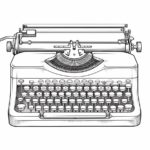
Are you a fan of sewing or interested in learning more about sewing machines? Drawing a sewing machine can be a fun and creative way to express your passion for this craft. In this step-by-step guide, I will walk you through the process of drawing a sewing machine, from basic shapes to adding intricate details. So grab your pencils and let’s get started!
Materials Required
To draw a sewing machine, you will need the following materials:
- Paper: Use a sheet of plain white paper or a sketchbook to start your drawing.
- Pencils: Have a range of pencils with different hardness levels (HB, 2B, 4B) to add depth and shading to your drawing.
- Eraser: Make sure to have a good quality eraser to fix any mistakes or lighten pencil lines.
- Ruler: A ruler will come in handy to create straight lines and precise measurements.
- Fineliner or Pen: Optionally, you can use a fineliner or pen to outline your drawing once you are satisfied with the pencil sketch.
Now that you have gathered your materials, let’s dive into the step-by-step process of drawing a sewing machine!
Step 1: Basic Shapes
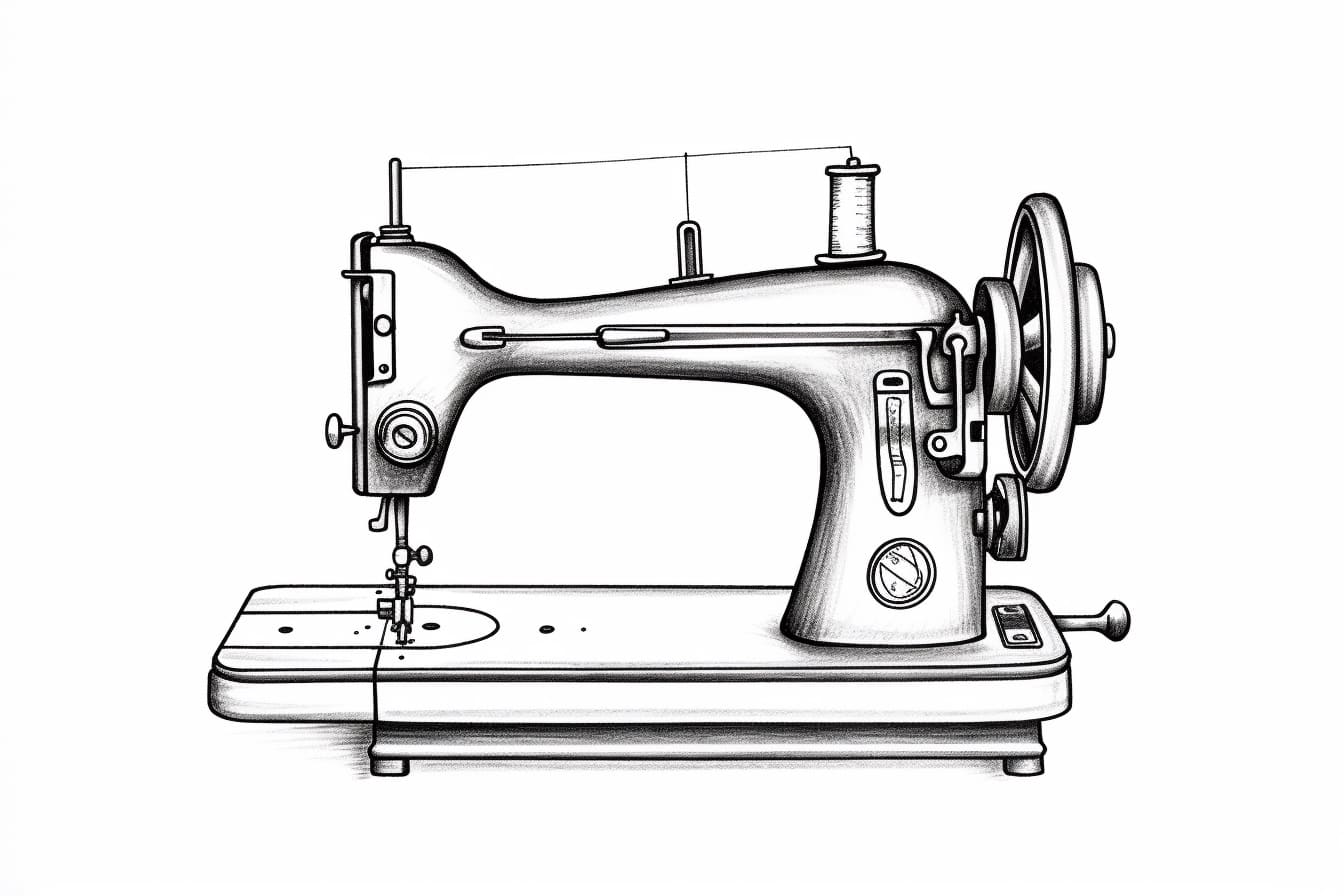
Start by drawing a large rectangle in the center of your paper. This rectangle will serve as the main body of the sewing machine. Next, add a smaller rectangle at the top of the first one, slightly wider than the main body. This smaller rectangle will be the sewing machine’s handle. Finally, draw a vertical line through the center of the main body to divide it into two sections.
Step 2: Adding Detail to the Body
On the left side of the main body, draw a smaller rectangle near the bottom. This will be the compartment where the thread spool is placed. Next to the thread spool compartment, draw a circular shape for the tension knob. Above the tension knob, draw a small rectangle for the stitch selection dial. On the right side of the main body, draw a rectangle towards the top to represent the control panel.
Step 3: Drawing the Needle and Presser Foot
Draw a thin, vertical rectangular shape on the right side of the control panel to represent the needle. Extend a diagonal line from the top of the needle to create the needle’s point. Below the needle, draw a horizontal line to represent the base of the presser foot. Add small rectangles or squares on either side of the presser foot to represent the feed dogs.
Step 4: Designing the Bobbin Area
Below the main body, draw a curved rectangular shape to represent the bobbin area. Add small lines or details to indicate the bobbin thread and any additional features of your sewing machine.
Step 5: Refining the Details
Now that you have the basic outline of the sewing machine, it’s time to refine the details. Use your pencil to add shading and depth to the different parts of the sewing machine. Pay attention to light sources and add shadows accordingly. Use your eraser to highlight areas that need to be brighter or to fix any mistakes.
Step 6: Outlining the Drawing
Once you are satisfied with your pencil sketch, you can go over the lines with a fineliner or pen. Start by outlining the main body of the sewing machine, including all the smaller compartments and details. Then, move on to the needle, presser foot, and other elements. Take your time and make sure the lines are smooth and clean.
Conclusion
Drawing a sewing machine is a great way to explore your artistic skills and showcase your love for sewing. By following these step-by-step instructions, you can create a detailed and realistic representation of a sewing machine. Remember to take your time, practice, and have fun with it! Happy drawing!

