Welcome to this step-by-step guide on how to draw a chalkboard! Whether you’re an aspiring artist, a teacher looking to add a touch of creativity to your classroom, or simply someone who enjoys DIY projects, learning how to draw a chalkboard can be a fun and rewarding experience. In this article, we will guide you through the process of creating your very own chalkboard using simple materials and techniques. So grab some chalk and let’s get started!
Materials Required
Before we begin, let’s gather the materials you will need for this project:
- Drawing paper or a chalkboard surface: You can use a sheet of drawing paper if you’d like to practice before moving onto a larger surface. Alternatively, you can use a chalkboard surface such as a chalkboard wall, a chalkboard panel, or even a chalkboard spray paint applied to a smooth surface like wood or metal.
- Chalk: Select a set of chalk in various colors. Traditional white chalk is a popular choice, but feel free to get creative and use colored chalk for added visual interest.
- Erasers: Keep a few erasers handy to correct any mistakes or smudges during the drawing process.
- Ruler or straightedge: A ruler or straightedge will help you create clean and straight lines when necessary.
- Rag or paper towel: You’ll need a rag or paper towel to clean the chalkboard surface or your hands if they get dirty.
Now that you have your materials ready, let’s delve into the step-by-step process of drawing a chalkboard.
Step 1: Prepare Your Surface
If you’re using a chalkboard surface, make sure it is clean and free from any dust or debris. If you’re using drawing paper, ensure it is smooth and without any creases or wrinkles. A flat, even surface is essential for drawing a neat and professional-looking chalkboard.
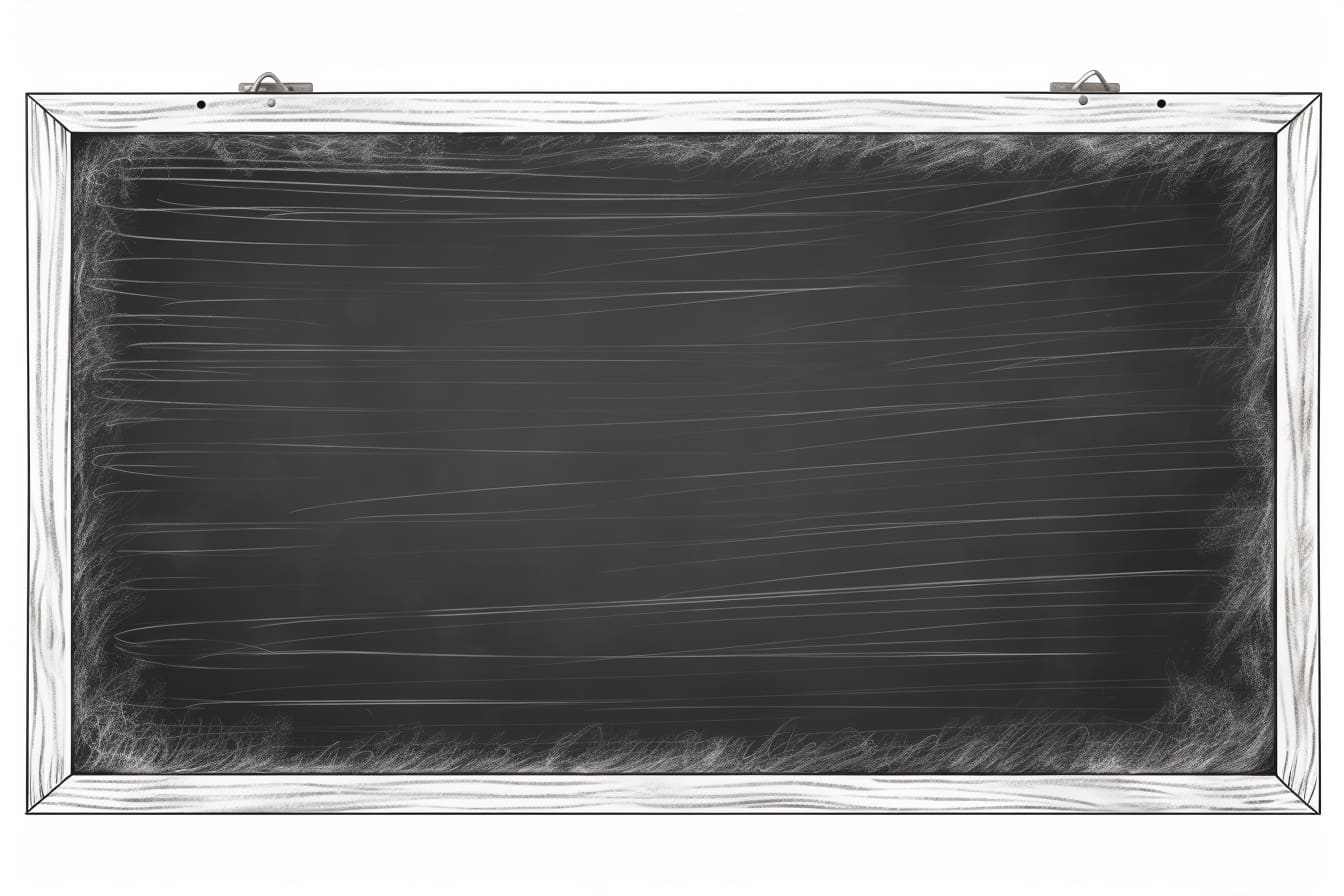
Step 2: Draw the Outer Frame
Using a ruler or straightedge, draw the outer frame of your chalkboard. Start by drawing two parallel horizontal lines that are evenly spaced apart. Then, draw two vertical lines that connect the ends of the horizontal lines. This will create a rectangle shape, representing the outer boundary of your chalkboard.
Step 3: Add Texture to the Frame
To make your chalkboard appear more realistic, add some texture to the frame. Start by lightly sketching horizontal lines within the rectangle shape, following the direction of the frame. These lines will represent the wood grains or the surface texture of your chalkboard.
Step 4: Create the Chalkboard Surface
Within the frame, draw a smaller rectangle to represent the chalkboard surface. To give it a more authentic look, draw slightly curved lines at the top and bottom of the rectangle to emulate the rounded corners of a traditional chalkboard.
Step 5: Fill in the Chalkboard Surface
Using a light touch, fill in the chalkboard surface with white chalk. Make sure to cover the entire area evenly. This will serve as the base color of your chalkboard.
Step 6: Add Shadows and Highlights
To make your chalkboard appear more three-dimensional, add shadows and highlights. Use a darker shade of chalk to create shadows on the edges of the frame and the corners of the chalkboard surface. Then, use a lighter shade of chalk to add highlights to the center of the chalkboard surface and the middle portion of the frame.
Step 7: Draw Chalk Dust
For an authentic touch, draw chalk dust on the chalkboard surface. Use a soft touch and a light gray or cream-colored chalk to create small, scattered dots or smudges on the surface. This will give your chalkboard a well-used and realistic appearance.
Step 8: Add Text or Illustrations
Now that your chalkboard is complete, it’s time to add some text or illustrations. Use colored chalk to write messages, draw diagrams, or create visual elements on the chalkboard surface. Let your imagination run wild and have fun expressing your creativity!
Step 9: Clean up and Erase
After you’ve finished drawing, it’s important to clean up any excess chalk dust and erase any unwanted marks. Use a rag or paper towel to gently wipe away the excess chalk dust from the surface, making sure it is clean and ready for future use.
Conclusion
Drawing a chalkboard is a simple and enjoyable process that allows you to unleash your creativity. Through these step-by-step instructions, you have learned how to draw a chalkboard using basic materials such as drawing paper, chalk, erasers, and rulers. Remember to have fun with the process and experiment with different techniques to personalize your chalkboard. Whether it’s for educational purposes, decorative use, or simply as a creative outlet, a hand-drawn chalkboard adds a unique touch to any space. So pick up your chalk and start creating!