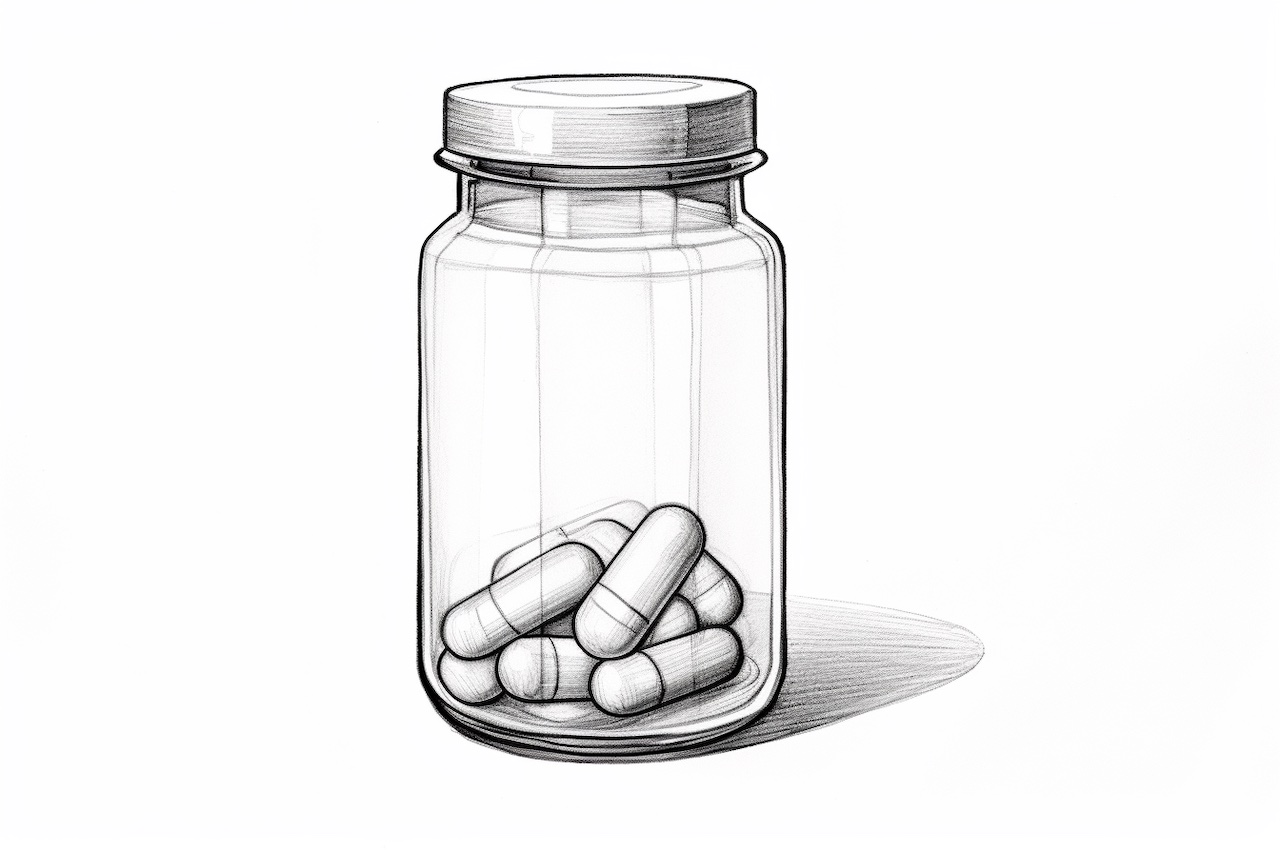
Drawing objects accurately can be a rewarding and therapeutic activity. In this step-by-step guide, I will walk you through the process of how to draw a pill bottle. By following these instructions, you will learn some fundamental techniques of sketching, shading, and proportion. So grab your drawing tools and let’s get started!
Materials Required:
- A pencil (preferably HB or 2B)
- A sketchbook or drawing paper
- An eraser
- A ruler
- A pen or fine-tip marker (optional)
- Colored pencils or markers (optional)
Step 1: Start with Basic Shapes
Begin by lightly sketching the basic shape of the pill bottle. Imagine it as a rectangular prism, with a slightly curved top and bottom. Use your ruler to ensure straight lines and maintain the proportions of the bottle. You don’t need to worry about the details at this stage; you should focus on capturing the overall shape.
Step 2: Add the Cap
Next, draw the cap of the pill bottle. It usually has a rounded shape with tiny ridges on the sides for easy grip. Make sure to position the cap accurately on top of the bottle, leaving a small gap between the two.
Step 3: Refine the Shape
Now it’s time to refine the shape of the pill bottle. Use your pencil to darken the outlines and add more definition to the body of the bottle. Pay attention to any curves or angles. Take your time to achieve a clean and precise shape.
Step 4: Draw the Label
Pill bottles usually have labels that contain important information. Draw a rectangle in the center of the bottle to represent the label. It should be slightly smaller than the bottle’s width and height. Remember to include any curves or folds in the label.
Step 5: Add Details to the Label
To make the label look more realistic, add some details. Draw horizontal lines across the label to represent text. You can also add small graphics or symbols if you like. Keep the lines neat and evenly spaced.
Step 6: Draw the Pill Count
On the label, draw a small rectangle or oval shape to represent the window where the pill count is displayed. This area is usually transparent, allowing you to see the number of pills inside the bottle. Make sure to position the count accurately within the window.
Step 7: Shade the Bottle
To give your drawing depth and dimension, add shading to the pill bottle. Determine the direction of the light source, and shade one side of the bottle accordingly. Use hatching or cross-hatching techniques to indicate shadows and highlights. Gradually build up the shading, making it darker towards the edges and corners.
Step 8: Shade the Cap and Label
Apply shading to the cap and label. The cap may have a shiny or matte surface, so adjust the shading accordingly. Keep in mind that the label is usually made of paper, so avoid heavy shading. Use lighter strokes to represent the texture and folds of the label.
Step 9: Refine the Details
Now it’s time to refine the details of the pill bottle. Use your pencil to add any necessary lines, such as the ridges on the cap or the thread pattern on the bottle’s neck. Pay attention to small details that will make your drawing more realistic.
Step 10: Erase Guidelines
Carefully erase any remaining guidelines that are no longer needed. Use an eraser or a kneaded eraser to remove any visible pencil marks. Be gentle to avoid smudging or damaging your drawing.
Step 11 (Optional): Ink the Drawing
If you want to add more definition and precision to your drawing, you can use a pen or fine-tip marker to ink the outlines. Wait for the ink to dry before erasing any remaining pencil marks. This step is optional but can add a professional touch to your artwork.
Step 12 (Optional): Color Your Drawing
If you prefer a colored drawing, you can use colored pencils or markers to add vibrant hues to your pill bottle. Select the colors you want to use and apply them carefully, paying attention to shading and highlights. Experiment with different techniques to achieve the desired effect.
Conclusion
Drawing a pill bottle may seem challenging at first, but by following these step-by-step instructions, you can create a realistic and detailed representation. Remember to take your time and practice regularly to improve your skills. With each drawing, you will gain more confidence and mastery over the art of sketching. Happy drawing!


