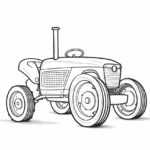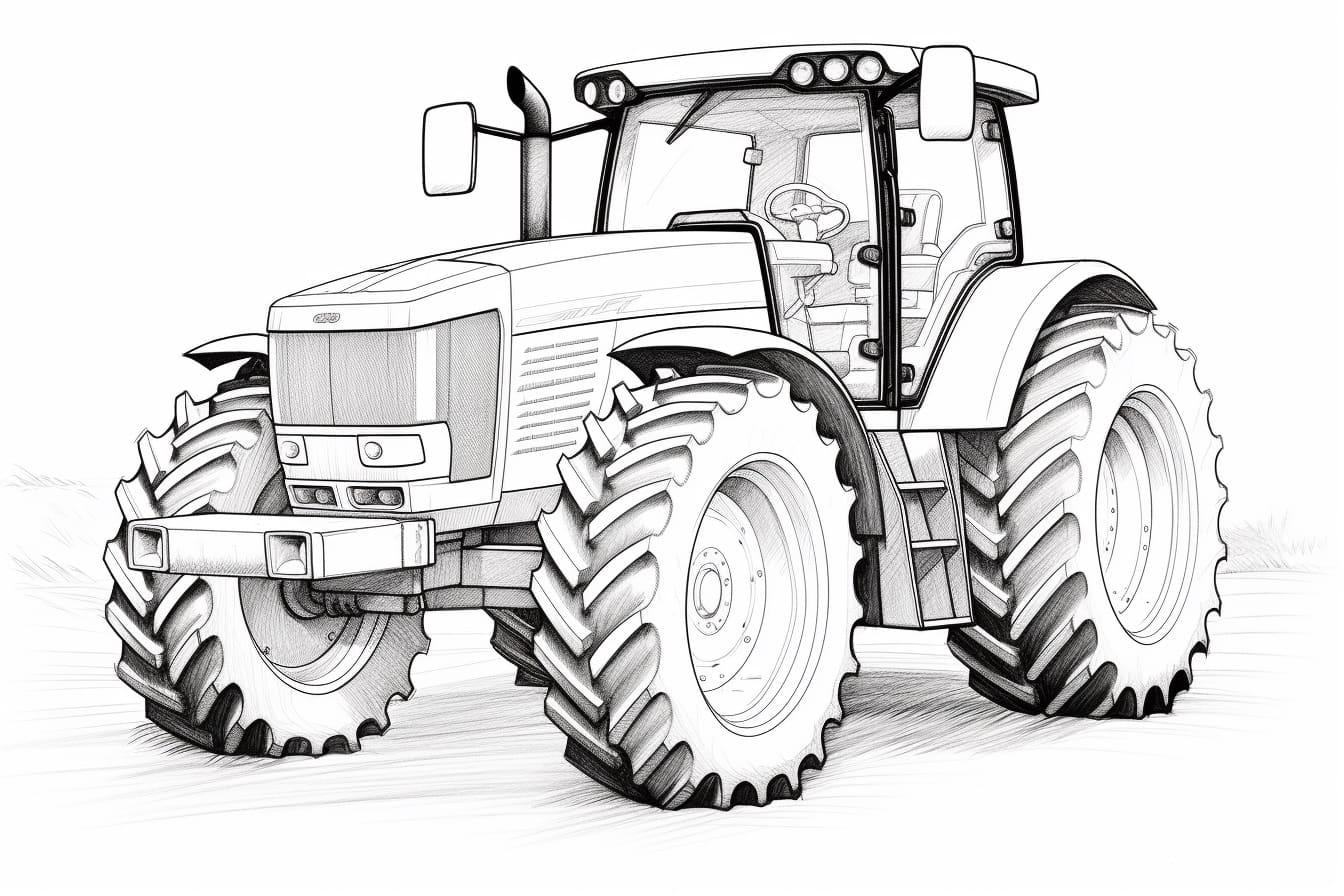
If you’ve ever wanted to learn how to draw a John Deere tractor, you’re in luck! In this step-by-step tutorial, I will guide you through the process of creating a realistic and detailed drawing of one of the most iconic farming vehicles. So, grab your pencil and let’s get started!
Materials Required
Before we begin, make sure you have the following materials ready:
- Drawing paper or sketchbook
- Pencils (preferably a range of graphite pencils from 2H to 6B)
- Eraser
- Ruler
- Reference photo of a John Deere tractor (you can find one online or use a printed image)
Now that you have everything you need, let’s delve into the drawing process!
Step 1: Start with Basic Shapes
Begin by lightly sketching the basic shapes that make up the tractor. Start with an elongated rectangle for the main body of the tractor. Then, attach two smaller rectangles on either side to represent the front and back wheels. Use a ruler to ensure straight lines and proportionate shapes.
Step 2: Add the Wheels
Next, draw circles within the rectangles to indicate the wheels. Make sure the size of the wheels is proportionate to the body of the tractor. Since we are drawing a John Deere tractor, you can make the back wheels slightly larger than the front ones.
Step 3: Outline the Body and Cab
Using the basic shapes as guides, start outlining the body of the tractor. Pay attention to the curves, angles, and details. John Deere tractors have a distinctive design, so take your time to capture the unique features. Sketch the cab on top of the main body, keeping in mind the proportions and positioning.
Step 4: Refine the Wheels and Axle
Refine the circles representing the wheels by adding more definition and depth. Use shading techniques to give them a three-dimensional appearance. Draw the axles connecting the wheels to the body of the tractor using straight lines.
Step 5: Detail the Front of the Tractor
Focus on the front part of the tractor by adding the grill, lights, and other details specific to the John Deere model you are drawing. Take reference from the photo you are using to ensure accuracy. Pay attention to the small details like the logo and any additional features.
Step 6: Draw the Back and Side Details
Move on to sketching the back and side details of the tractor. This includes the exhaust pipe, fenders, steps, and any other distinctive features. Take your time to capture the intricacies of these details, as they add realism to your drawing.
Step 7: Refine the Drawing
Now that you have the main elements of the tractor outlined, it’s time to refine your drawing. Go over the initial sketch and darken the lines, making them more defined. Remove any unnecessary lines and adjust proportions if needed. Pay attention to the shading and highlights to add depth and dimension.
Step 8: Add Shadows and Highlights
Using your range of graphite pencils, start adding shadows and highlights to your drawing. Identify the light source and imagine where the shadows would fall on the tractor. Gradually build up the shading, starting with lighter tones and gradually adding darker tones for depth and realism.
Step 9: Fine-tune the Details
Take a step back and analyze your drawing. Look for any areas that need additional refinement or adjustment. Add any missing details, such as logos, lettering, or textures. Use your eraser to clean up any smudges or mistakes, and make any necessary adjustments to ensure your drawing looks polished.
Step 10: Finish with Background and Final Touches
To complete your drawing, add a simple background or setting to enhance the overall composition. It could be a field, barn, or any other element that complements the subject. Finally, take a moment to review your drawing and make any final touches or adjustments to bring your artwork to life.
Congratulations! You have successfully learned how to draw a John Deere tractor from start to finish. Keep practicing and experimenting with different drawing techniques to further develop your skills.
Conclusion
In this tutorial, we covered the step-by-step process of drawing a John Deere tractor. By following these instructions and using reference photos, you can create a realistic and detailed representation of this iconic farming vehicle. Remember to start with basic shapes, refine the details, and add shadows and highlights to bring your drawing to life.
So, grab your pencils and start sketching your very own John Deere tractor today! Happy drawing!