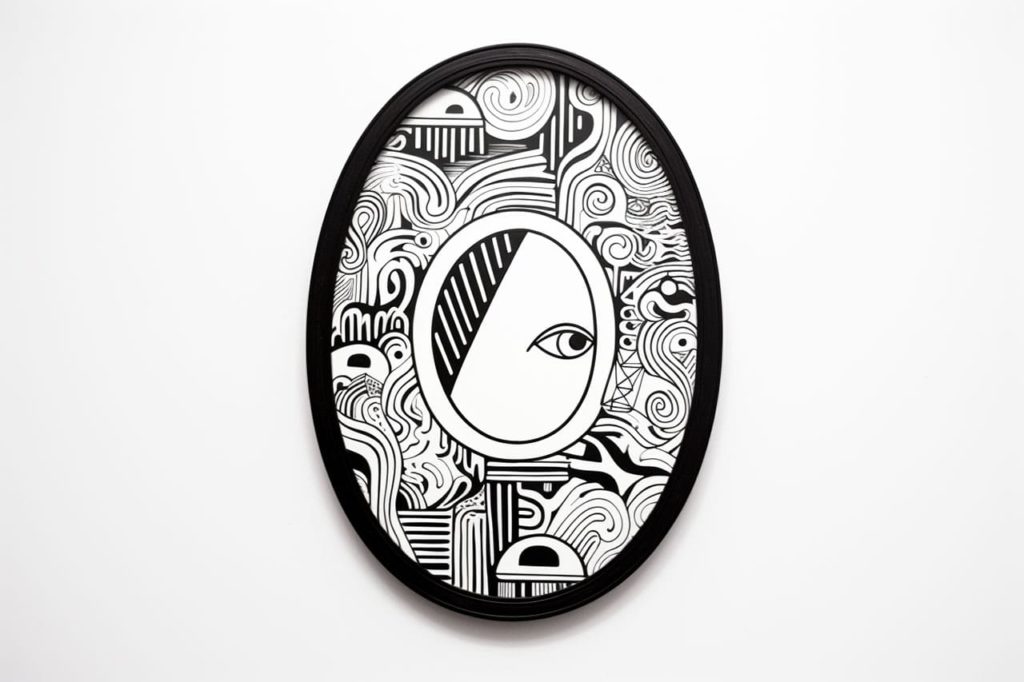
Welcome to this step-by-step guide on how to draw a mirror. Whether you’re an experienced artist or a beginner, drawing a mirror can be a fun and rewarding exercise. This tutorial will teach you the techniques and tips needed to create a realistic-looking mirror on paper. So, grab your drawing supplies and let’s get started!
Materials Required
Before we begin, let’s gather the materials you’ll need for this drawing:
- Paper: Choose a smooth and sturdy drawing paper that can handle different drawing techniques.
- Pencils: Have a range of graphite pencils, including HB, 2B, 4B, and 6B, for shading and details.
- Eraser: A kneaded eraser is recommended for its flexibility and ability to lift graphite cleanly.
- Blending Tools: Use a blending stump or tortillon for smoothing and blending pencil marks.
- Ruler: A ruler will help you create straight and accurate lines.
Now that we have everything we need, let’s move on to the step-by-step process of drawing a mirror.
Step 1: Sketch the Outline
Start by lightly sketching the basic outline of the mirror on your paper using an HB pencil. Focus on capturing the general shape and proportions of the mirror. Pay attention to any unique details or designs that may be present on the frame.
Step 2: Add Details
Once you are satisfied with the outline, begin adding more details to your drawing. Use a sharper pencil, like a 2B, to define the edges of the mirror and enhance the frame’s features. Take your time and observe any reflections or patterns on the mirror’s surface. These details will add realism to your drawing.
Step 3: Create Reflections
To make the mirror appear lifelike, you’ll need to draw realistic reflections. Look at the objects or scenery reflected in the mirror and observe their shapes and values. Use a lighter pencil, such as a 4B, to lightly sketch the reflections. Remember to take into account any distortions caused by the mirror’s surface.
Step 4: Start Shading
Now it’s time to add shading to your drawing. Begin by identifying the light source and the areas of the mirror that would be in shadow. Use a 2B or 4B pencil to lightly shade these areas, gradually building up the darkness. Pay attention to the values and the way light interacts with the mirror’s surface.
Step 5: Refine the Reflections
Continue to refine the reflections on the mirror’s surface. Use a blending stump or tortillon to smoothly blend and soften the pencil lines. This will create a more realistic and seamless reflection effect. Take your time during this step, as achieving the right balance of shading and blending is crucial for a convincing mirror drawing.
Step 6: Add Texture and Details
To make your drawing more realistic, add texture and details to the mirror’s frame. Use various pencil techniques, such as cross-hatching or stippling, to create the desired texture. Pay attention to the materials and patterns used in the frame’s design. Remember to use lighter pressure when adding details to avoid overpowering the reflections.
Step 7: Finalize the Shading
Take a step back and assess your drawing as a whole. Make any necessary adjustments to the shading and values to achieve the desired level of realism. Use your pencils to darken the shadows and add depth to the mirror. Lightly blend the shading with a blending stump to create a smooth transition between light and dark areas.
Conclusion
Drawing a mirror can be a challenging yet rewarding exercise. By carefully observing the reflections, shading, and details, you can create a realistic-looking mirror on paper. Remember to be patient, take your time, and enjoy the process. With practice, you’ll be able to master the art of drawing mirrors.
So, grab your drawing supplies and start creating your own stunning mirror illustrations today!