Drawing is a wonderful form of self-expression and creativity. In this tutorial, we will guide you through the process of drawing a toaster. With just a pencil and paper, you can create a realistic representation of this useful kitchen appliance. So let’s get started and bring this toaster to life on the page!
Materials Required
Before we begin, gather the following materials:
- A pencil (preferably a 2B or HB)
- Eraser
- Drawing paper or sketchbook
- Ruler
- Reference image of a toaster (optional)
Step 1: Basic Shape
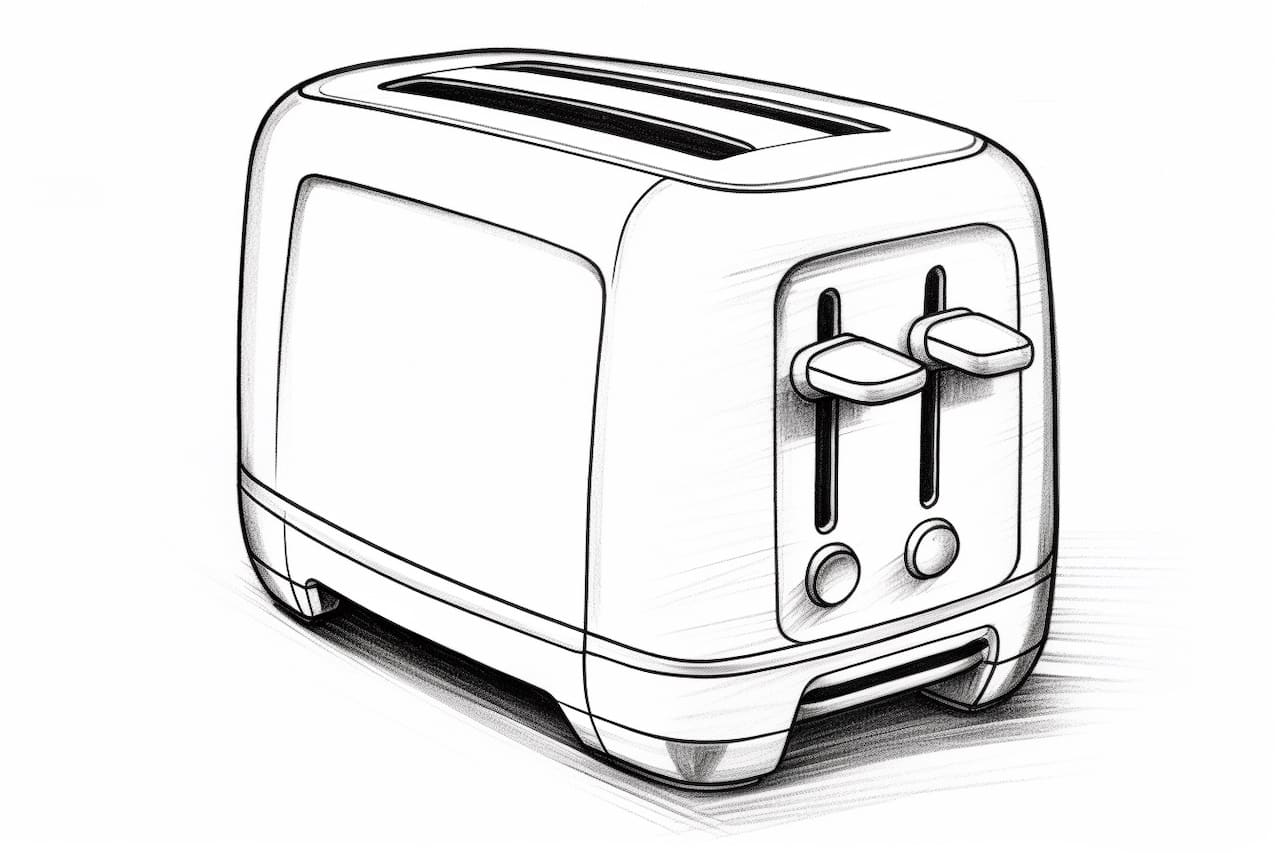
Start by drawing a rectangular shape in the middle of your paper. This will be the main body of the toaster. Use a light touch and straight lines to create the outline. Don’t worry about making it perfect as we can refine it later.
Step 2: Adding Depth and Dimension
To give the toaster a three-dimensional look, we need to add some depth. On the top of the rectangular shape, draw two short parallel lines. These lines will represent the opening where the bread is inserted. Next, draw two vertical lines on the sides of the toaster, extending slightly above and below the main shape. These lines will help create the illusion of thickness.
Step 3: Outline the Details
Now it’s time to add some details to our toaster. Starting from the top left corner of the main shape, draw a diagonal line that connects to the top of the parallel lines. Repeat this step on the right side. These lines will form the upper part of the toaster.
Next, draw two vertical lines inside the opening of the toaster, representing the heating elements. Add a small rectangle at the bottom of the main shape to indicate the tray where the bread crumbs collect. Finally, draw a small circle at the center of the upper part of the toaster to represent the control knob.
Step 4: Refining the Shape
Go over the outline of the toaster with more defined and darker lines. Use your ruler to create straight lines and ensure the proportions are accurate. Take your time in this step to make any necessary adjustments and perfect the shape of the toaster.
Step 5: Shading and Texture
To make our drawing more realistic, we need to add shading and texture. Begin by shading the areas where the toaster would cast shadows, such as the sides and bottom of the toaster. Use light, diagonal strokes to create a smooth and even shading effect.
Next, add some texture to the toaster’s surface. Use small, curved lines to create the appearance of bumps and ridges. Pay attention to the reference image, if using one, to capture the texture accurately.
Step 6: Reflections and Highlights
To make the toaster look shiny and reflective, we need to add reflections and highlights. On the curved surfaces of the toaster, use an eraser to carefully remove some of the shading, creating bright areas. This will give the illusion of light reflecting off the glossy surface.
Additionally, add small white highlights to the control knob and the edges of the toaster to make them stand out. These highlights will make the drawing more dynamic and realistic.
Conclusion
Congratulations! You have successfully learned how to draw a toaster. By following these step-by-step instructions, you have created a realistic representation of this everyday kitchen appliance. Remember, practice makes perfect, so keep honing your drawing skills and experimenting with different subjects.
Drawing is a fantastic way to unleash your creativity and improve your artistic abilities. We hope this tutorial has inspired you to continue exploring the world of drawing. So grab your pencil and paper, and let your imagination soar!