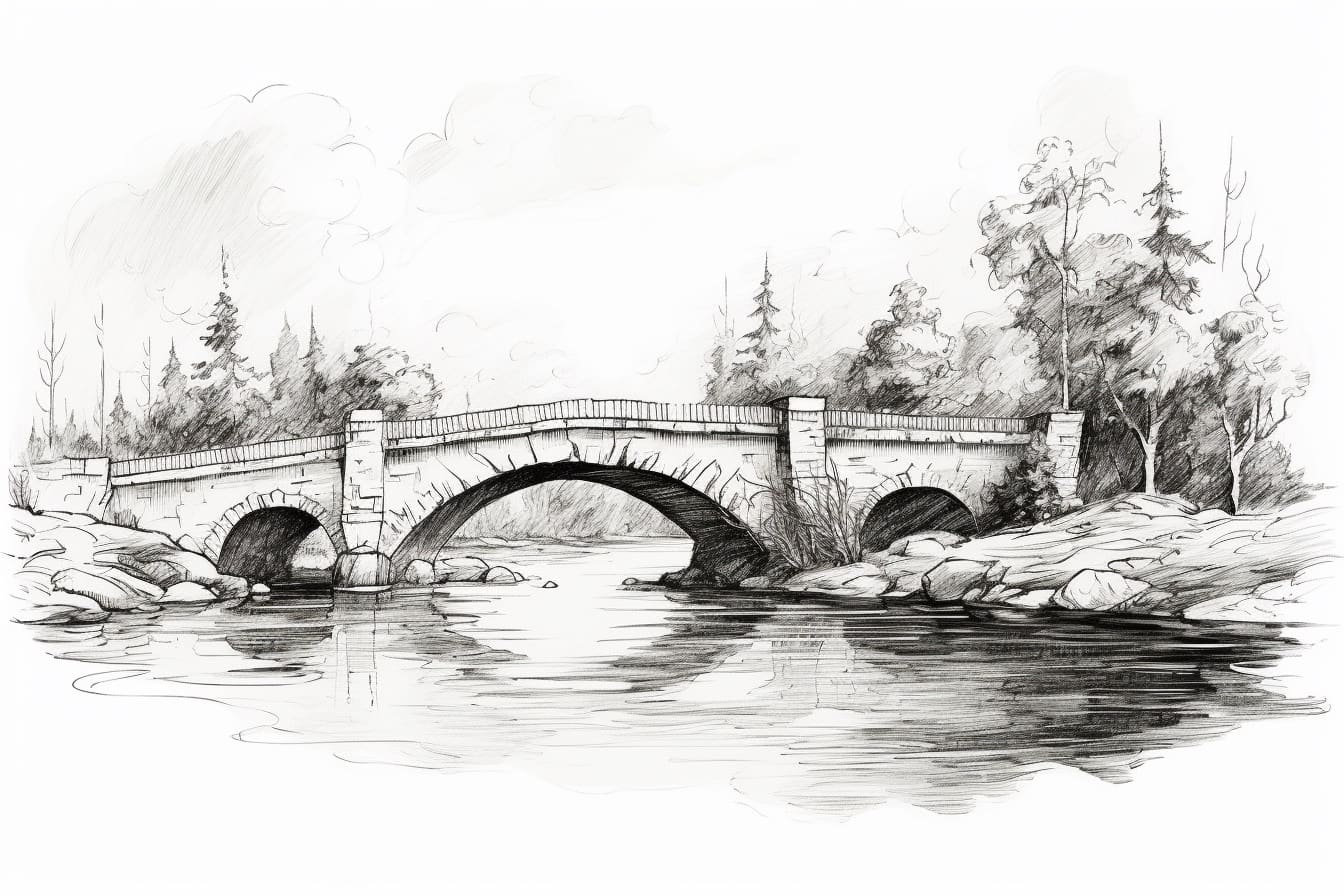
Do you have a fascination with bridges and want to learn how to capture their beauty on paper? Drawing a bridge over a river may seem like a challenging task, but with the right techniques and guidance, you can create a stunning artwork that showcases this architectural marvel. In this step-by-step guide, we will walk you through the process of drawing a bridge over a river, starting from the basic structure to the finest details. So grab your sketchbook and let’s dive in!
Materials Required
Before we begin, make sure you have the following materials at hand:
- Sketchbook: Choose a sketchbook with good quality paper that can handle different drawing mediums.
- Pencils: Have a range of pencils with different hardness levels (HB, 2B, 4B, etc.) to create varying shades and details.
- Eraser: Use a kneaded eraser for precise corrections and a regular eraser for larger areas.
- Ruler: A straight ruler will come in handy for drawing straight lines and measuring proportions.
- Fine-liner Pens: These pens are ideal for adding fine details and outlines.
- Watercolor or colored pencils (optional): If you want to add color to your drawing, have watercolor or colored pencils ready.
Now that you have all the necessary materials, let’s begin our artistic journey!
Step 1: Observe and Sketch the Basic Structure
Before starting your drawing, take a moment to observe the bridge you want to draw. Pay attention to the shape, arches, and any unique features that make it distinct. Begin by lightly sketching the basic structure of the bridge using a pencil. Start with simple shapes and lines to outline the main structure. Remember, this is just a rough sketch to establish proportions.
Step 2: Refine the Shape and Add Details
Once you are satisfied with the basic structure, start refining the shape of the bridge by adding more details. Use a slightly darker pencil to create clearer outlines and define the arches, columns, and railings of the bridge. Pay close attention to the perspective and ensure that the proportions are accurate.
Step 3: Draw the River
Now, let’s move on to drawing the river beneath the bridge. Using your ruler, draw a horizontal line across the page to represent the horizon. This line should align with the bottoms of the bridge’s arches. From this line, draw wavy lines to depict the flowing water of the river. Add some ripples and reflections to make it more realistic. Remember to maintain the perspective, making the river appear narrower as it recedes into the distance.
Step 4: Add Texture to the Bridge
To make the bridge look more realistic, add texture to it. Observe the surface of the bridge and identify any textures or patterns present. Using light strokes, shade the surface accordingly, recreating the texture of the materials used in its construction. If the bridge has rust, moss, or any weathering effects, add those details as well, using a darker pencil to create contrast.
Step 5: Draw the Surrounding Environment
Now, let’s complete the scene by drawing the surrounding environment. If there are trees, buildings, or other elements nearby, sketch them in the background. Pay attention to the perspective and make sure they fit harmoniously with the bridge and the river. Use lighter lines for distant objects to create the illusion of depth.
Step 6: Add Shadows and Highlights
To bring your drawing to life, add shadows and highlights. Observe the direction of light in your reference image or imagine a light source. Use cross-hatching or shading techniques to add depth and volume to the bridge and its surroundings. Enhance the contrast by darkening the shadows and leaving some areas lighter to represent highlights.
Step 7: Optional – Add Color
If you prefer a colorful artwork, this is the perfect moment to add color to your drawing. Use watercolor or colored pencils to carefully apply layers of color to the bridge, river, and surroundings. Remember to start with lighter shades and gradually build up the colors. Pay attention to the reflections and shadows in the water, as they can greatly enhance the realism of your artwork.
Conclusion
Drawing a bridge over a river may seem daunting at first, but with patience and practice, you can create a stunning piece of art that captures the beauty and grandeur of these architectural marvels. By following these step-by-step instructions, using the right materials, and paying attention to details, you’ll be able to create a realistic and engaging drawing that showcases your artistic skills. So, pick up your sketchbook and start drawing bridges that transport your imagination! Happy drawing!


