Welcome to this tutorial on how to draw a bowl of cereal! Whether you’re a beginner or an experienced artist looking to improve your skills, this step-by-step guide will help you create a realistic and mouth-watering bowl of cereal on paper. Grab your pencils and let’s get started!
Materials Required
Before we begin, make sure you have the following materials ready:
- Paper: Choose a smooth and sturdy paper that is suitable for drawing. A sketchbook or drawing pad would be ideal.
- Pencils: You will need a range of pencils with different lead grades, such as HB, 2B, 4B, and 6B. These will allow you to achieve various shades and textures in your drawing.
- Eraser: Have a good quality eraser handy to correct any mistakes or smudges.
- Pencil sharpener: Keep your pencils sharp for better precision and control.
- Blending tools: You can use blending stumps or a tortillon to blend and smoothen the shading in your drawing.
Now that you have your materials ready, let’s dive into the steps of drawing a bowl of cereal!
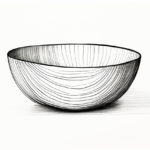
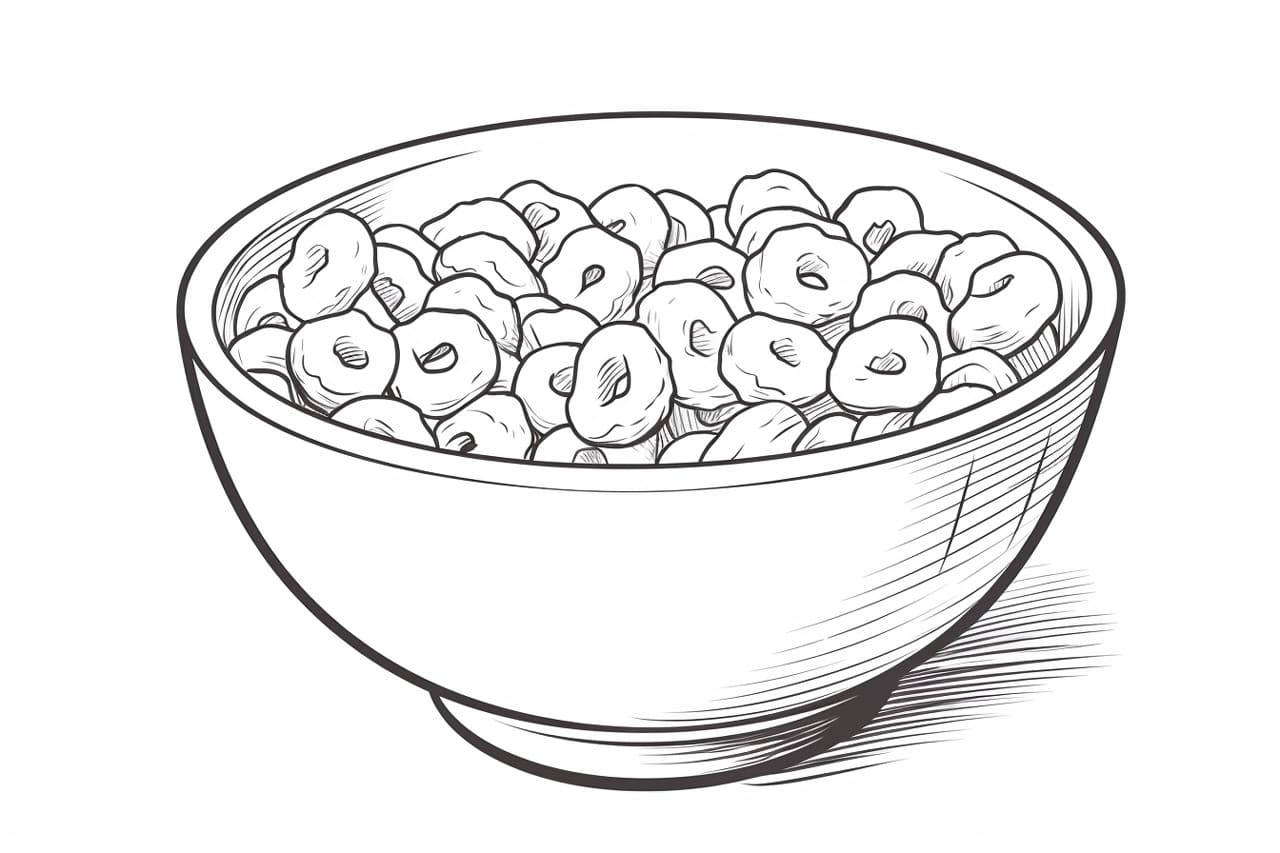
Step 1: Outline the Bowl
Start by drawing the outline of the bowl. Begin with a simple oval shape to represent the top opening of the bowl. Then, draw the curved sides of the bowl, gradually tapering them down towards the base. Make sure to leave some space at the bottom for the cereal.
Step 2: Add Details to the Bowl
To make the bowl look more realistic, add some details. Draw a slightly curved line near the top edge of the bowl to represent its thickness. Then, add another slightly curved line closer to the base of the bowl to show the bottom thickness. You can also add a few subtle vertical lines to indicate reflections or ridges on the bowl’s surface.
Step 3: Outline the Cereal
Inside the bowl, lightly sketch the outline of the cereal using small, irregular shapes. They can be circles, ovals, or even little clusters to represent different types of cereal. Remember to leave some gaps between them, as well as some empty spaces to indicate milk.
Step 4: Refine the Cereal
Now, start refining the shapes of the cereal. Pay attention to the size and different textures of each piece. Some might be round and smooth, while others could be irregular or have a flaky texture. Add small details to make the cereal look more realistic, such as tiny bumps or lines.
Step 5: Add Milk
Add a layer of milk to the bowl by drawing a wavy line just below the cereal. The milk line should follow the shape of the bowl and have a slightly irregular edge to mimic its fluid nature. To make it more realistic, you can also add some subtle ripples or reflections on the surface of the milk.
Step 6: Shade the Bowl
To give the bowl more depth and dimension, we need to add shading. Start by identifying the light source in your drawing, which will determine where the highlights and shadows fall. Shade the areas opposite to the light source to create shadows, using a darker pencil such as 4B or 6B. Gradually build up the shading, paying attention to the bowl’s form and curves. Use a blending tool to smoothen the transitions between light and dark areas.
Step 7: Shade the Cereal
Continue shading the cereal, applying varying degrees of darkness to each piece. Some cereal might cast shadows on others, so take that into consideration. Use a combination of hatching, cross-hatching, and stippling techniques to create texture and depth. Remember to blend the shading to achieve a smooth and realistic appearance.
Step 8: Add Highlights
To make the cereal and milk look more three-dimensional, add highlights. Identify the areas where the light source hits the cereal and bowl, and carefully erase small areas within those sections. This will create the illusion of light reflecting off the surface. Be subtle with the highlights, as too much can make the drawing look unrealistic.
Step 9: Fine-Tune and Detail
Take a step back and evaluate your drawing. Look for any areas that need improvement or additional details. You can refine the shapes of the cereal, add extra shading to create more depth, or even add a spoon or some fruit if you’d like. Spend time on these final touches to make your drawing stand out.
Conclusion
Congratulations, you’ve successfully drawn a mouth-watering bowl of cereal! By following this step-by-step guide, you have learned how to create a realistic representation of a breakfast favorite. Remember to practice regularly to improve your drawing skills. Enjoy the process and have fun experimenting with different techniques and materials. Happy drawing!