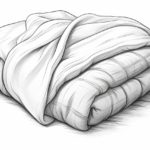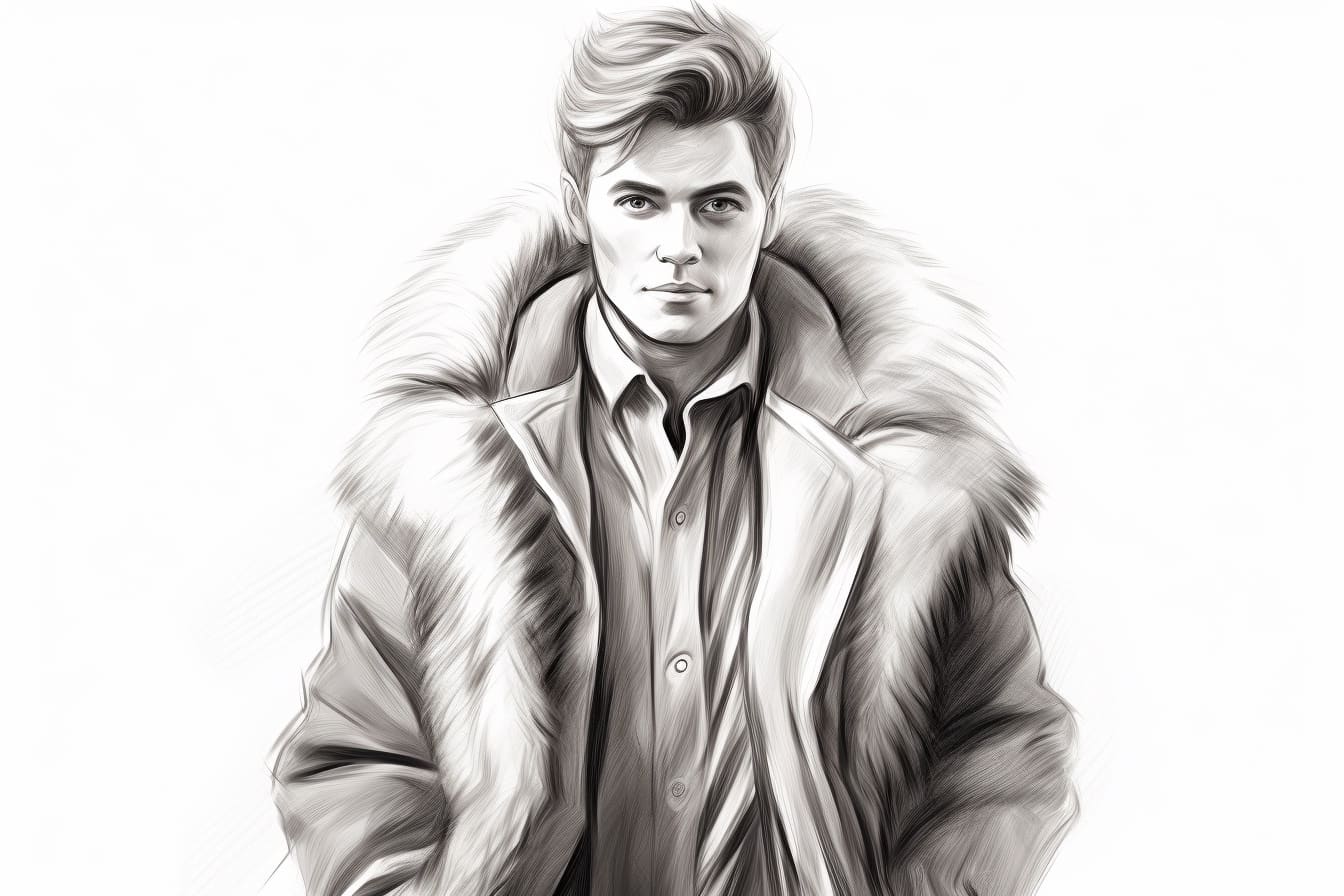
Unleash your artistic skills and learn how to draw a fur coat with this step-by-step guide.
Are you fascinated by the texture and elegance of fur coats? Would you like to capture their beauty on paper? Look no further! In this tutorial, I will guide you through the process of drawing a fur coat, from the delicate strands of fur to the intricate details of the collar. So grab your sketchbook and let’s bring this fashionable garment to life!
Materials Required
Before we begin, make sure you have the following materials:
- Pencil: A good quality graphite pencil will allow you to achieve the desired range of shades and textures.
- Sketchbook: Choose a sketchbook with thick, textured paper to enhance your drawing.
- Eraser: You will need an eraser to correct any mistakes or lighten certain areas.
- Blending Stump: This tool is useful for blending and softening the shading in your drawing.
- Reference Image: Find a high-resolution photograph or an actual fur coat to use as a reference.
Now that you have all the necessary materials, let’s dive into the process of drawing a fur coat.
Step 1: Outline the Shape of the Coat
Start by lightly sketching the basic shape of the coat. Pay attention to the silhouette, as fur coats come in various styles and lengths. Take your time to ensure the proportions are accurate and the lines are clean.
Step 2: Define the Fur Direction
Look closely at your reference image and observe how the fur flows. Fur typically grows in a specific direction, so it’s essential to capture this detail in your drawing. Use light, curved strokes to indicate the direction of the fur on the body of the coat.
Step 3: Add Fur Texture
To create a realistic fur texture, draw small, short, and slightly irregular lines along the outlined shape of the coat. Vary the length and thickness of these lines to achieve a natural look. Focus on maintaining the direction you established in the previous step.
Step 4: Work on the Collar
Fur coats often feature a plush collar. To draw the collar, observe how the fur is layered and flows around the neck area. Use fine, overlapping strokes to indicate the texture of the fur. Pay attention to the highlights and shadows to add depth and dimension.
Step 5: Refine the Details
Now it’s time to refine your drawing by adding more definition and detail. Observe the areas where the fur appears denser or lighter, and adjust your shading accordingly. Use gentle, hatching strokes to create subtle variations in tone.
Step 6: Blend and Shade
To achieve a smooth and realistic look, use a blending stump or your finger to gently blend the shading. This will soften any harsh lines and create a seamless transition between different shades of fur. Be careful not to over-blend, as it can flatten the texture.
Step 7: Enhance the Highlights and Shadows
To make your fur coat drawing pop, emphasize the highlights and shadows. Study your reference image to determine where the light is hitting the fur and where the shadows are cast. Use an eraser to carefully lift off some graphite and create highlights. Darken certain areas with additional shading to create depth.
Conclusion
Congratulations on completing your fur coat drawing! By following these steps, you’ve learned how to capture the softness and luxury of fur on paper. Remember, practice makes perfect, so don’t hesitate to try different techniques and styles to further develop your skills as an artist.
Now that you have the knowledge and tools to draw a fur coat, unleash your creativity and explore the possibilities. Whether it’s a vintage fur coat or a modern design, you can bring it to life with your artistic talent.