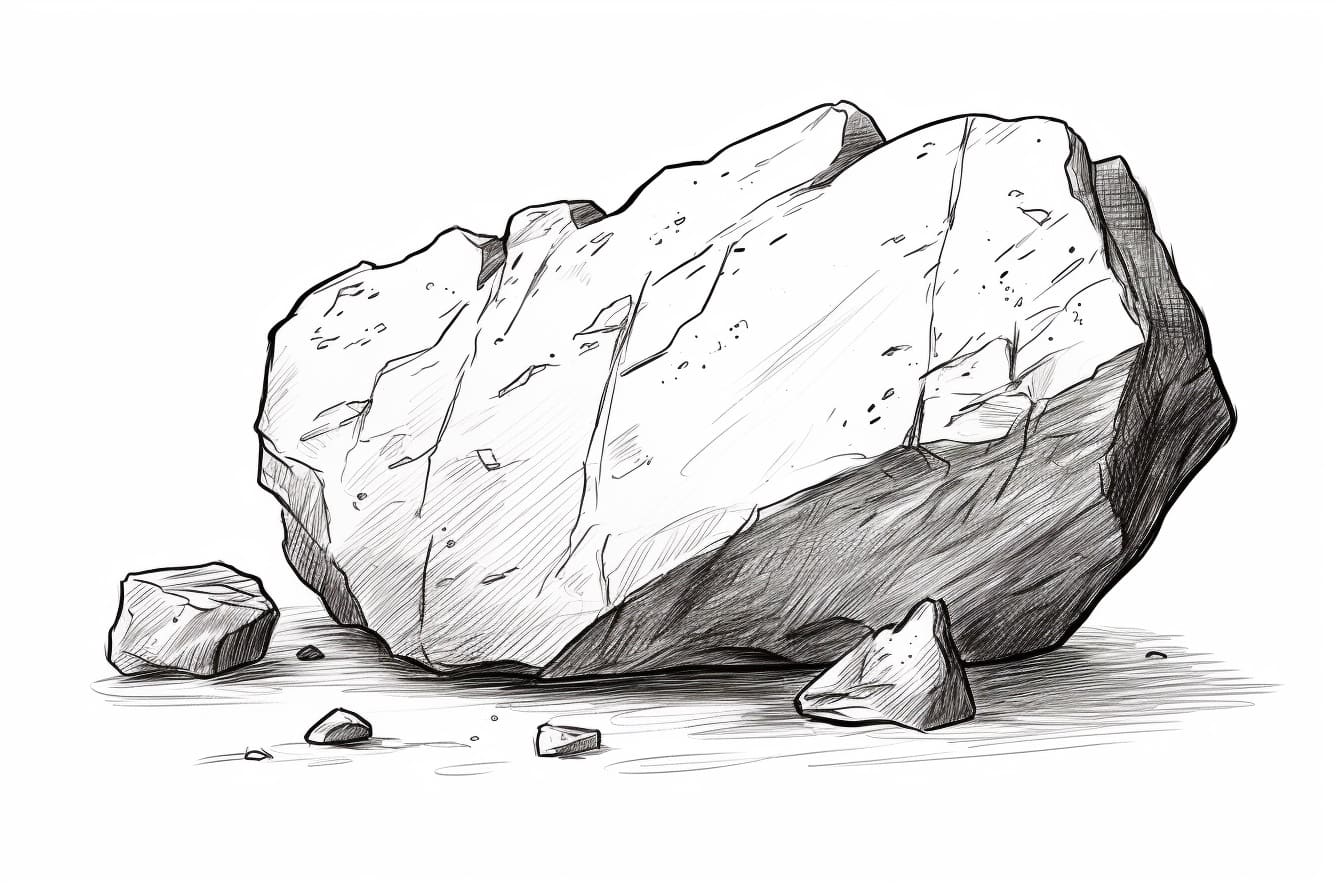
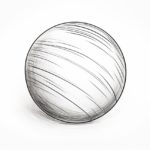
Drawing is a beautiful and expressive art form that allows us to capture the essence of objects that surround us. While stones might seem like a simple subject to draw, they can actually present a fun and interesting challenge. In this step-by-step guide, we will explore how to draw a stone in a realistic and detailed manner. So grab your pencils and let’s get started!
Materials Required
Before we begin, gather the following materials:
- Drawing pencils (preferably a range of hardness, such as HB, 2B, 4B)
- Drawing paper (preferably a heavier weight paper to avoid smudging)
- Kneaded eraser
- Blending stump or tortillon (optional, but helpful for shading)
Now that we have everything we need, let’s dive into the drawing process.
Step 1: Observing the Stone
Take a moment to carefully observe the stone you wish to draw. Pay attention to its shape, texture, and any unique features. Notice the variations in color and shading. This observation will help you capture the character of the stone accurately in your drawing.
Step 2: Sketching the Basic Shape
Begin by lightly sketching the basic shape of the stone on your drawing paper. Start with simple straight or curved lines to outline the stone’s form. Don’t worry about capturing every detail at this stage; focus on getting the general shape and proportions right.
Step 3: Adding Texture and Details
Next, start adding texture and details to your stone drawing. Observe the stone closely and replicate the specific patterns and markings on its surface. Use short, light strokes to create the illusion of texture. Vary the intensity of your pencil strokes to capture the stone’s tonal variations.
Step 4: Shading for Realism
To make your stone drawing appear more realistic, add shading. Start by identifying the main light source in your reference or imagination. Determine which areas of the stone will be lighter, and which areas will be in shadow. Use your range of pencils to create gradual transitions between light and dark areas, adding depth and dimension to your drawing.
Step 5: Blending for Smoothness
To achieve a smoother and more blended appearance, consider using a blending stump or tortillon. These tools help to blend and smudge the pencil strokes together, creating a more realistic texture. Use them sparingly and gently to avoid over-smudging and losing the detail of your drawing.
Step 6: Adding Highlights
To enhance the three-dimensional effect of your stone drawing, add highlights. Identify the areas where light would naturally reflect off the stone’s surface and use an eraser or a white pencil to carefully lighten those spots. This will create a sense of light hitting the stone and make it appear more realistic.
Step 7: Refining and Finalizing
Take a step back and assess your drawing. Look for any areas that need refinement or adjustment. Use your pencils and erasers to make any necessary corrections. Pay attention to the overall composition and ensure that your stone drawing is balanced and visually appealing.
Conclusion
Drawing a stone can be a rewarding and enjoyable experience. By carefully observing and replicating the shape, texture, and details of the stone, you can create a realistic and visually captivating drawing. Remember to practice patience and take your time throughout the process. With each drawing, you will improve your skills and develop your own unique artistic style. So grab your materials and start drawing your own beautiful stones today!

