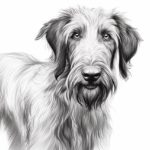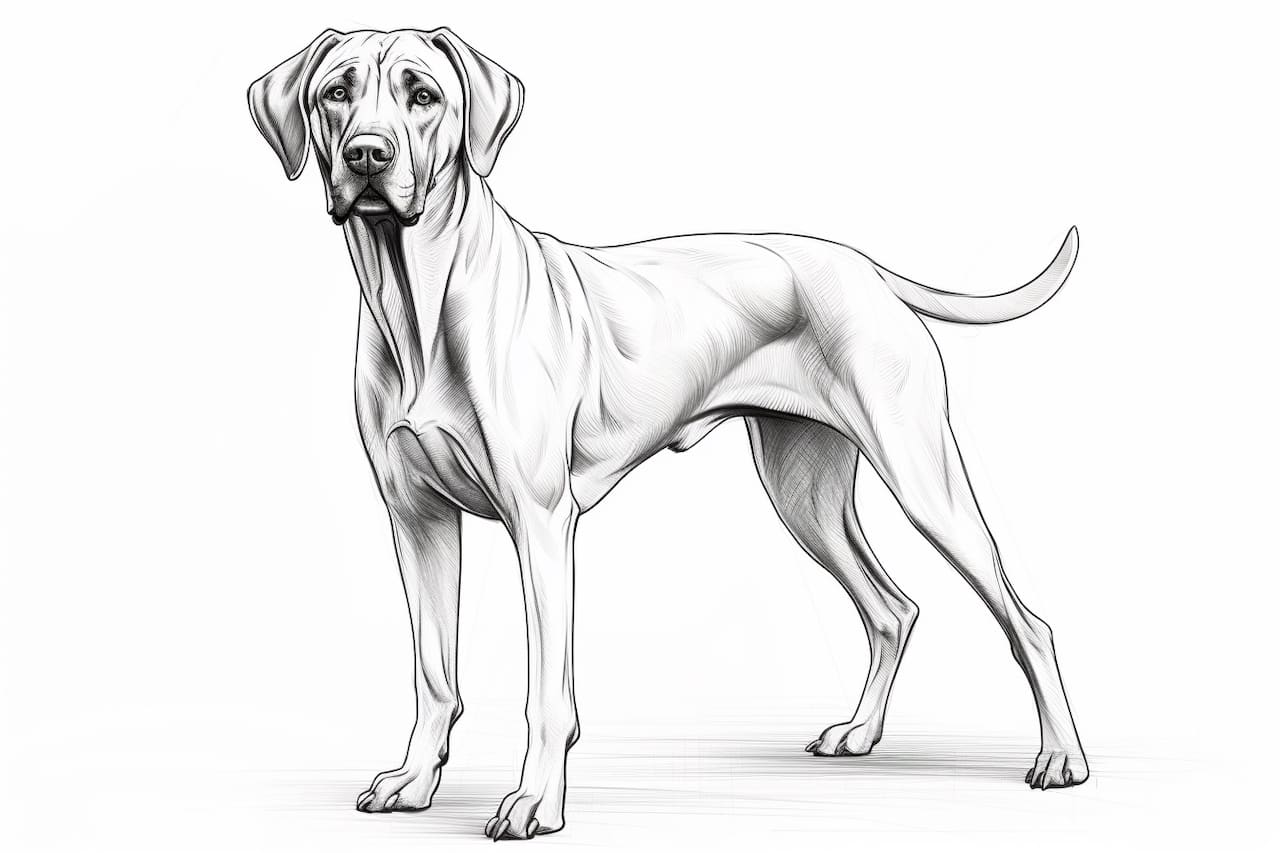
Do you have a passion for drawing and a love for dogs? If so, why not try drawing a Rhodesian Ridgeback? These beautiful dogs are known for their distinctive ridge of hair along their backs, making them a unique and exciting subject to draw. In this step-by-step guide, I’ll walk you through the process of drawing a Rhodesian Ridgeback from start to finish, even if you’re a beginner. So grab your art supplies and let’s get started!
Materials Required
Before we begin, make sure you have the following materials on hand:
- Pencil: A graphite pencil with a range of hardness (HB, 2B, 4B) will allow you to create different tones and shading.
- Eraser: A kneaded eraser is ideal for lifting graphite without damaging the paper.
- Paper: Use a smooth, heavyweight paper that can handle the pencil work and erasing.
- Reference Photo: Find a clear, high-resolution image of a Rhodesian Ridgeback to use as a reference while drawing.
Now that you have everything you need, let’s dive into the step-by-step process of drawing a Rhodesian Ridgeback!
Step 1: Sketch the Basic Shapes
Start by lightly sketching the basic shapes that make up the dog’s body. Begin with an oval for the head and a larger oval for the body. Add two smaller ovals for the ears and a long, curved line for the back. Use light, loose strokes to ensure easier adjustments later on.
Step 2: Refine the Outline
Using the basic shapes as a guide, refine the outline of the Rhodesian Ridgeback. Pay attention to the proportions and contours of the breed. Use gentle curves to capture the elegant shape of the head, neck, and body. Remember to keep your lines light and easily adjustable.
Step 3: Add Facial Features
Now that you have the outline, it’s time to draw the facial features. Start by placing two circles for the eyes, slightly angled and evenly spaced on the head. Add a triangle-like shape for the nose, with the base slightly wider than the top. Sketch a line for the mouth, curving slightly upwards to capture the characteristic “smile” of the Rhodesian Ridgeback.
Step 4: Define the Ears, Eyes, and Nose
With the basic facial features in place, it’s time to add more detail. Refine the shape of the ears, making them slightly pointed and curved. Add the inner ear lines for texture. Focus on the eyes next, adding pupils, highlighted areas, and eyelashes. Complete the nose by adding nostrils and texture to the surface.
Step 5: Draw the Body and Legs
Now let’s move on to the body and legs. Start by adding the front legs, using long, curved lines to capture their shape and structure. Pay attention to the angles and joints. Continue by drawing the hind legs, keeping in mind the characteristic stance of the Rhodesian Ridgeback. Don’t forget to add the paws and toes for a more realistic look.
Step 6: Capture the Ridge
The defining feature of the Rhodesian Ridgeback is its ridge of hair along the back. To capture this unique trait, draw a series of short, curved lines running down the spine. Connect these lines at the top to create the ridge. Make sure to add shading and texture to give it depth and dimension.
Step 7: Refine and Add Details
Take a step back and evaluate your drawing so far. Make any necessary adjustments to the overall shape and proportions of the Rhodesian Ridgeback. Refine the details by adding more depth and texture to the fur, using light and darker pencil strokes to create highlights and shadows. Pay attention to the muscle structure and contours of the body.
Step 8: Finalize and Erase Guidelines
Now that your drawing is taking shape, it’s time to finalize the details and erase any remaining guidelines. Add the final touches, such as wrinkles and folds in the skin, and any other unique features of the Rhodesian Ridgeback you want to emphasize. Use your eraser to gently remove any unnecessary lines and smudges.
Conclusion
Congratulations! You have successfully drawn a Rhodesian Ridgeback. This step-by-step guide has provided you with the techniques and instructions needed to capture the unique beauty of this dog breed. Remember, practice is key to improving your drawing skills, so don’t be discouraged if your first attempt is not perfect. Keep experimenting with different pencil strokes and shading techniques to further enhance your drawings.
Now that you’ve learned how to draw a Rhodesian Ridgeback, why not try your hand at drawing other dog breeds? Each breed has its own unique features and characteristics, making them interesting subjects to explore. So grab your art supplies and continue your artistic journey!