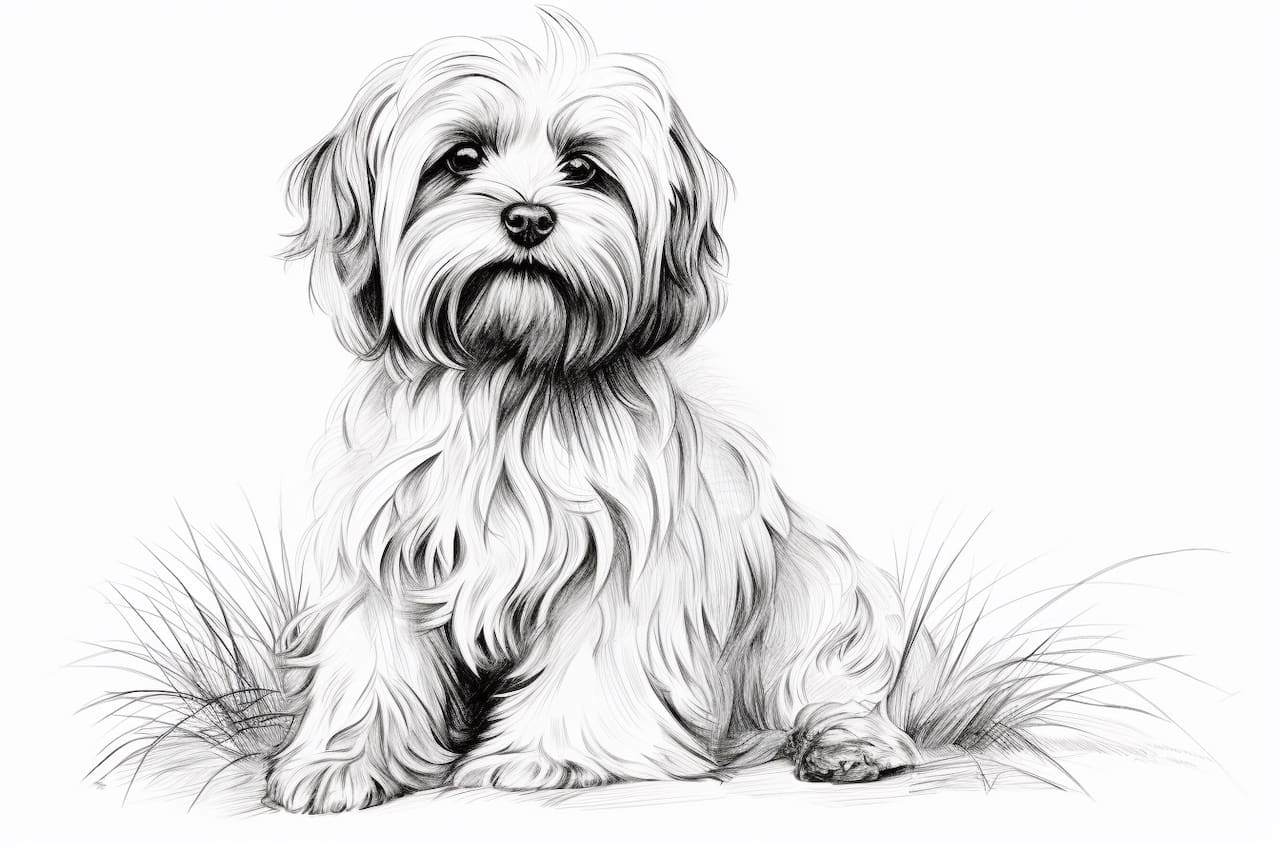
Welcome to this step-by-step guide on how to draw a Lowchen, a charming dog breed known for its fluffy coat and lively personality. Whether you’re a professional artist or a beginner, this tutorial will walk you through the process of capturing the unique features and expression of a Lowchen with ease.
Materials Required
Before we begin, let’s gather the necessary materials. Here’s what you’ll need:
- Drawing paper or sketchbook
- Pencils (2H, HB, and 2B)
- Eraser
- Blending stump or cotton swabs
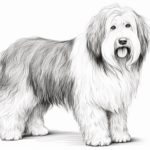
- Reference image of a Lowchen
Now that we have all the materials ready, let’s get started on our drawing!
Step 1: Basic Shapes
Begin by lightly sketching the basic shapes to establish the outline of the Lowchen’s head and body. Start with a circle for the head and add an oval below it for the body. Keep these shapes loose and rough for now, as we’ll refine them later.
Step 2: Facial Features
Within the circle representing the head, add two intersecting lines to indicate the center of the face. These lines will guide us when placing the eyes, nose, and mouth. Next, draw two almond shapes for the eyes along the horizontal line, leaving some space between them. Place a small triangle shape below the eyes for the nose.
Step 3: Ears and Hair
Now, let’s focus on the ears and hair of our Lowchen. Sketch two triangular shapes on either side of the head to represent the ears. Lowchens have long, flowing hair, so add some curved lines around the head and ears to depict this characteristic. Take your time with this step to capture the elegance of their coat.
Step 4: Refine the Head and Body
Using the basic shapes as a guide, start refining the outline of the head and body. Pay attention to the curves and proportions, ensuring that they match the reference image. Remember, it’s okay to make adjustments as you go along. Use an HB pencil for this step to create a clean and defined outline.
Step 5: Eyes, Nose, and Mouth
Now, let’s give our Lowchen some lifelike features. Refine the shape of the eyes by adding pupils, highlights, and eyelashes. Add a small curved line above the eyes to indicate the eyebrows. Darken the nose and add a small line for the mouth. Don’t forget to observe the reference image closely to capture the unique expression of a Lowchen.
Step 6: Fur Details
One of the most distinctive features of a Lowchen is their fluffy coat. To add texture and depth to your drawing, lightly sketch short, curved strokes throughout the body, focusing on the direction of the fur. Use a 2B pencil for this step to create darker, more defined lines. Take your time and build up the fur gradually.
Step 7: Shading and Highlights
To give your drawing a three-dimensional look, it’s essential to add shading and highlights. Identify the light source in your reference image and imagine where the shadows would fall on the Lowchen’s body. Use a combination of light and dark pencil strokes to create depth and volume. Smooth out the transitions between shades using a blending stump or cotton swabs.
Step 8: Final Touches
Now that your drawing is taking shape, it’s time to add final touches and refine any areas that need attention. Take a step back, analyze your drawing, and make any necessary adjustments. Pay close attention to the details, such as the shape of the ears, the expression in the eyes, and the overall symmetry. Don’t be afraid to erase and make corrections if needed.
Conclusion
Congratulations! You have successfully drawn a Lowchen, capturing its unique features and charm. Remember, drawing is a skill that improves with practice, so don’t hesitate to keep exploring and experimenting with different techniques.
I hope you found this step-by-step guide helpful and enjoyable. With patience and practice, you’ll be able to create beautiful drawings of Lowchens and other dog breeds. Happy drawing!