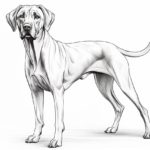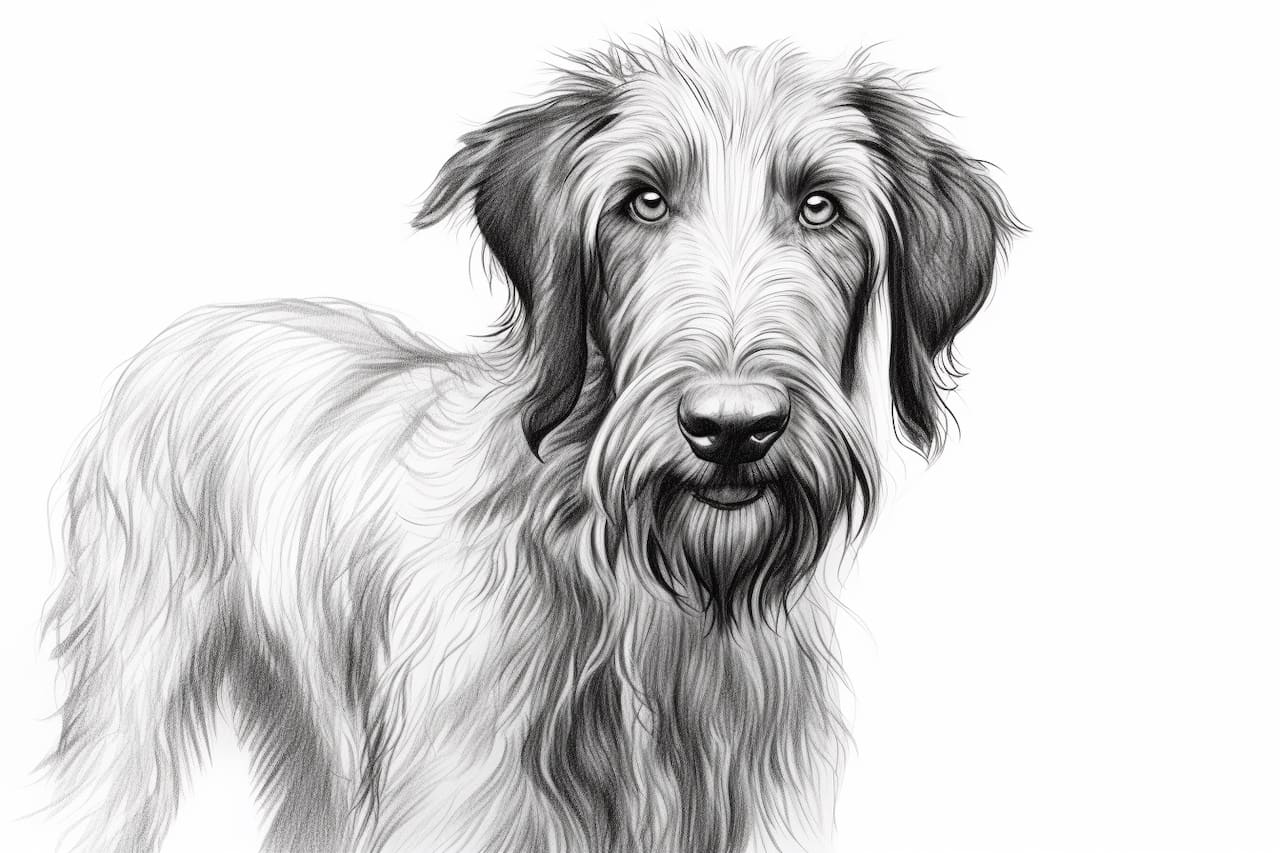
Let’s embark on an artistic journey and discover how to draw a Scottish Deerhound. In this step-by-step guide, I will walk you through drawing this regal dog breed and capturing the majestic beauty of a Scottish Deerhound on paper. So grab your drawing supplies, and let’s get started!
Materials Required
Before we begin, gather the following materials:
- Drawing paper: Choose a high-quality drawing paper that is smooth and suitable for your drawing medium of choice.
- Pencils: Have a range of pencils on hand, preferably in different grades such as 2H, HB, and 2B, to achieve varying shades and lines.
- Eraser: Make sure to use a soft eraser that won’t damage the paper when correcting mistakes or refining details.
- Sharpener: Keep your pencils sharp for precise lines and details by using a pencil sharpener.
- Reference Image: Find a clear and detailed reference photo of a Scottish Deerhound to guide your drawing.
With all the necessary materials at your disposal, let’s dive into the process of drawing a Scottish Deerhound.
Step 1: Study the Anatomy
Before starting any drawing, it’s essential to familiarize yourself with the anatomy of the Scottish Deerhound. Take some time to observe and study its body structure, head shape, and proportions. Pay attention to the long, slender snout, the gracefully curved body, and the gentle eyes. This observation will help you understand the dog’s unique features and capture its essence accurately.
Step 2: Sketching the Basic Shapes
Begin by lightly sketching the basic shapes that form the Scottish Deerhound’s body. Start with an oval shape for the head, followed by a long curved line for the body. Add circles for the shoulders, hips, and joints to establish the dog’s pose and proportions. Remember to keep your lines light and loose at this stage, as they will be refined in later steps.
Step 3: Defining Facial Features
Now it’s time to focus on the Scottish Deerhound’s face. Using your reference image as a guide, sketch the eyes, nose, and mouth. Pay close attention to the position and proportion of these features, as they play a crucial role in capturing the dog’s expression and character. Take your time to get the details just right, as they will bring your drawing to life.
Step 4: Adding Body Details
Moving on to the body, start adding more details to your sketch. Define the shape and length of the ears, keeping in mind their unique folded appearance. Sketch the outline of the neck, chest, and limbs, following the curves and contours of the dog’s body. Take note of any distinctive features, such as the long, flowing fur, and incorporate them into your drawing.
Step 5: Refining the Outline
Once you are satisfied with the basic shapes and details, carefully refine the outline of your Scottish Deerhound. Use a darker pencil or a fine liner to trace over your initial sketch, emphasizing the dog’s form and adding more precise lines and curves. Pay attention to the flow of the fur, the positioning of the paws, and the overall symmetry of your drawing.
Step 6: Shading and Texture
To give your drawing depth and dimension, it’s time to add shading and texture. Determine the direction of the light source in your reference image and use it as a guide for shading. Start by lightly shading the areas that would be in shadow, gradually building up the values to create a realistic three-dimensional effect. Pay attention to the texture of the Scottish Deerhound’s fur and mimic it with delicate strokes or hatching techniques.
Step 7: Final Touches
At this stage, take a step back and evaluate your drawing as a whole. Make any necessary adjustments or refinements to ensure accuracy and proportion. Erase any stray pencil marks or smudges, and clean up the drawing to give it a polished look. If desired, you can add a background or additional details to complement your Scottish Deerhound drawing.
Conclusion
Congratulations! You have successfully learned how to draw a Scottish Deerhound from start to finish. By studying the anatomy, sketching the basic shapes, and adding details, you have created a beautiful representation of this elegant dog breed. Remember, practice makes perfect, so keep honing your skills and experimenting with different techniques. Enjoy the process, and happy drawing!