Welcome to this step-by-step guide on how to draw a Schipperke! As an expert artist and drawing instructor, I will provide you with clear and concise instructions to help you create a realistic and beautiful representation of this adorable dog breed. So let’s get started!
Materials Required
Before we begin, let’s gather the materials you will need for this drawing:
- Drawing paper or sketchbook
- Pencils (HB, 2B, and 4B recommended)
- Eraser
- Blending stump or tortillon
- Reference photo of a Schipperke
Now that you have your materials ready, let’s dive into the step-by-step process of drawing a Schipperke.
Step 1: Basic Shapes
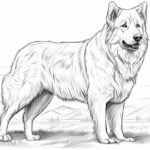
Start by lightly sketching the basic shapes that make up the Schipperke’s body. Begin with an oval shape for the head and add a smaller oval below it for the body. Connect these shapes with a curved line to indicate the neck.
Step 2: Facial Features
Now, let’s focus on the facial features of the Schipperke. Within the head shape, draw two circles for the eyes. Leave some space between them. Then, add a small triangular shape below the eyes for the dog’s nose. Next, draw two small curves above the eyes to represent the eyebrows. Finally, add two small, curved lines on either side of the head for the ears.
Step 3: Refine the Face
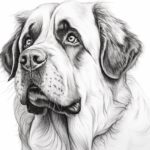
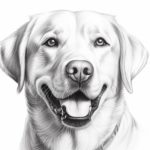
Refine the facial features by adding more details. Sketch the pupils within the eye circles, leaving a small highlight to create a sense of life in the eyes. Add some fur around the eyes and eyebrows using short, curved strokes. Shade the nose by adding some darker tones to it. Draw the mouth and tongue using gentle curves.
Step 4: Body and Limbs
Moving on to the body, sketch the outline of the Schipperke’s fluffy fur using soft, curved lines. Pay attention to the contours of the body and ensure they flow smoothly. Add the front and back legs using simple cylindrical shapes, tapering them slightly towards the paws.
Step 5: Fur Texture
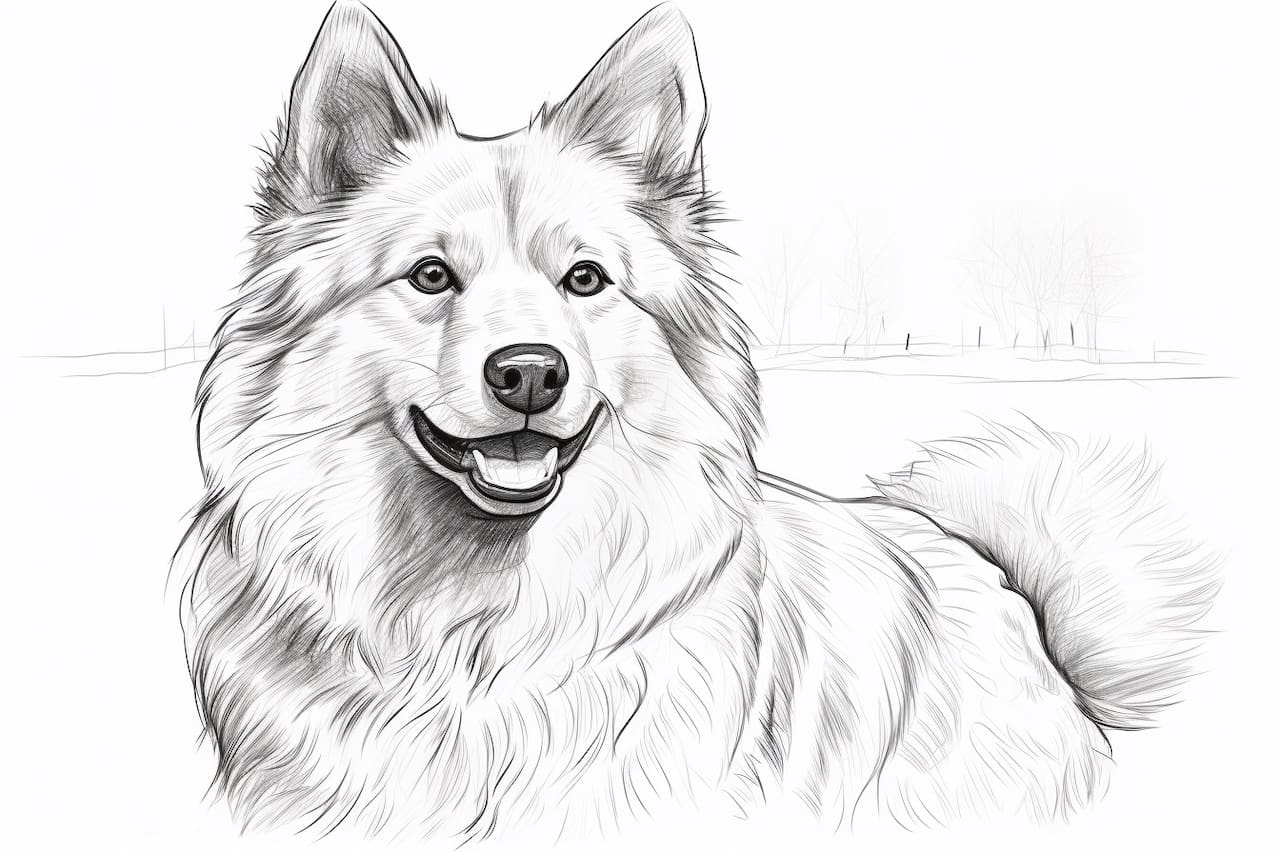
Begin adding the texture of the Schipperke’s fur. Start with short, curved strokes close to the body, gradually making them longer and more flowing towards the edges of the fur. Use a combination of different pencil grades to achieve a realistic texture. Remember to blend the strokes with a blending stump or tortillon to create a smooth transition between the fur and the body.
Step 6: Facial Details
Refine the facial details by adding more depth and texture. Add fur and shading around the eyes to make them appear rounder and more expressive. Darken the eyebrows slightly and add more definition to the mouth and tongue. Pay close attention to the reference photo and observe any unique markings or patterns on the Schipperke’s face.
Step 7: Legs and Paws
With the overall body and face complete, focus on the details of the legs and paws. Add the toes on the paws by drawing small, curved lines. Sketch the fur on the legs using the same technique as before, paying attention to the direction of the fur and the flow of the lines. Shade the areas under the paws to create depth.
Step 8: Finishing Touches
Take a step back and assess your drawing. Make any necessary adjustments to ensure accuracy and balance. Erase any stray lines or smudges, and add any final details that may be missing. Darken certain areas to create depth and contrast, such as the eyes, nose, and mouth.
Conclusion
Congratulations! You have successfully drawn a Schipperke. By following this step-by-step guide, you have learned how to capture the unique features of this adorable dog breed. Remember, practice is key, so keep honing your skills and exploring different techniques. Enjoy the process of creating art and have fun bringing other subjects to life on paper.
I hope you found this guide helpful in your drawing journey. Now, go ahead and share your masterpiece with others! Happy drawing!