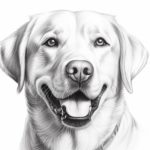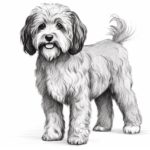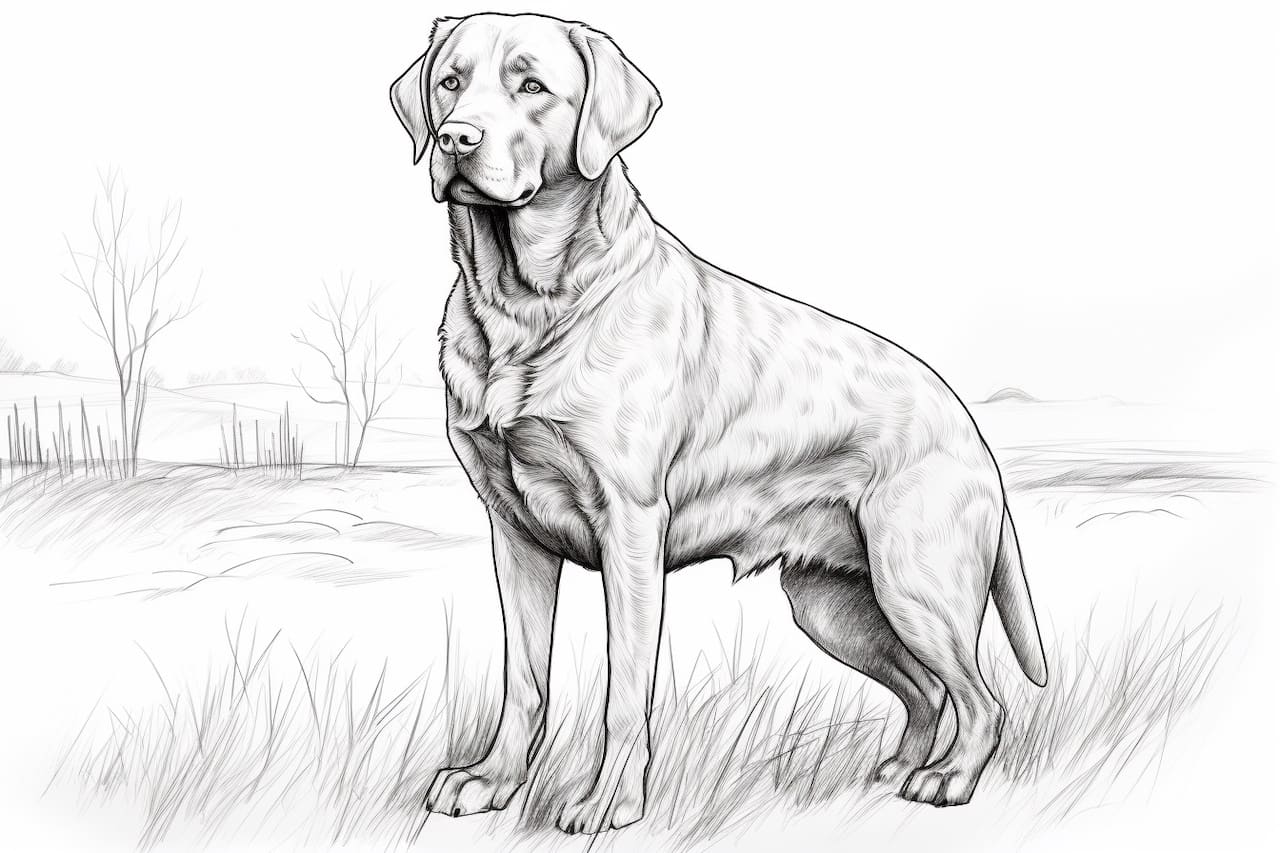
Welcome to this step-by-step guide on how to draw a Chesapeake Bay Retriever. Whether you’re an experienced artist or a beginner, this tutorial will teach you how to capture this beloved dog breed’s distinct features and charm. Following these instructions and practicing your skills, you can create a beautiful and realistic drawing of a Chesapeake Bay Retriever.
Materials Required
Before we dive into the drawing process, let’s gather the materials you’ll need:
- Drawing paper
- Pencil (preferably with a range of lead hardness)
- Eraser
- Blending stump or cotton swabs
- Reference photo of a Chesapeake Bay Retriever (optional, but recommended)
Now that we have everything ready, let’s begin the drawing process!
Step 1: Basic Shapes and Proportions
Begin by sketching basic shapes to establish the overall proportions of the Chesapeake Bay Retriever. Use light, loose lines to create a rough outline of the dog’s body, head, and tail. Pay attention to the breed’s characteristic features, like the robust and muscular body and the broad, rounded crown. Take your time to get the proportions right before moving forward.
Step 2: Refining the Outline
Once you’re satisfied with the basic shapes, start refining the outline of the Chesapeake Bay Retriever. Use shorter, confident strokes to define the dog’s body and add more details to the head, including the ears, eyes, and snout. Remember to keep your lines light, as you’ll refine them further in the following steps.
Step 3: Adding Facial Features
Focus on the dog’s face in this step. Start by drawing the eyes, paying close attention to their shape and position. Chesapeake Bay Retrievers have medium-sized, round eyes with intelligent and friendly expressions. Add the nose and mouth, incorporating any unique characteristics of the individual dog you’re drawing. Refine the shape of the head and the ears as well.
Step 4: Shading and Texture
Now it’s time to add shading and texture to bring your Chesapeake Bay Retriever drawing to life. Observe the reference photo or use your knowledge of the breed’s coat to determine where shadows and highlights fall. Use a variety of pencils with different lead hardness to achieve different tones and textures. Remember to blend the shading with a blending stump or cotton swabs for a smooth and realistic look.
Step 5: Detailing the Coat
Chesapeake Bay Retrievers have a distinctive double coat that requires attention to detail. Using light, feathery strokes, replicate the texture and direction of the dog’s fur. Pay close attention to the areas of the longer coat, such as the neck, chest, and tail. Add individual hairs sparingly to suggest the texture without overwhelming the drawing. Take time with this step and gradually build the layers for a more realistic result.
Step 6: Finishing Touches
You’re almost done! Take a step back and evaluate your drawing. Make any necessary adjustments or refinements to ensure accuracy and balance. Erase any stray lines or streaks that might distract from the final image. Add details that enhance your drawing, such as a collar or background elements.
Conclusion
Congratulations on completing your drawing of a Chesapeake Bay Retriever! By following these step-by-step instructions, you’ve learned how to capture the unique characteristics of this remarkable dog breed. Remember to practice regularly and experiment with different techniques to refine your skills further. With time and patience, you’ll be able to create stunning artwork that genuinely showcases the beauty of Chesapeake Bay Retrievers.