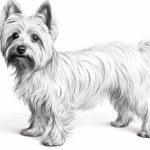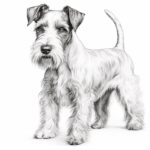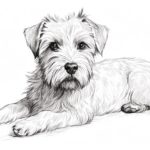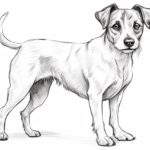
Welcome to this step-by-step guide on how to draw a Norwich Terrier! Norwich Terriers are small, energetic, and adorable dogs that make excellent subjects for drawing. In this article, we will go through the process of creating a realistic and detailed drawing of a Norwich Terrier. So let’s grab our materials and get started!
Materials Required
Before we begin, let’s gather the materials you will need for this drawing:
- Drawing paper: Choose a high-quality drawing paper that is suitable for the medium you plan to use.
- Pencils: You will need a range of pencils in different hardnesses, such as 2B, 4B, and 6B.
- Erasers: Have both a kneaded eraser and a regular eraser handy.
- Sharpener: Make sure your sharpener is in good condition to achieve a fine point on your pencils.
- Reference photo: Find a clear, high-resolution photo of a Norwich Terrier to use as a reference throughout the drawing process.
- Drawing board: It’s helpful to have a drawing board or a hard surface to work on to keep your paper steady.
- Optional: Blending tools, such as blending stumps or tortillons, can be used to create smooth transitions between tones.
Now that we have all our materials ready, let’s start drawing a Norwich Terrier!
Step 1: Sketch the Basic Shapes
Begin by lightly sketching the basic shapes of the Norwich Terrier. Use simple geometric shapes to map out the head, body, and limbs. Start with an oval shape for the head and an elongated oval for the body. Add circles for the joints and lines to indicate the direction of the limbs. Take your time with this step, and remember that these lines are just guidelines.
Step 2: Refine the Body Shape
Using the basic shapes as a guide, start adding more details to the body of the Norwich Terrier. Begin by refining the shape of the head, adding the snout, and indicating the placement of the eyes and ears. Gradually work on adding more definition to the body, paying attention to the curves and proportions. Don’t worry about adding too many details at this stage; we will refine them further in the following steps.
Step 3: Add Facial Features
Now it’s time to focus on the facial features of our Norwich Terrier. Use your reference photo to accurately depict the eyes, nose, and mouth. Norwich Terriers have expressive eyes, so be sure to capture their lively and alert expression. Pay attention to the positioning of the eyes and ears, as they greatly contribute to the overall likeness of the dog.
Step 4: Develop the Fur Texture
Norwich Terriers have a wiry double coat, so let’s start adding some texture to their fur. Use short, controlled strokes with your pencil to create a rough texture on the body and head. Pay close attention to the reference photo and the direction of the fur. Use lighter strokes to indicate areas with shorter fur and darker strokes for areas with longer fur.
Step 5: Add Shading and Value
To make your drawing appear more three-dimensional, it’s important to add shading and value. Start by identifying the areas of light and shadow on your reference photo. Use your pencils to create smooth gradations of tone, gradually building up layers of shading. Pay close attention to the light source and how it interacts with the different surfaces of the dog’s body.
Step 6: Refine and Add Details
Take a step back and evaluate your drawing so far. This is the time to refine any areas that might need adjustments and add more details. Pay attention to the texture of the coat, the shape of the ears, and the proportions of the features. Take your time with this step and make sure to capture the unique characteristics of the Norwich Terrier.
Step 7: Finalize the Drawing
Congratulations! You are almost done. Take a moment to review your drawing and make any necessary final adjustments. Ensure that all the proportions and details are accurate. If needed, darken the darkest areas and add any finishing touches to bring your drawing to life.
Conclusion
Drawing a Norwich Terrier can be a delightful artistic journey. By following these step-by-step instructions and using your reference photo, you can create a realistic and detailed drawing of this charming breed. Remember to practice, be patient, and have fun throughout the process. Happy drawing!