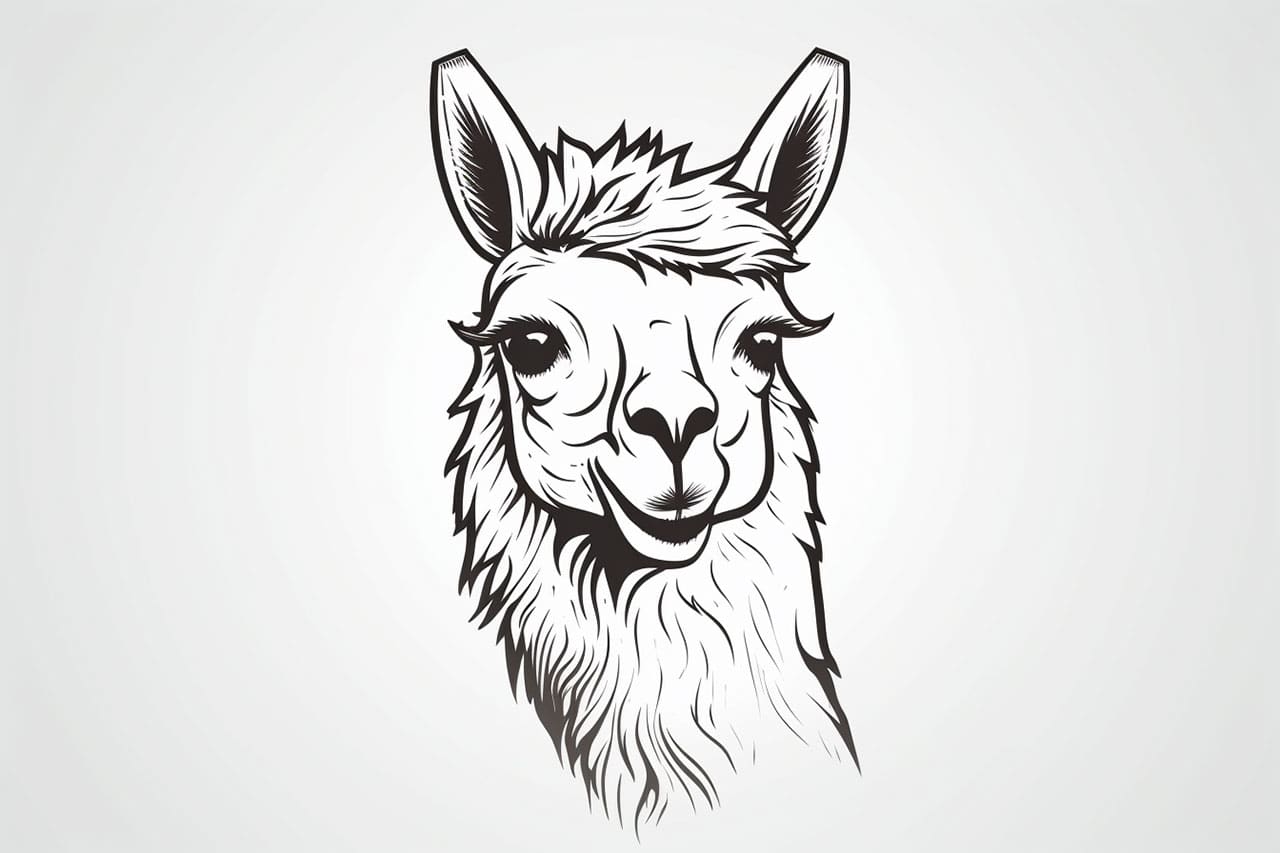
Llamas are fascinating creatures with their distinctive appearance and unique personalities. Learning how to draw a llama can be a fun and rewarding experience, allowing you to capture their charm on paper. In this step-by-step guide, I will walk you through the process of drawing a llama using simple and easy-to-follow instructions. So grab your drawing supplies and let’s get started!
Materials Required
Before we begin, make sure you have the following materials handy:
Now that you have your materials ready, let’s dive into the step-by-step process of drawing a llama.
Step 1: Draw the Basic Shapes
To start, lightly sketch a circle for the llama’s head and a larger oval shape for its body. The body oval should be slightly tilted to add a dynamic pose to your drawing. These basic shapes will serve as the framework for your llama’s body.
Step 2: Outline the Head and Neck
Using the circle as a guide, draw the llama’s head by adding a curved line to the bottom of the circle. Then, extend two lines from the head to create the neck, curving them in a gentle S-shape. Remember to keep your lines light and loose, as they are just guidelines at this stage.
Step 3: Add the Ears and Facial Features
Llamas are known for their long, pointy ears, so let’s add them next. Draw two long, curved lines on top of the head, starting from the sides of the circle. Connect the ends of the lines with a curved line to complete the ear shape.
Now, draw the eyes by placing two small ovals within the head, towards the front. Add smaller circles inside the ovals to represent the pupils. Next, draw a small curved line for the nose and a slightly curved line for the mouth, adding a faint smile to give your llama a friendly expression.
Step 4: Define the Body and Legs
Using the larger oval shape as a guide, draw the llama’s body by curving the lines around the oval. Add a small curve at the bottom for the belly.
Now, sketch four lines extending from the body to create the legs. Make them slightly wider at the top and narrower towards the bottom, mimicking the shape of a llama’s legs. Don’t forget to add small hooves at the bottom of each leg!
Step 5: Add the Llama’s Tail
Llamas have cute, fluffy tails, so let’s draw one. Start by adding a curved line extending from the back of the llama’s body. Then, add a series of short, curved lines along the length of the tail to indicate the fur.
Step 6: Refine the Details
Now that you have the basic llama shape, it’s time to refine the details. Go over your sketch, making the lines bolder and darker. Erase any unnecessary guidelines and adjust the proportions if needed.
Add some facial details by drawing a few curved lines on the cheeks and adding small, curved eyelashes above the eyes. You can also draw a fuzzy outline around the ears to give them texture.
Step 7: Bring Your Llama to Life
To give your llama some personality, it’s time to add some final touches. You can do this by shading certain areas of your drawing to create depth. Use hatching or cross-hatching techniques with your pencil to add shadows and highlights.
If you want to make your llama even more vibrant, you can use colored pencils or markers to add some color to your drawing. Llamas come in various shades, so feel free to get creative with your color choices!
Conclusion
Congratulations! You have successfully learned how to draw a llama from start to finish. By following these simple step-by-step instructions, you were able to capture the charm of these fascinating creatures on paper. Remember to practice regularly to improve your drawing skills and experiment with different poses and expressions. Drawing llamas can be a delightful and relaxing hobby that allows you to express your creativity. So keep your pencils sharp and enjoy the process of bringing llamas to life on your sketchbook!