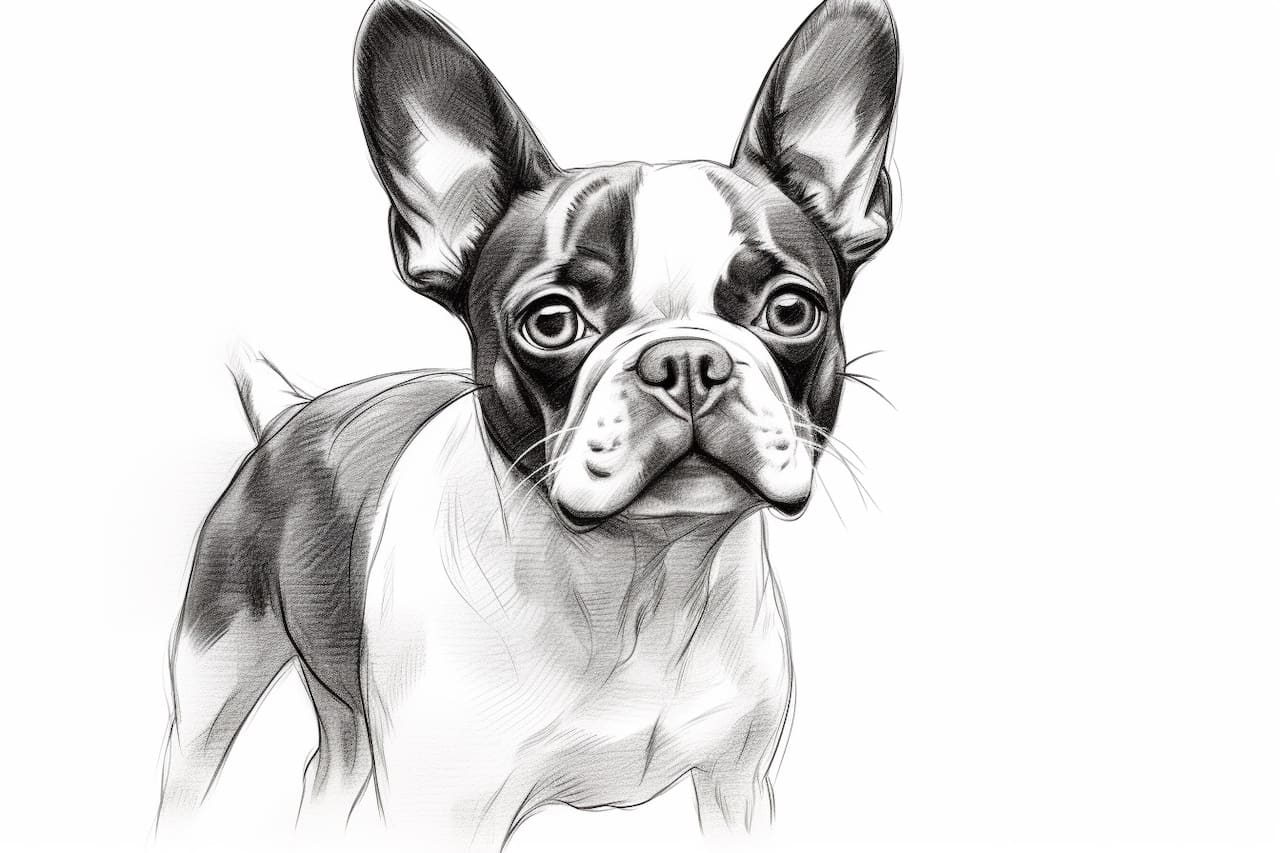
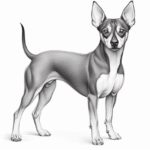
Welcome to this step-by-step guide on how to draw a Boston Terrier! Whether you’re an experienced artist or just starting out, this tutorial will help you capture the unique and adorable features of this beloved breed. So grab your drawing materials and let’s get started!
Materials Required
Before we begin, make sure you have the following materials:
- Drawing paper or sketchbook
- Pencil (HB or 2B recommended)
- Eraser
- Fine-tip black pen or marker (optional)
- Colored pencils or markers (optional)
With these materials at hand, you’re ready to bring a Boston Terrier to life on paper!
Step 1: Start with Basic Shapes
Begin by lightly sketching a circle for the Boston Terrier’s head and a smaller oval slightly overlapping the circle for the body. These simple shapes will serve as the foundation for your drawing. Don’t worry too much about making them perfect – you can always refine them later.
Step 2: Outline the Snout and Ears
Next, draw a rounded triangular shape extending from the lower part of the head circle to represent the snout. Add two small circles for the eyes, slightly above and to the sides of the snout. Then, draw two floppy ears on top of the head, making sure they are proportionate to the size of the head.
Step 3: Add Facial Features
Now it’s time to give your Boston Terrier some personality! Add a small black nose at the tip of the snout, and a curved line above it to define the upper part of the snout. Draw a curved line for the mouth, positioning it slightly below the nose. Then, add two dots for the nostrils on either side of the snout.
For the eyes, draw two almond shapes within the circles you sketched earlier. Add a smaller circle inside each eye to represent the pupils. Give your Boston Terrier a friendly expression by slightly tilting the eyebrows upwards.
Step 4: Sketch the Body and Legs
Extend the body’s oval shape to create the Boston Terrier’s torso. Add a curved line to indicate where the front legs will be positioned. Sketch the front legs using elongated shapes, making them slightly thicker at the top and narrower towards the paws. Repeat this process for the back legs, making them slightly longer than the front legs.
Step 5: Define the Facial Structure
Refine the outline of the head by erasing any unnecessary guidelines and adding more definition. Pay attention to the shape of the cheeks, jawline, and chin. Smooth out any rough edges to create a more polished look.
Step 6: Add Details to the Face
Now it’s time to add more details to the face of your Boston Terrier. Draw two curved lines above each eye to represent the eyebrows. Add some fur texture by sketching short, curved lines around the face, particularly around the cheeks and chin. Don’t forget to erase any unnecessary guidelines as you go.
Step 7: Draw the Tail and Paws
Extend two curved lines from the back of the torso to create the Boston Terrier’s tail. Make it slightly curved and fluffy. Then, add some small oval shapes to represent the paws. Don’t worry about too much detail at this stage – a simple indication of the paws will be sufficient.
Step 8: Refine and Ink the Drawing
Take a moment to refine your pencil sketch, erasing any remaining guidelines and making any necessary adjustments. Once you’re satisfied with the overall look, go over the lines with a fine-tip pen or marker. This will make the drawing stand out and give it a more finished appearance.
Step 9: Add Color (Optional)
If you want to add some color to your drawing, now is the time to do so. Use colored pencils or markers to bring your Boston Terrier to life. Observe the breed’s distinctive coat pattern, which typically includes a combination of black, white, and brown. Consider referencing photos of Boston Terriers to ensure accuracy in your color choices.
Conclusion
Congratulations on completing your Boston Terrier drawing! By following these step-by-step instructions, you’ve captured the essence of this charming breed on paper. Whether you’re drawing for fun or looking to improve your artistic skills, remember that practice makes perfect. Keep experimenting, refining your techniques, and most importantly, have fun while drawing!

