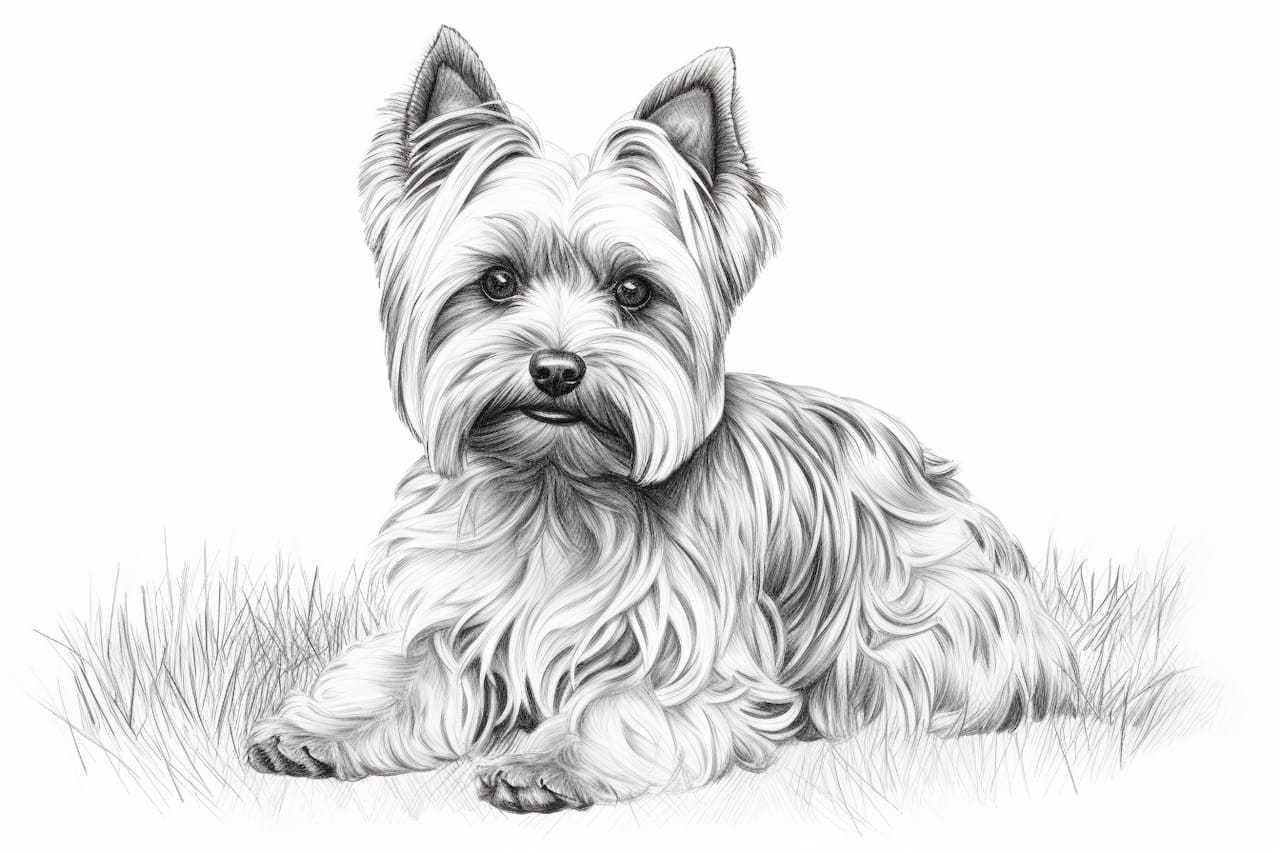
Welcome to this step-by-step guide on how to draw a Yorkshire Terrier. Whether you’re a beginner or an experienced artist, this tutorial will provide you with the necessary instructions to create a lifelike representation of this adorable breed. With its long silky coat and distinctive features, capturing the essence of a Yorkshire Terrier on paper can be a rewarding and enjoyable experience. So, let’s dive in and get started!
Materials Required
To begin your Yorkshire Terrier drawing, ensure you have the following materials:
- Drawing paper
- Pencils (HB, 2B, and 4B)
- Eraser
- Fine-tip markers or pens (optional)
- Colored pencils or markers (optional)
- Reference image of a Yorkshire Terrier
Now that you have your materials ready, let’s move on to the step-by-step instructions.
Step 1: Outline the Head and Ears
Start by drawing a circle near the top of your paper. This will serve as the head of your Yorkshire Terrier. Next, add two pointy ears on either side of the head, keeping them relatively small and close to the head. Remember, Yorkshire Terriers have upright ears, so make sure to capture that characteristic in your sketch.
Step 2: Sketch the Body and Legs
Extend two curved lines downward from the head to create the back of the Yorkshire Terrier. Join these lines at the bottom to form the body. Connect the body to the head with a curved line for the neck. Now, add four small legs extending from the body, making them proportionate to the size of the dog.
Step 3: Detail the Face
At the center of the head, draw two small circles for the eyes. Leave a small white highlight in each eye to add a touch of life. Just below the eyes, draw a small triangle for the nose. Add a curved line underneath the nose for the mouth. Don’t forget to include the characteristic tuft of fur on the head by drawing a few short, curved lines.
Step 4: Define the Features
Now it’s time to bring your Yorkshire Terrier to life by adding some details. Use short, curved lines to create the fur texture on the body and ears. Add a few strokes to define the outline of the face and body. Don’t worry about making individual hairs at this stage; we’ll add more details later.
Step 5: Refine the Eyes and Nose
To make the eyes appear more realistic, add shading around the edges of the iris. This will give them depth and dimension. Next, darken the pupil, leaving a small white highlight for added realism. Use short, light strokes to create a furry texture on the muzzle and around the nose. Add some shading around the nose and mouth to enhance the three-dimensional effect.
Step 6: Add Details to the Ears and Fur
Now, focus on the ears by adding gentle curves and strokes to give them a fluffy appearance. Pay attention to the direction of the fur and mimic it in your drawing. For the body, use short, feathery strokes to define the contours and texture of the fur. Take your time with this step, as the fur is a distinctive feature of Yorkshire Terriers.
Step 7: Define the Body and Legs
Add more definition to the body by using darker pencil strokes to indicate the shadows and areas of fur overlap. This will give your drawing depth and make it more realistic. Pay attention to the shape and size of the legs, ensuring they are proportionate to the body. Use curved lines to suggest the flow of fur on the legs.
Step 8: Finalize the Drawing
Now that you have established the basic structure and details of your Yorkshire Terrier, take a step back and evaluate your drawing. Make any necessary adjustments to the proportions or the placement of features. Once you’re satisfied with the overall result, go over your drawing with a darker pencil or a fine-tip pen to accentuate the lines and details. Erase any unnecessary guidelines or stray marks.
Conclusion
Congratulations on completing your Yorkshire Terrier drawing! By following these step-by-step instructions, you’ve captured the charm and elegance of this beloved breed. Remember, practice is key to improving your drawing skills, so don’t be discouraged if your first attempt doesn’t turn out as expected. Keep refining your technique and experimenting with different styles and mediums. With time and dedication, you’ll be able to create stunning artwork of Yorkshire Terriers and other subjects.