Drawing bricks can add a realistic texture and depth to your artwork, whether you are working on a landscape, architectural illustration, or any other creative project. In this step-by-step guide, we will explore the process of how to draw bricks in a simple and effective way. By following these instructions, you will be able to create realistic-looking bricks with ease. So let’s get started!
Materials Required:
To draw bricks, you will need the following materials:
- Drawing paper
- Pencil
- Eraser
- Ruler
- Compass (optional)
Now that we have gathered our materials, let’s dive into the process of drawing bricks.
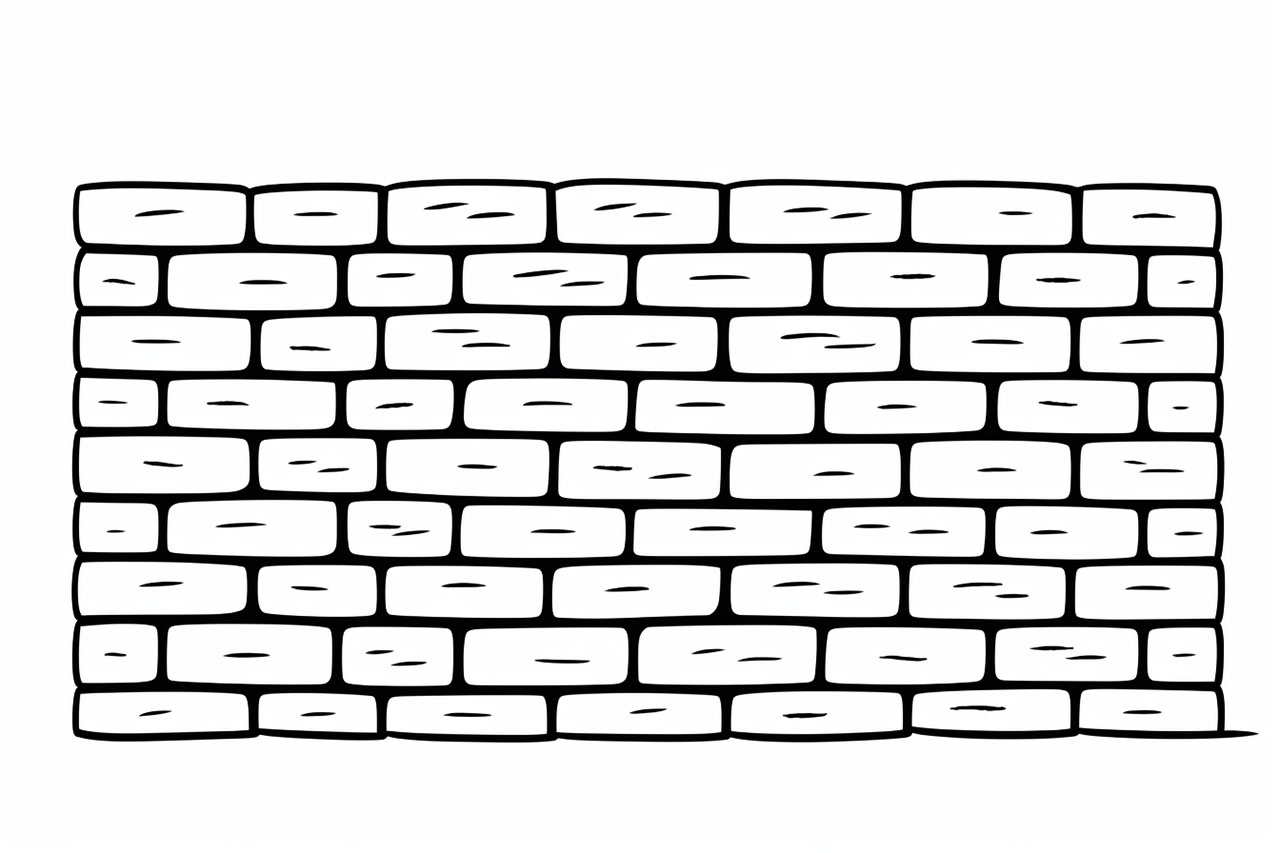
Step 1: Create a Grid
To begin, start by drawing a square or rectangular shape on your paper. This will serve as the outline for your bricks. Use a ruler to ensure straight lines and accurate proportions. If you want different sizes of bricks, you can adjust the size of the square or rectangle accordingly.
Step 2: Divide the Shape
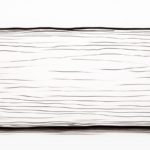
Next, divide the square or rectangle shape into smaller sections to represent individual bricks. Start by drawing vertical lines across the shape at regular intervals. You can use a ruler or compass to ensure equal spacing between the lines. Then, draw horizontal lines intersecting the vertical lines to complete the grid.
Step 3: Add Depth and Texture
To create a three-dimensional effect, add depth and texture to the bricks. Start by shading the edges and corners of each brick, leaving the center portion lighter. This will give the illusion of light falling on the bricks and casting shadows. Use light and gentle pencil strokes to achieve a subtle effect.
Step 4: Enhance the Texture
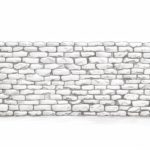
To further enhance the texture of the bricks, add small details such as cracks or rough patches. You can achieve this by drawing irregular lines or dots on the surface of each brick. These imperfections will add character and realism to your drawing.
Step 5: Refine the Shape
Now that you have added texture and depth to your bricks, take a moment to refine the shape of each individual brick. Pay attention to the straightness of the edges and the overall symmetry of the bricks. Make any necessary adjustments by erasing and redrawing as needed.
Step 6: Vary the Colors
To make your bricks even more realistic, add variation in color. Bricks are often not uniformly red or brown but have subtle color variations. Use different shades of brown, red, or orange to create this effect. You can achieve this by layering different colors lightly over each other or by using colored pencils or markers.
Step 7: Create Shadows and Highlights
To give your bricks a more three-dimensional appearance, add shadows and highlights. Determine the direction of the light source in your drawing, and shade one side of each brick lightly to represent shadows. Leave the opposite side of each brick lighter to represent highlights. This will make your bricks appear more rounded and realistic.
Step 8: Add Details
Lastly, add any additional details that you feel will enhance the overall look of your brickwork. This may include moss or vegetation growing between the bricks, weathered edges, or any other elements that add interest to your drawing. Be creative and experiment with different ideas to make your brickwork unique and visually appealing.
Conclusion
Drawing bricks can be a fun and rewarding exercise that adds a layer of realism to your artwork. By following these step-by-step instructions, you now have the knowledge and skills to create bricks with depth, texture, and variation in color. Remember to practice regularly and experiment with different techniques to further refine your brick-drawing skills. So grab your materials and start drawing those bricks to bring your artwork to life!