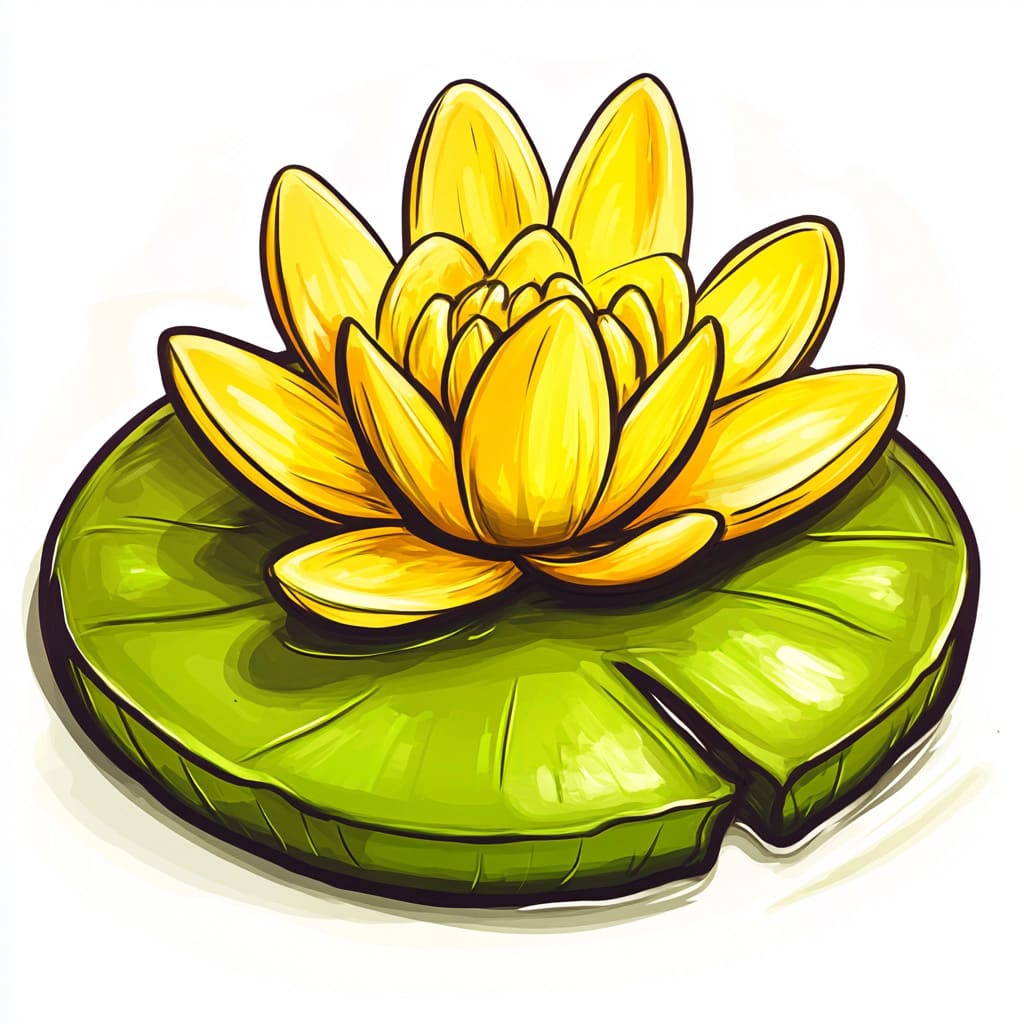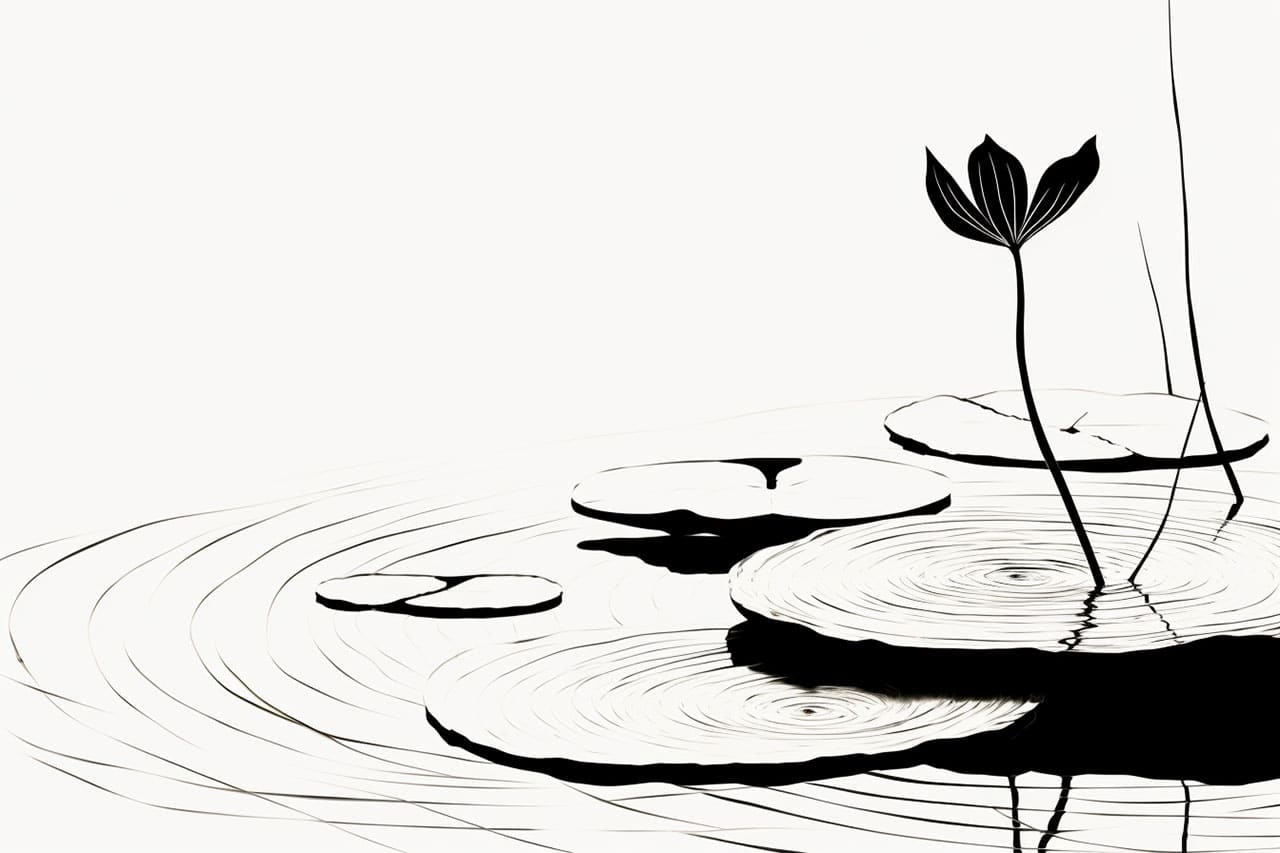
Drawing can be a delightful way to unwind and explore your creativity, and what better subject to tackle than the serene and beautiful lily pad? Whether you’re an established artist or just beginning to dip your toes into the world of drawing, capturing the essence of a lily pad can be both enjoyable and fulfilling. This guide will lead you through a simple, step-by-step process that will enable you to recreate this lovely aquatic plant with ease.
In this article, we will outline everything you need to get started, from essential materials to helpful tips that can elevate your drawing experience. By providing clear instructions, we aim to make your journey through this artistic endeavor enjoyable and rewarding. So, whether you’re sketching for relaxation or looking to improve your skills, you’ll find valuable insights that will help bring your lily pad to life on paper.
Grab your drawing tools and let the creative flow begin—it’s time to immerse yourself in the world of lily pads!
Materials Required
Before we begin, gather the following materials:
- Drawing paper or sketchpad
- Pencil
- Eraser
- Fine-tip marker or pen
- Colored pencils or watercolors (optional)
Now that you have your materials ready, let’s get started!
Step 1: Create the Basic Shape
Begin by drawing a curved line in the center of your paper. This line will serve as the backbone of your lily pad. It should be slightly curved, resembling the letter “C,” but with a more rounded shape.
Step 2: Add the Outer Edges
From the tip of the curved line, draw two more curved lines that mirror each other and connect at the bottom. These lines will form the outer edges of the lily pad. Make sure to leave some space between these lines and the backbone, as this will be where the veins of the lily pad will be added later on.
Step 3: Outline the Veins
Within the space you have left between the backbone and the outer edges, draw thin, curved lines that extend from one edge to the other. These lines represent the veins of the lily pad. Vary the lengths and directions of these lines to give your lily pad a more natural look.
Step 4: Add Detail to the Edges
Next, draw small, rounded bumps along the outer edges of the lily pad to create a more organic appearance. These bumps should be irregular in size and shape, as lily pads often have uneven edges.
Step 5: Shade the Lily Pad
To add depth and dimension to your drawing, lightly shade the areas of the lily pad that are farther away from the viewer. Use your pencil to create a gradual transition from light to dark, starting with the outer edges and gradually darkening towards the center of the lily pad.
Step 6: Refine the Shape
Take a step back and assess your drawing so far. If any areas need adjustment, now is the time to make corrections. Refine the curves of the backbone and outer edges as needed, ensuring that the overall shape of the lily pad is pleasing to the eye.
Step 7: Ink the Drawing
Once you are satisfied with the shape and details of your lily pad, use a fine-tip marker or pen to trace over your pencil lines. This will make your drawing more defined and polished. Be sure to wait for the ink to dry completely before erasing any remaining pencil marks.
Step 8: Add Color (Optional)
To bring your lily pad to life, you can add color using colored pencils or watercolors. Start by selecting shades of green that resemble the natural color of lily pads. Begin coloring the outer edges, gradually working your way towards the center. Use light, gentle strokes to build up layers of color and create a realistic texture. You can also experiment with shading and blending techniques to add depth and dimension to your drawing.
Conclusion
Drawing a lily pad is a wonderful way to express your creativity and practice your artistic skills. By following the step-by-step instructions provided in this article, you can create a lifelike lily pad that will impress both yourself and others. Remember to take your time, be patient, and have fun with the process. Happy drawing!
Fun Facts About Lily Pads
- Lily pads are the floating leaves of water lilies, which are aquatic plants that thrive in calm freshwater ecosystems.
- The size of lily pads can vary significantly, with some species having pads that reach up to 6 feet (1.8 meters) in diameter.
- Victoria amazonica, the giant water lily, has leaves robust enough to support a small child’s weight!
- Lily pads have spongy tissues with air channels, allowing them to float and provide durability to withstand water movement.
- These pads provide shade for aquatic life below, helping to protect fish and other organisms from predators and excessive sunlight.
- In addition to their ecological importance, lily pads are often celebrated for their beauty in ponds and water gardens.
- The underside of a lily pad is coated with a waxy cuticle, preventing it from becoming waterlogged.
- Some species of frogs and insects use lily pads as their habitat, laying eggs on the surface or hiding underneath.
- Lily pads have inspired countless artists, most famously Claude Monet, who created over 250 paintings featuring them in his garden at Giverny.
- The blooming of water lilies and the spread of lily pads are often seen as signs of ecological health in freshwater bodies.
Suggestions for Scenes and Settings for Lily Pad Drawings
- Pond Tranquility: Illustrate a serene pond filled with lily pads and blossoming flowers surrounded by lush greenery.
- Frog’s Rest: Draw a curious scene with a frog relaxing on a lily pad, gazing at the moon reflected in the water.
- Secret Pond World: Create an underwater view where fish swim and play amidst the tangled roots of lily pads above.
- Butterfly Landing: Depict a moment of balance where a vibrant butterfly carefully lands on the edge of a lily pad.
- Sunny Day Delight: Illustrate children playing on a small boat, peering over to marvel at the lily pads dotting the water.
- Dragonfly Dance: Capture dragonflies zipping over lily pads, their wings shimmering in the sunlight.
- Fantasy Realm: Imagine a whimsical land where lily pads serve as islands connected by petal bridges, populated by tiny creatures.
- Nighttime Glow: Present a scene with bioluminescent insects illuminating lily pads at night, casting a magical glow.
- Lily Pad Race: Picture small forest creatures holding a regatta, navigating lily pads like stepping stones across a pond.
- Monet’s Garden: Pay homage to Claude Monet with a drawing inspired by his Impressionist masterpiece of lily pads.


