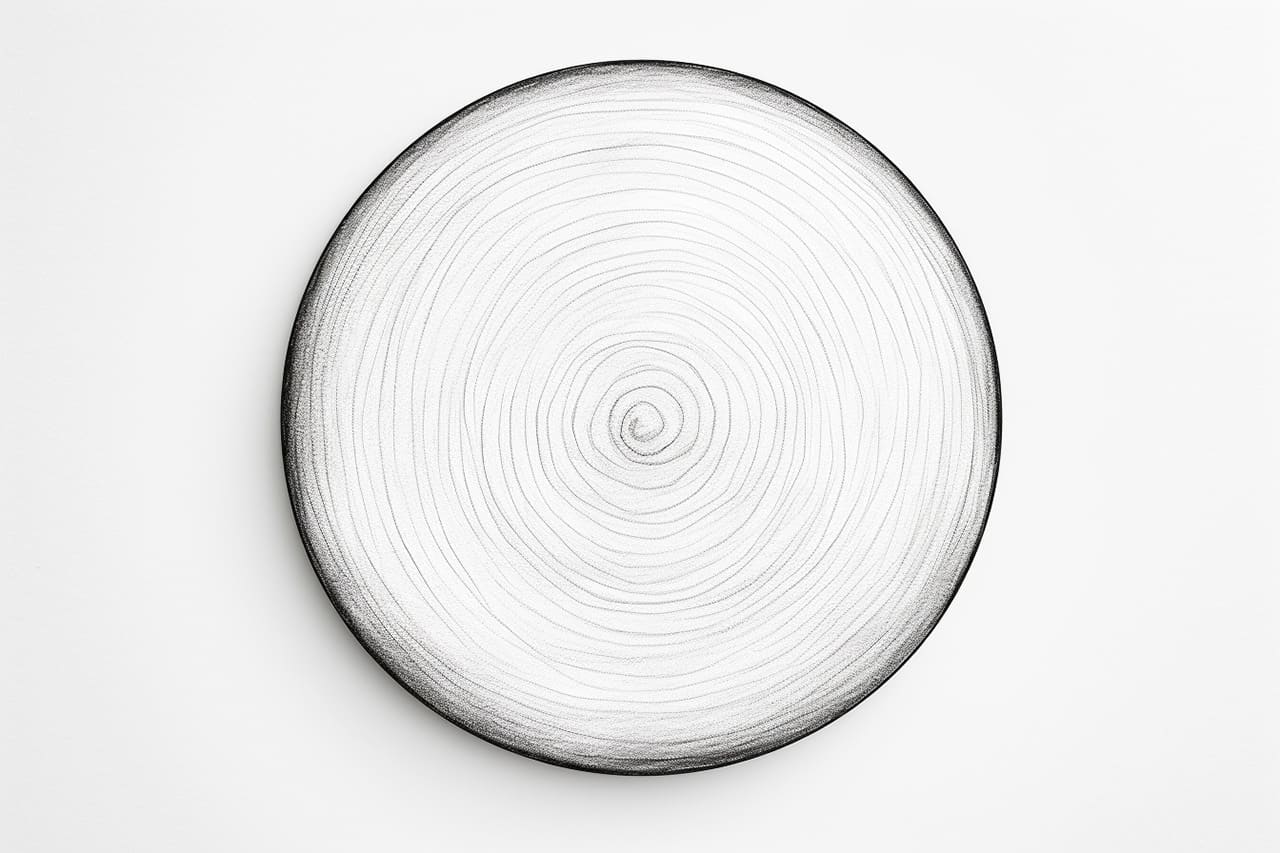
Welcome to this step-by-step guide on how to draw a circle! Whether you’re a beginner or an experienced artist, mastering the art of drawing a perfect circle is essential. In this article, I will walk you through the process of drawing a circle, providing clear and concise instructions at each step. So, grab your drawing materials, and let’s get started!
Materials Required
Before we begin, make sure you have the following materials ready:
- Drawing Paper: Any type of drawing paper will work, but it’s recommended to use a heavier-weight paper to prevent wrinkling.
- Pencil: Choose a medium-soft pencil like an HB or 2B for sketching the circle.
- Eraser: Have a soft eraser on hand to make corrections along the way.
- Compass: If you have a compass, it can be a helpful tool for drawing precise circles. However, it’s unnecessary, as I will also guide you through freehand circle drawing techniques.
Now that you have your materials ready, we can start creating some circles!
Step 1: Preparation
Before diving into drawing a circle, let’s warm up your hand and get comfortable with your pencil. Quickly sketch a few random circles or small loops on a scrap paper. This will help you loosen up and get a feel for the motion required to create a smooth circle.
Step 2: Center Point
Start by locating the center point of your circle. This will be the starting point from which the rest of the circle will be drawn. Using your pencil, lightly mark a dot on your drawing paper.
Step 3: Determine the Radius
Decide on the desired size of your circle by determining the radius. The radius is the distance between the center point and any point along the circumference of the circle. Measure this distance from the center point and make a small mark at that length.
Step 4: Freehand Technique
If you don’t have a compass or prefer to draw circles freehand, follow this technique. Place your pencil on the center point and use your wrist to draw a smooth, continuous curve. Start by drawing a quarter of the circle and then gradually build up the remaining three quarters. Take your time, and don’t worry about making it perfect in one stroke. Slow and steady wins the race!
Step 5: Compass Technique
If you have a compass, follow this technique for a precise circle. Place the sharp end of the compass at the center point and adjust the other end to the desired radius. Hold the compass firmly in place and rotate it smoothly, keeping the sharp end fixed at the center point. Continue turning until the circle is complete.
Step 6: Refining the Shape
After drawing the basic circle, it’s time to refine its shape. Examine your circle and make any necessary adjustments. If the circle looks a bit lopsided or uneven, use your eraser to gently correct any mistakes. Don’t be afraid to make multiple attempts until you are satisfied with the shape.
Step 7: Thicken the Outline
To give your circle a more defined look, thicken the outline. Use your pencil to trace over the initial sketch, making the line slightly darker and thicker. Be careful not to press too hard to avoid smudging the pencil marks.
Conclusion
Congratulations! You’ve successfully learned how to draw a circle. With practice and patience, you’ll be able to create circles of various sizes effortlessly. Remember, drawing circles is a fundamental skill that will benefit you in many areas of art, from still life and portraiture to landscapes and cartoons. So keep practicing and exploring different techniques to enhance your artistic abilities.


