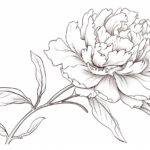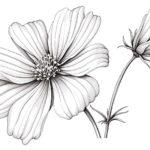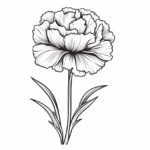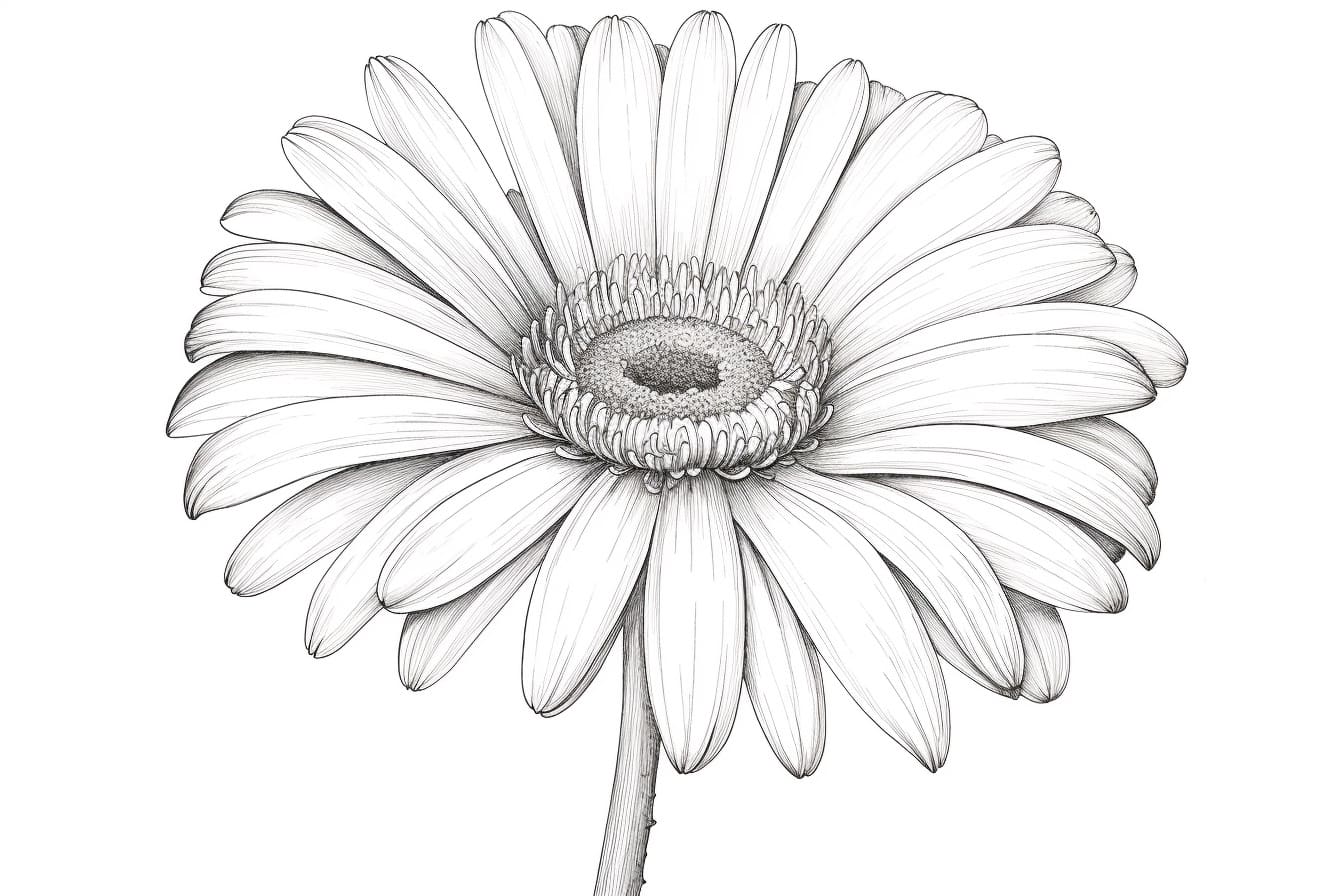
Welcome to this step-by-step guide on how to draw a beautiful Gerbera Daisy. Gerbera Daisies are known for their vibrant colors and captivating beauty, making them a popular choice for artists of all levels. Whether you’re a beginner or an experienced artist, this tutorial will provide you with easy-to-follow instructions for creating a stunning illustration of this iconic flower. So grab your drawing supplies and let’s get started!
Materials Required
Before we dive into the step-by-step process, let’s make sure you have all the necessary materials. Here’s a list of what you’ll need:
- Drawing paper or sketchbook
- Pencil (preferably HB or 2B)
- Eraser
- Fine-tip black pen or ink pen
- Colored pencils or markers (optional)
Now that you have everything you need, let’s move on to the actual drawing process.
Step 1: Sketching the Basic Shape
Start by lightly sketching the basic shape of the Gerbera Daisy. Begin with a small circle in the center of your paper. This circle will serve as the flower’s center or the “eye.” Next, draw several elongated petal shapes around the circle. These petals should extend outward and slightly overlap with each other. Don’t worry about making them perfect at this stage; we’ll be refining the shape later.
Step 2: Refining the Petal Shape
Using your initial sketch as a guide, begin to refine the shape of the petals. Add more detail to each petal, making them appear soft and organic. Gerbera Daisy petals are rounded at the tips, so keep that in mind as you refine the shape. Pay attention to the direction and flow of each petal, creating a natural and realistic look.
Step 3: Adding Details to the Center
Now, let’s add some details to the flower’s center. Draw small arcs or curved lines inside the initial circle, radiating from the center towards the edges. These lines represent the seeds or florets of the Gerbera Daisy. Make sure the lines are evenly spaced and slightly curved to give a three-dimensional effect. Add a small circle at the very center of the flower to complete the details.
Step 4: Outlining the Sketch
Once you’re satisfied with the overall shape and details of the Gerbera Daisy, go over your sketch with a fine-tip black pen or ink pen. This will create a bold and defined outline for your drawing. Take your time and trace over each line, making sure to maintain the delicate curves and shapes of the petals. You can also choose to erase any visible pencil marks after the ink has dried.
Step 5: Adding Texture and Shadows
To give your Gerbera Daisy drawing depth and dimension, it’s time to add texture and shadows. Start by shading the inner part of each petal, using short, light pencil strokes. This will create a subtle gradation of color. Next, determine the direction of the light source and apply shading accordingly. Add darker tones on the undersides of the petals and in the creases where they overlap. Blend the shading smoothly with a tortillon or tissue paper for a more realistic look.
Step 6: Coloring the Gerbera Daisy (Optional)
If you prefer to add color to your drawing, you can use colored pencils or markers to bring your Gerbera Daisy to life. Gerbera Daisies come in a variety of vibrant hues, so feel free to get creative with your color choices. Start by applying a light base color to each petal, gradually building up the intensity. Add highlights and shadows to enhance the three-dimensional effect. Don’t forget to color the center of the flower, using darker shades for the seeds.
Conclusion
Congratulations! You have successfully completed a beautiful drawing of a Gerbera Daisy. By following these step-by-step instructions, you were able to capture the intricate details and vibrant colors of this captivating flower. Remember, practice makes perfect, so don’t hesitate to experiment with different techniques and styles. With time and dedication, you’ll be able to create stunning botanical illustrations. Happy drawing!