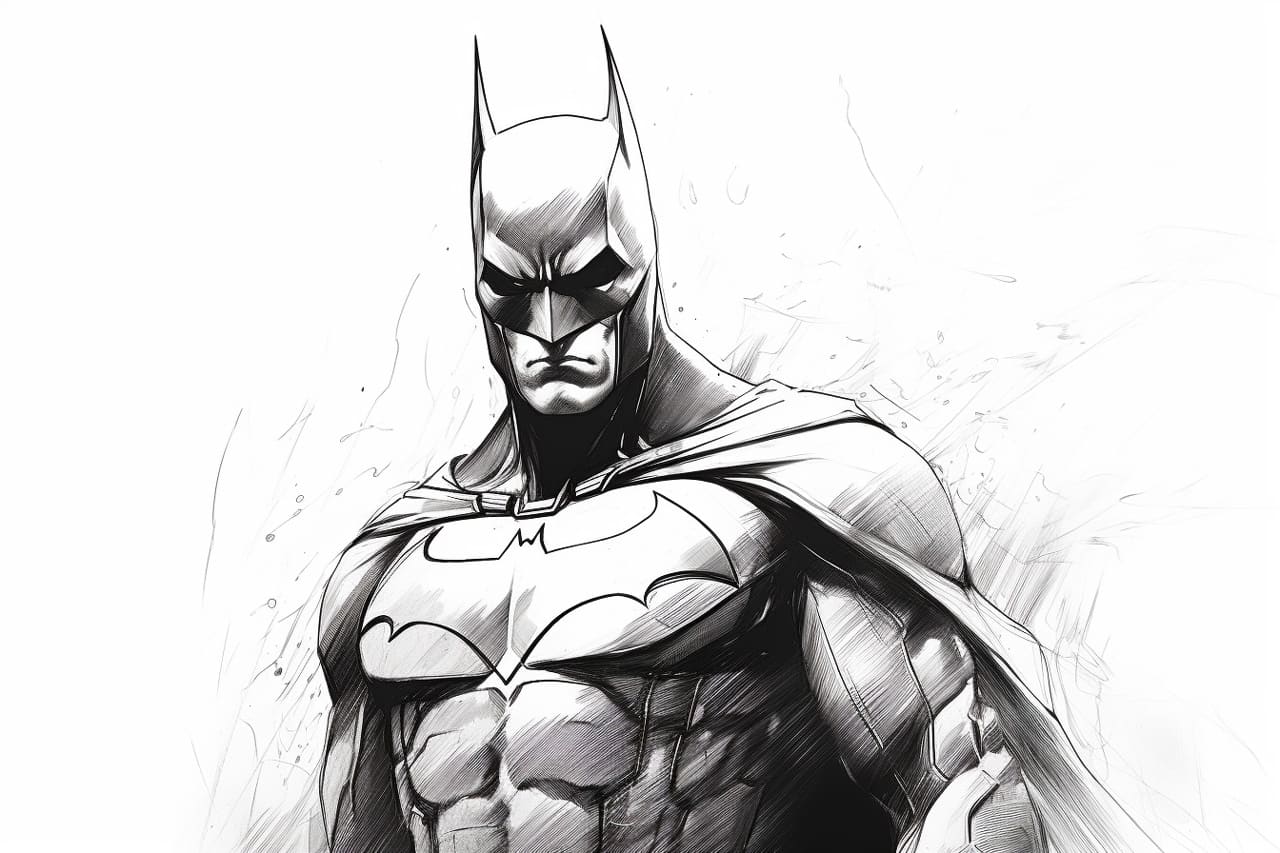
Welcome to this step-by-step guide on how to draw Batman! In this tutorial, I will walk you through the process of creating a dynamic and realistic illustration of the iconic superhero. Whether you’re a novice artist or a seasoned illustrator, these easy-to-follow instructions will help you bring Batman to life on paper. So grab your drawing materials and let’s get started!
Materials Required
Before we begin, make sure you have the following materials ready:
- Pencil (preferably a HB or 2B)
- Eraser (preferably a kneaded eraser)
- Drawing paper (preferably smooth and heavyweight)
- Fine-tipped black marker or pen
- Colored pencils or markers (optional)
Now that you have all the necessary materials, let’s dive into the step-by-step process of drawing Batman!
Step 1: Basic Guidelines
Start by lightly sketching the basic structure of Batman’s head using simple geometric shapes. Draw a circle for the head and sketch a vertical line down the center to establish the symmetry. Add a horizontal line across the middle of the circle to determine the eye level. These guidelines will serve as the foundation for the rest of the drawing.
Step 2: Facial Features
Using the guidelines as a reference, start adding the facial features of Batman. Sketch his eyes, which are typically shaped like elongated almonds. Place them on the horizontal line you drew earlier. Add the eyebrows right above the eyes, making them slightly angled and pointed towards the center of the face. Draw a small curved line for the nose and a simple curved line for the mouth.
Step 3: Cowl and Ears
Batman is known for his distinctive cowl and bat-like ears. Sketch the outline of the cowl, starting from the top of the head and following the shape of the skull. Add the ears, which should be pointed and slightly tilted outward. Pay attention to the placement and proportion of the cowl and ears, as they contribute to Batman’s iconic silhouette.
Step 4: Mask and Eyes
Now, focus on the details of Batman’s mask. Draw the eye sockets, which are usually shaped like pointed ovals. Add the smaller details, such as the lines and curves that define the mask’s design. Make sure to emphasize the dark shadows around the eyes to enhance the mysterious and menacing look.
Step 5: Dark Knight’s Symbol
One of the most recognizable symbols in pop culture is Batman’s bat symbol. Draw the iconic bat shape centered on Batman’s chest. Begin by sketching a simple diamond shape, then add the bat wings on either side. Make sure the wings are evenly balanced and symmetrical.
Step 6: Torso and Cape
Batman’s muscular physique and flowing cape are essential elements of his character. Sketch the outline of his torso, emphasizing his broad shoulders and chest. Add the cape, which usually cascades down from the shoulders and extends behind him. Remember to create a sense of movement and dynamic shapes in the cape.
Step 7: Arms and Gauntlets
Next, draw Batman’s muscular arms. Sketch the basic shapes of the upper and lower arms, paying attention to the proportions and angles. Add the iconic gauntlets on his forearms, which are often depicted with distinct designs. Ensure that the arms and gauntlets complement the overall stance and attitude of the character.
Step 8: Legs and Boots
Continue by drawing Batman’s legs. Sketch the basic shapes for his thighs, knees, and calves. Add the boots, which are typically sleek and armored. Pay attention to the angles and proportions of the legs to maintain a balanced and powerful stance.
Step 9: Finishing Touches
Now that you have the basic outline of Batman, refine and add details to enhance the overall look. Use a fine-tipped black marker or pen to outline the final drawing, emphasizing the important lines and shapes. Erase any unnecessary guidelines and smudges from the pencil sketch.
Step 10: Adding Color (Optional)
If you prefer a colored illustration, you can use colored pencils or markers to bring your Batman drawing to life. Experiment with different shades of gray and black to create a moody atmosphere. You can also add color accents to the bat symbol or even the eyes for a more dynamic effect.
Congratulations! You have now successfully drawn a realistic Batman! Remember, practice makes perfect, so don’t be afraid to try different techniques and experiment with your own style.
Conclusion
Drawing Batman may seem like a daunting task, but with these step-by-step instructions, you can create a striking illustration of this iconic superhero. By following the guidelines, sketching the facial features, and adding the essential elements like the cowl, bat symbol, and flowing cape, you can bring Batman to life on paper. Don’t forget to refine the drawing, add the finishing touches, and even consider adding color if you desire. Now, grab your pencil and start drawing your very own Dark Knight!