Who doesn’t love the peaceful serenity of a grass field stretching out as far as the eye can see? Whether you’re an aspiring artist or just looking for a creative outlet, learning to draw a field of grass can be a fun and rewarding experience. In this tutorial, I will guide you through the step-by-step process of how to draw a field of grass. So grab your drawing materials and let’s get started!
Materials Required:
- Drawing paper
- Pencil
- Eraser
- Fine-tip black pen or marker
- Various shades of green colored pencils or markers
Step 1: Start with the Horizon Line
Begin by drawing a horizontal line across the middle of your paper. This line represents the horizon. Make sure it’s straight and evenly spaced on both sides.
Step 2: Outline the Field
Using your pencil, lightly sketch the outline of the field by drawing a curved line below the horizon line. This line should follow the natural shape of the ground. Don’t worry about adding too much detail at this stage, as we will be refining it later.
Step 3: Add the Grass Blades
Now it’s time to add the grass blades. Start by drawing short, thin, and slightly curved lines from the bottom of the field towards the top. These lines should be irregular in length and direction to give the grass a more natural appearance. Use light pressure with your pencil and vary the stroke to create a sense of depth and texture.
Step 4: Define the Grass Clumps
To make the field of grass more realistic, we need to define the clumps of grass. Start by lightly sketching larger and more prominent blades of grass that are grouped together. Vary the height and direction of these blades to add visual interest. Remember to keep the strokes loose and natural-looking.
Step 5: Shade the Grass
Now it’s time to add some color to our drawing. Start by using a light shade of green colored pencil or marker to fill in the grass. Apply the color in short, quick strokes following the direction of the grass blades. Gradually build up the color by layering different shades of green to create depth and dimension.
Step 6: Create Shadows and Highlights
To add more realism to the field of grass, it’s important to create shadows and highlights. Use a darker shade of green to add shadows to the base of the grass clumps and underneath overlapping blades. This will give the grass a three-dimensional appearance. Use a lighter shade of green to add highlights to the tips of the grass blades, where the sunlight would naturally hit.
Step 7: Refine the Field
Now that we have the basic structure and colors in place, it’s time to refine the field of grass. Use your pencil or eraser to adjust any areas that don’t look quite right. Add more details and texture by adding additional blades of grass or filling in any gaps. Take your time and pay attention to the overall balance and composition of the drawing.
Step 8: Ink the Drawing
Once you are satisfied with the composition, it’s time to ink the drawing. Use a fine-tip black pen or marker to carefully trace over the pencil lines. Start with the outline of the field and then work your way through the grass blades and clumps. This will give your drawing a clean and polished look.
Step 9: Erase the Pencil Lines
After inking the drawing, allow the ink to dry completely, and then gently erase any remaining pencil lines. Be careful not to smudge the ink while erasing. Use a soft eraser and light strokes to avoid damaging the paper.
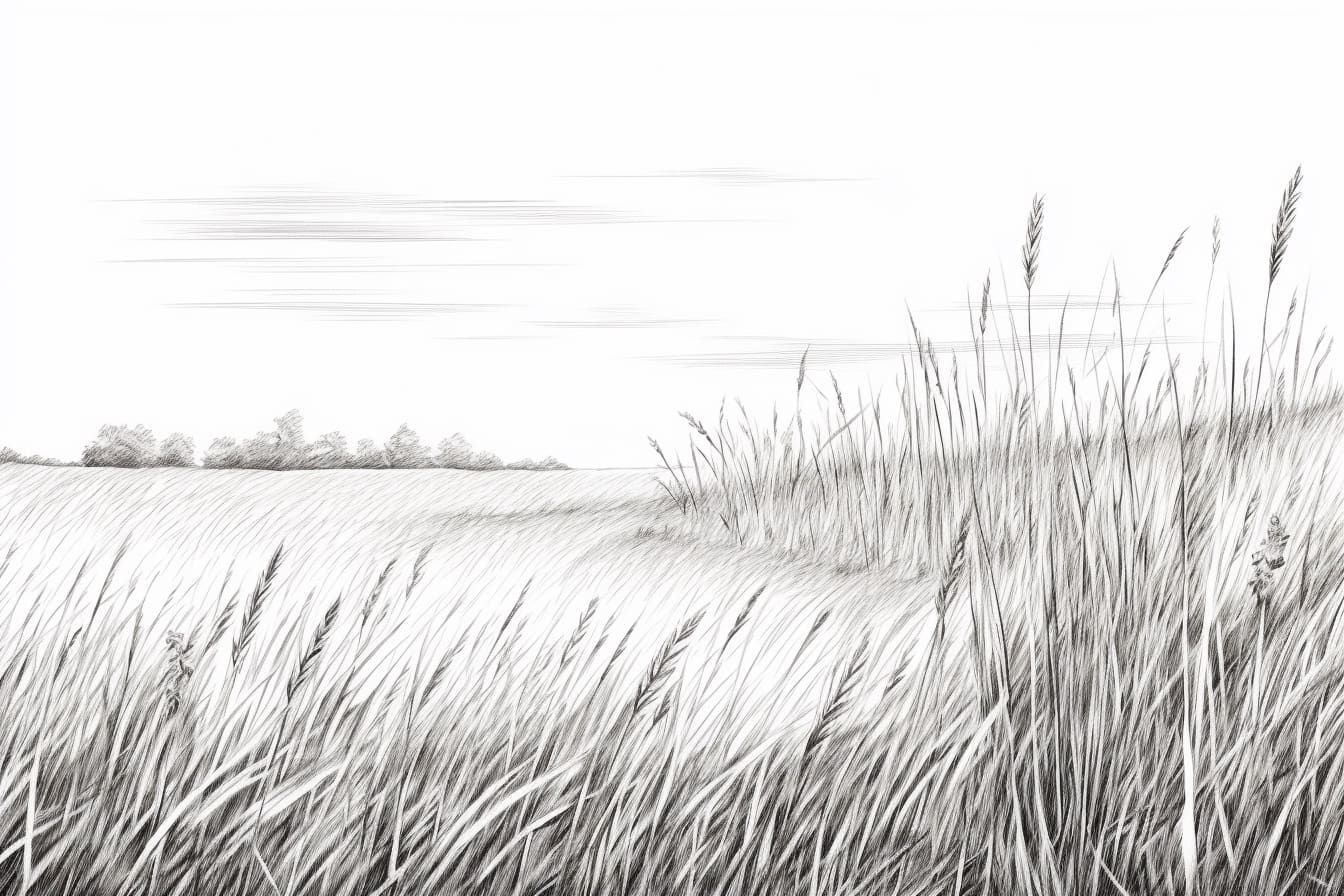
Conclusion
Congratulations! You have successfully learned how to draw a field of grass. With a bit of practice and experimentation, you can create stunning landscapes filled with lush green fields. Remember to be patient and have fun with the process. Now go ahead and grab your drawing materials to create your very own masterpiece!