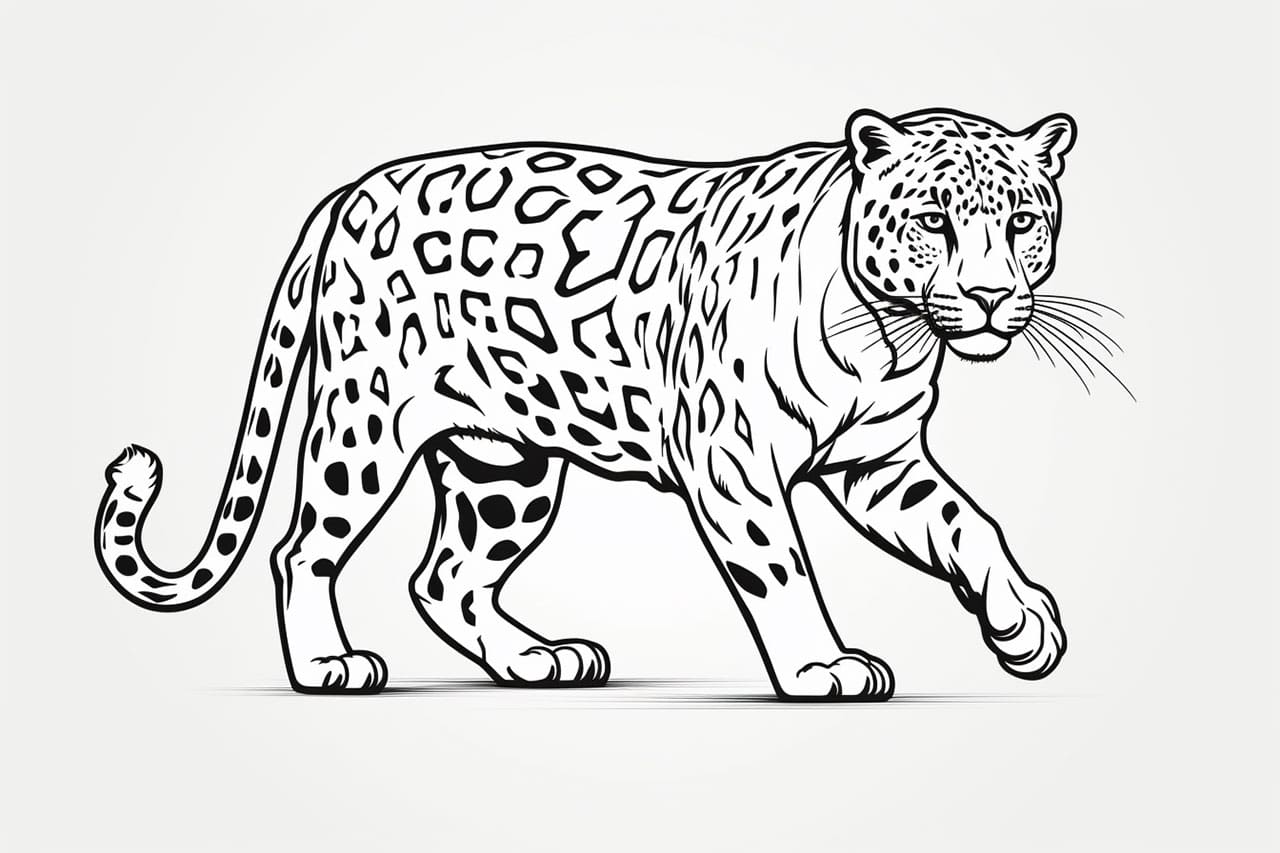
In this step-by-step guide, I will show you how to draw a jaguar, one of the most fascinating and beautiful creatures in the animal kingdom. By following these simple instructions, you will be able to capture the grace and strength of this majestic animal on paper.
Materials Required
Before we begin, make sure you have the following materials ready:
Now that you have your materials ready, let’s get started!
Step 1: Outline the Head
To begin drawing a jaguar, we will start by outlining the head. Start with a rough circle shape that is slightly elongated horizontally. This will be the basic shape of the jaguar’s head. Keep your lines light and loose, as we will be refining them later.
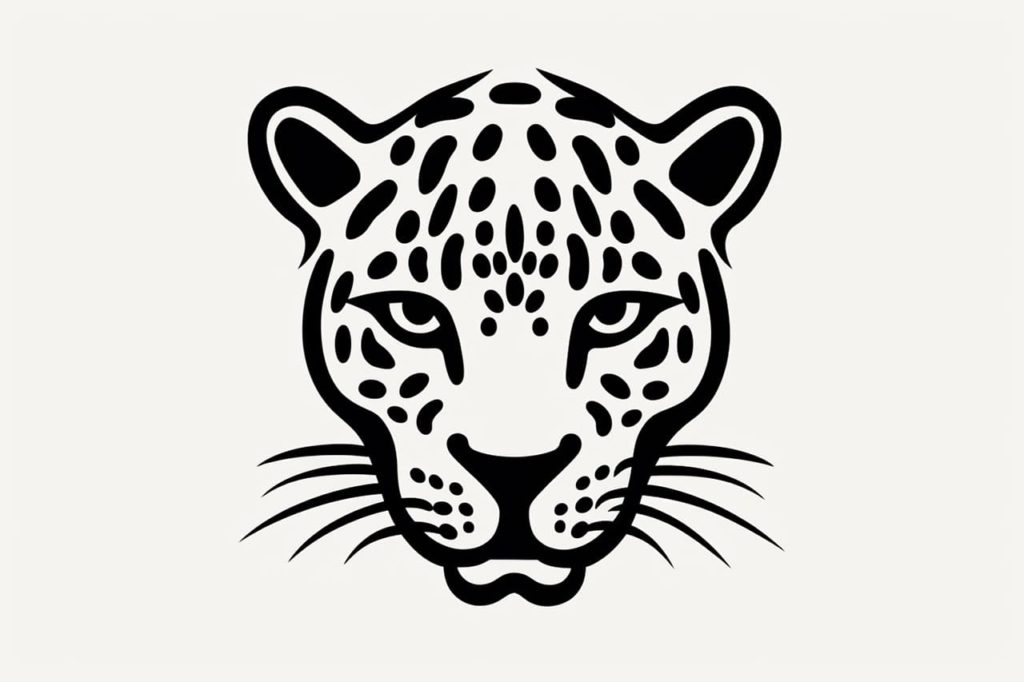
Step 2: Add the Facial Features
Next, let’s add the facial features of the jaguar. Draw two almond-shaped eyes, placed slightly diagonally from each other. Add a small, round nose between the eyes, and a curved line underneath for the mouth. To complete the face, add two small, pointy ears on top of the head.
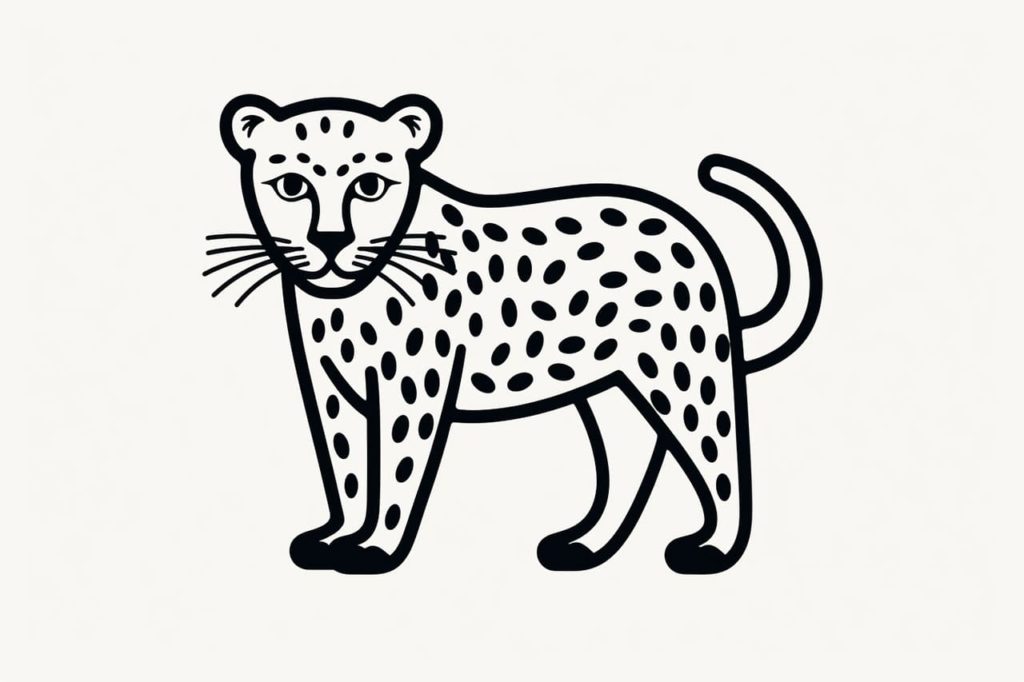
Step 3: Draw the Body
Moving on to the body, sketch a large oval shape beneath the head. This will be the framework for the jaguar’s body. The body should be slightly larger and wider than the head. Again, keep your lines light and loose, as we will be refining them later.
Step 4: Add the Limbs
Now let’s add the limbs to our jaguar. Starting with the front legs, draw two slightly curved lines emerging from the body. At the end of each line, sketch a smaller oval shape for the paws. Repeat the same process for the hind legs, making them longer and slightly angled.
Step 5: Refine the Shape
Once you have the basic outline of the jaguar, it’s time to refine the shape. Go over your initial lines with more confident and defined lines, erasing any unnecessary guidelines. Pay attention to the muscular structure of the jaguar, adding curves and contours to capture its strength and agility.
Step 6: Add Details
Now that our basic shape is complete, let’s add some details to make our jaguar look more realistic. Start by drawing the jaguar’s characteristic rosette patterns on its fur. These are irregular shaped spots that are larger on the jaguar’s back and sides, and smaller on its face and limbs. Add details to the face, such as whiskers and fur texture around the eyes and mouth.
Step 7: Enhance the Background
To make your jaguar drawing even more captivating, consider adding a background. You can keep it simple with a few bushes or trees, or create a more elaborate scene with a tropical forest. This will add depth and context to your drawing.
Step 8: Ink the Drawing
Once you are satisfied with your pencil sketch, it’s time to ink your drawing. Use a fine-tip black pen to outline the final shape of the jaguar and its details. Be confident and deliberate with your lines, making sure to capture the sleekness and strength of the jaguar’s form.
Step 9: Color (Optional)
If you wish to add color to your drawing, grab your colored pencils or markers and carefully fill in the fur and any other desired areas. Jaguars typically have a golden-yellow base coat with black rosette patterns, but feel free to get creative with your color choices.
Conclusion
Congratulations! You have successfully learned how to draw a jaguar. By following these step-by-step instructions, you have captured the beauty and grace of this magnificent animal on paper. Remember to practice regularly to improve your drawing skills and experiment with different poses and expressions. Enjoy the process and have fun bringing more wildlife to life through your art!
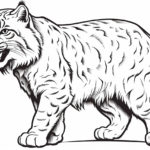
Gallery of Jaguar Drawings