How to Draw a Portuguese Water Dog in 10 Steps
Learn how to draw with this step-by-step tutorial.
Materials You'll Need
- Drawing paper
- Pencil (HB or 2B)
- Eraser
- Markers
- Blending stump
Welcome to this creative tutorial on how to draw a Portuguese Water Dog! Known for their wavy or curly coats, intelligent expressions, and spirited personalities, Portuguese Water Dogs are a joy to depict in art. This unique breed has a charm that's perfect for artists looking to practice texture, proportion, and expression in their drawings.
Whether you're a seasoned artist honing your skills or a beginner eager to learn, this step-by-step guide will walk you through the process of bringing this beautiful and energetic breed to life on paper. From sketching the basic structure to capturing the intricate details of their signature coat, you'll discover techniques to create a lifelike and captivating portrait of a Portuguese Water Dog.
So grab your pencils, sketchbook, and a dash of creativity, and let's dive into the art of drawing this lovable breed!


Materials Required
Before we jump into the drawing process, let's gather the materials you will need:
-
Drawing paper or sketchbook
-
Pencil (preferably a set of different lead hardness)
-
Eraser
-
Fine-tipped markers or pens (optional)
Once you have everything ready, we can move on to the exciting part of bringing the Portuguese Water Dog to life on paper.
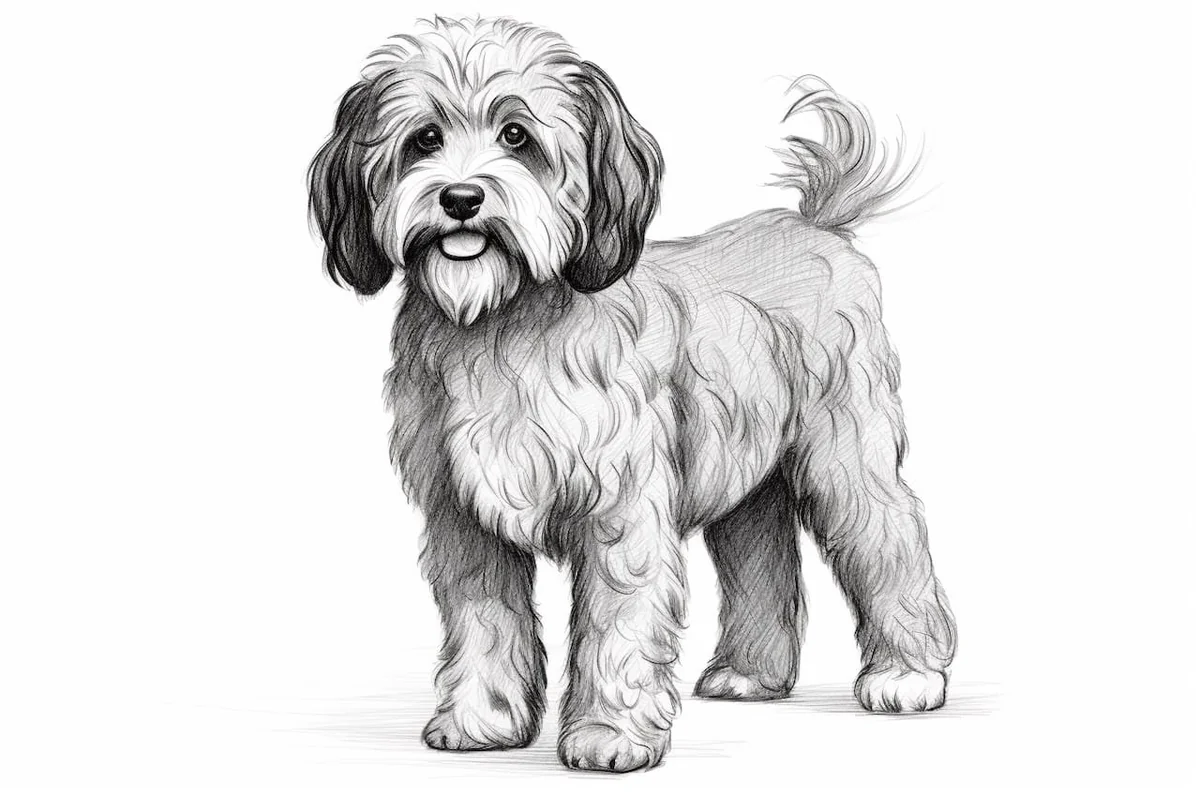
How to Draw a Portuguese Water Dog Step-by-Step
Step 1: Outline the Head
Begin your Portuguese Water Dog drawing by lightly sketching an oval for the head. Position the oval slightly toward the top of your paper to leave enough space for the body below. This is the foundation of your drawing, so use light strokes that can be easily erased later. Don't worry about details yet—this step is all about establishing the shape.
Step 2: Add the Muzzle and Ears
Extend a curved line downward from the bottom of the oval to create the dog's muzzle. Keep the muzzle slightly rounded to reflect the breed's soft, friendly features.
Next, draw the ears by adding two floppy, triangular shapes on either side of the head. Portuguese Water Dogs are known for their charming, floppy ears, so let the shapes curve gently outward before tapering to a rounded point.
Step 3: Sketch the Eyes and Nose
Now, give your dog some personality by adding the eyes and nose. Draw two almond-shaped eyes near the upper part of the head, just above the muzzle. Inside each eye, sketch a small circle for the pupils, leaving a tiny highlight to create a lively expression.
Add a small, rounded triangle in the center of the muzzle to represent the nose. From the bottom of the nose, draw two short, curved lines extending outward to suggest the start of the mouth.
Step 4: Detail the Face
Add texture and depth to the face by sketching short, wispy strokes around the eyes, muzzle, and ears to mimic the dog's curly fur. Focus on soft, overlapping lines that follow the natural contours of the face.
Add shading under the eyes and along the sides of the muzzle to create a three-dimensional effect. Draw a few lines around the nose to indicate texture and enhance the realism.
Step 5: Outline the Body
From the base of the head, draw a long, slightly curved line downward to outline the dog's back. Extend another curved line from the head downward to form the chest and belly. Keep the lines smooth and flowing to represent the dog's strong, muscular build.
Step 6: Draw the Legs and Paws
Sketch four legs, two in the front and two in the back. Start with slightly curved lines extending from the body, tapering as they approach the paws. At the end of each leg, draw small oval shapes for the paws, adding a few curved lines to define the toes.
Position the legs naturally, with the front legs slightly straighter and the back legs angled to reflect the dog's balanced stance.
Step 7: Define the Tail
Portuguese Water Dogs have distinctive tails that are fluffy and slightly curved. From the back of the dog, sketch a long, flowing line that curves upward and outward into a loose spiral or arc. Use short, curved strokes along the tail to capture its fluffy texture.
Step 8: Add Fur Texture and Shading
Now it's time to bring your drawing to life by adding texture and shading. Use short, overlapping strokes to create the appearance of the dog's curly, wiry fur. Pay special attention to areas like the head, chest, and tail, where the fur is most prominent.
Add shading to create depth and dimension. Focus on areas where shadows would naturally fall, such as under the neck, along the belly, and between the legs. Gradually build up layers of shading for a realistic effect.
Step 9: Refine and Erase
Take a moment to review your drawing as a whole. Look for any areas that need adjustment or refinement, such as the proportions of the body or the placement of the features.
Once you're happy with the overall structure, carefully erase any remaining construction lines. Use a soft eraser to avoid smudging and maintain the clarity of your drawing.
Step 10: Ink Your Drawing (Optional)
If you prefer a clean and polished look, trace over your pencil lines with a fine-tip pen or marker. Be patient and steady with your lines to maintain the detail of your work. Allow the ink to dry completely before erasing any stray pencil marks.
Conclusion: Your Portuguese Water Dog is Complete!
Congratulations! You've successfully drawn a Portuguese Water Dog, capturing its unique charm and fluffy texture. By following these step-by-step instructions, you've learned how to build a detailed and realistic representation of this beloved breed.
Drawing animals like the Portuguese Water Dog is a fantastic way to practice textures, proportions, and expressions. With regular practice, you'll continue to refine your skills and create even more impressive artwork.
Thank you for following along, and we hope this tutorial has inspired you to keep exploring the wonderful world of animal art. Happy drawing!
We hope you've enjoyed this drawing tutorial on how to draw a Portuguese Water Dog. Happy drawing!
Fun Facts About Portuguese Water Dogs
-
Portuguese Water Dogs were originally bred to help fishermen along the coast of Portugal—they herded fish into nets, retrieved lost tackle, and acted as water couriers between boats.
-
These dogs are excellent swimmers, with webbed feet and waterproof, curly coats that make them natural in the water.
-
Known for their energy and intelligence, Portuguese Water Dogs excel in obedience, agility, and canine sports, often needing mental stimulation as much as exercise.
-
They're hypoallergenic, making them a great choice for families with allergies—their tight, non-shedding curls trap dander and shed less than many other breeds.
-
Portuguese Water Dogs are famous for their distinct grooming styles, especially the "lion clip," where the back half is shaved and the front is left fluffy.
-
These dogs are incredibly loyal and affectionate, often forming a strong bond with their family and following their favorite humans from room to room.
-
The breed is sometimes nicknamed "Portie" or "PWD", and they're known for their goofy, joyful personalities and love of playtime.
-
A Portuguese Water Dog named Bo Obama famously lived in the White House with President Barack Obama's family, bringing attention and love to the breed.
-
Because of their work history, Porties are confident problem-solvers and are often great service or therapy dogs with the right training.
-
They're happiest when they have a job to do—even if that job is chasing a tennis ball, going for a swim, or cuddling on the couch after a long day of fun.
Tip: When drawing a Portuguese Water Dog, pay special attention to the texture of its coat, which can vary from wavy to curly. Start with a light pencil sketch to outline the overall shape and proportion of the dog, ensuring you capture the distinctive round head and strong build. For the fur, use short, curved strokes to mimic the natural wave of the coat, varying the pressure on your pencil to create depth and dimension. A blending stump can help soften the lines and give a more realistic look to the fur. Lastly, don't forget to add details like the expressive eyes and playful ears, as these features truly bring your drawing to life!
Suggested Scenes and Settings for Portuguese Water Dog Drawings
-
Beach Day Splash: Draw a Portuguese Water Dog leaping through ocean waves, tongue out and paws in the air, with splashes and shells all around.
-
Fishing Boat Helper: Picture a Portie on a wooden boat, watching over nets or proudly holding a fish in its mouth—tail wagging and ears flapping in the sea breeze.
-
Lake Swim Chase: Illustrate a wet and happy dog swimming after a floating toy in a peaceful lake, surrounded by cattails and ducks.
-
Dock Jump Competition: Capture the moment a Portuguese Water Dog launches off a dock in mid-air, headed for a favorite toy, with excitement in its eyes.
-
Fluffy Dry-Off: Show a soaked Portie being wrapped in a towel, water spraying everywhere as it shakes dry—with humans ducking for cover!
-
Agility Champion: Draw a Portuguese Water Dog soaring over jumps or darting through a tunnel at an agility course, full of energy and joy.
-
Snow Day Romp: For a seasonal twist, picture a Portie bounding through snowdrifts with its curls frosted and nose buried in a snowball.
-
Royal Grooming Session: Depict a pampered Portie on a grooming table mid-haircut, half-shaved in a lion clip, looking both majestic and a little ridiculous.
-
Couch Snuggles: Create a quiet scene of a Portuguese Water Dog curled up on a couch, paws tucked under, with a toy or blanket nearby.
-
Playdate at the Park: Draw a joyful Portie mid-zoomie, playing fetch or wrestling with another dog under leafy trees and sunny skies.